
18 inch tall bracelet display tutorial
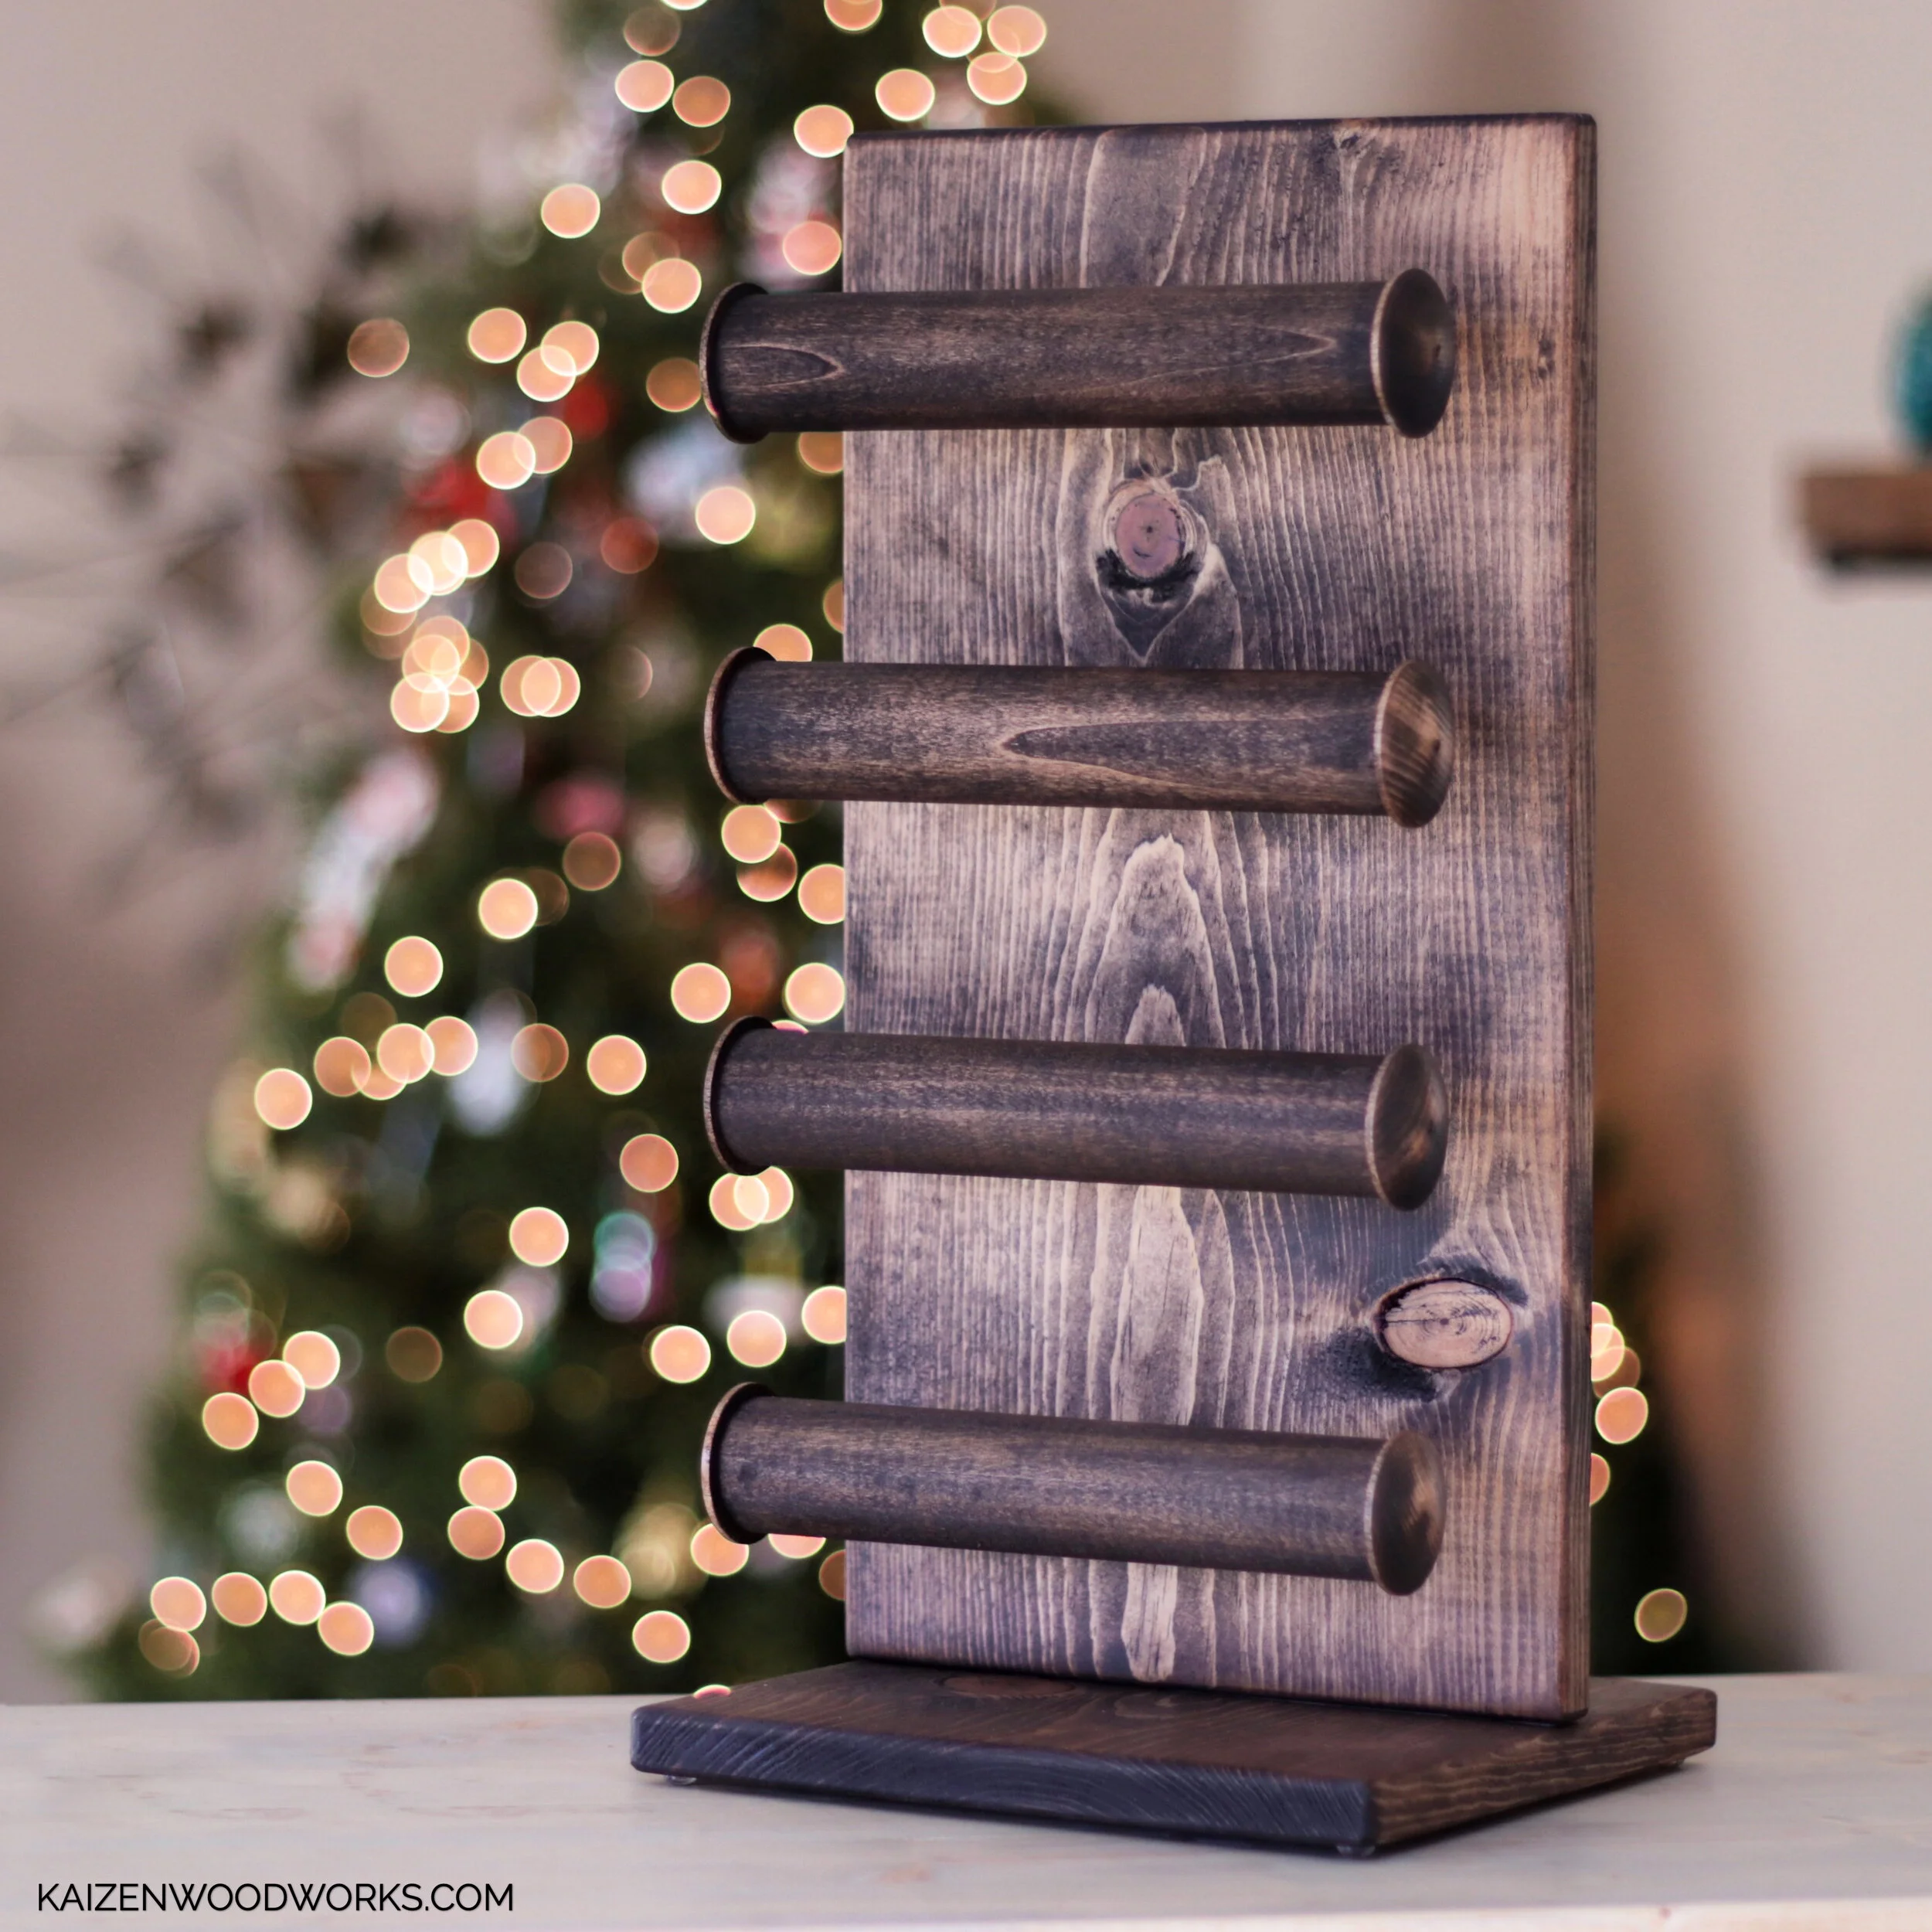
This is one of my favorite jewelry display designs because of how much it can hold and how beautiful it looks while doing it.
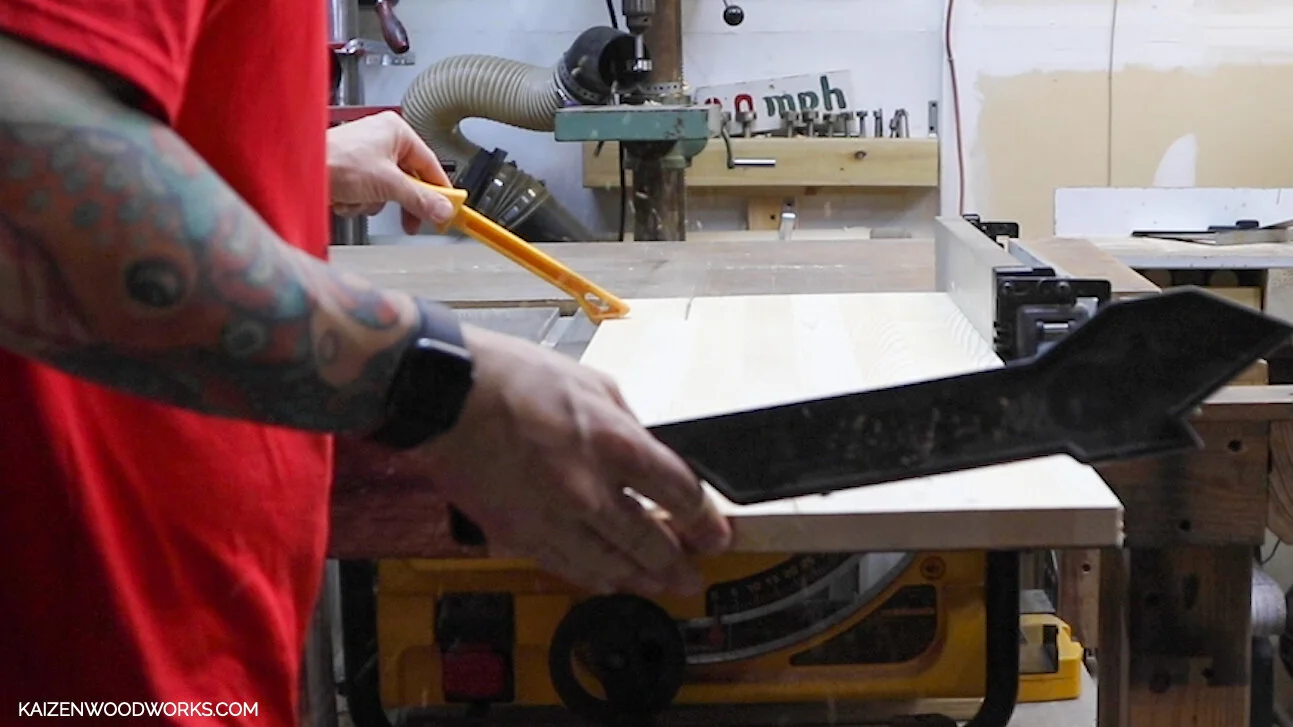
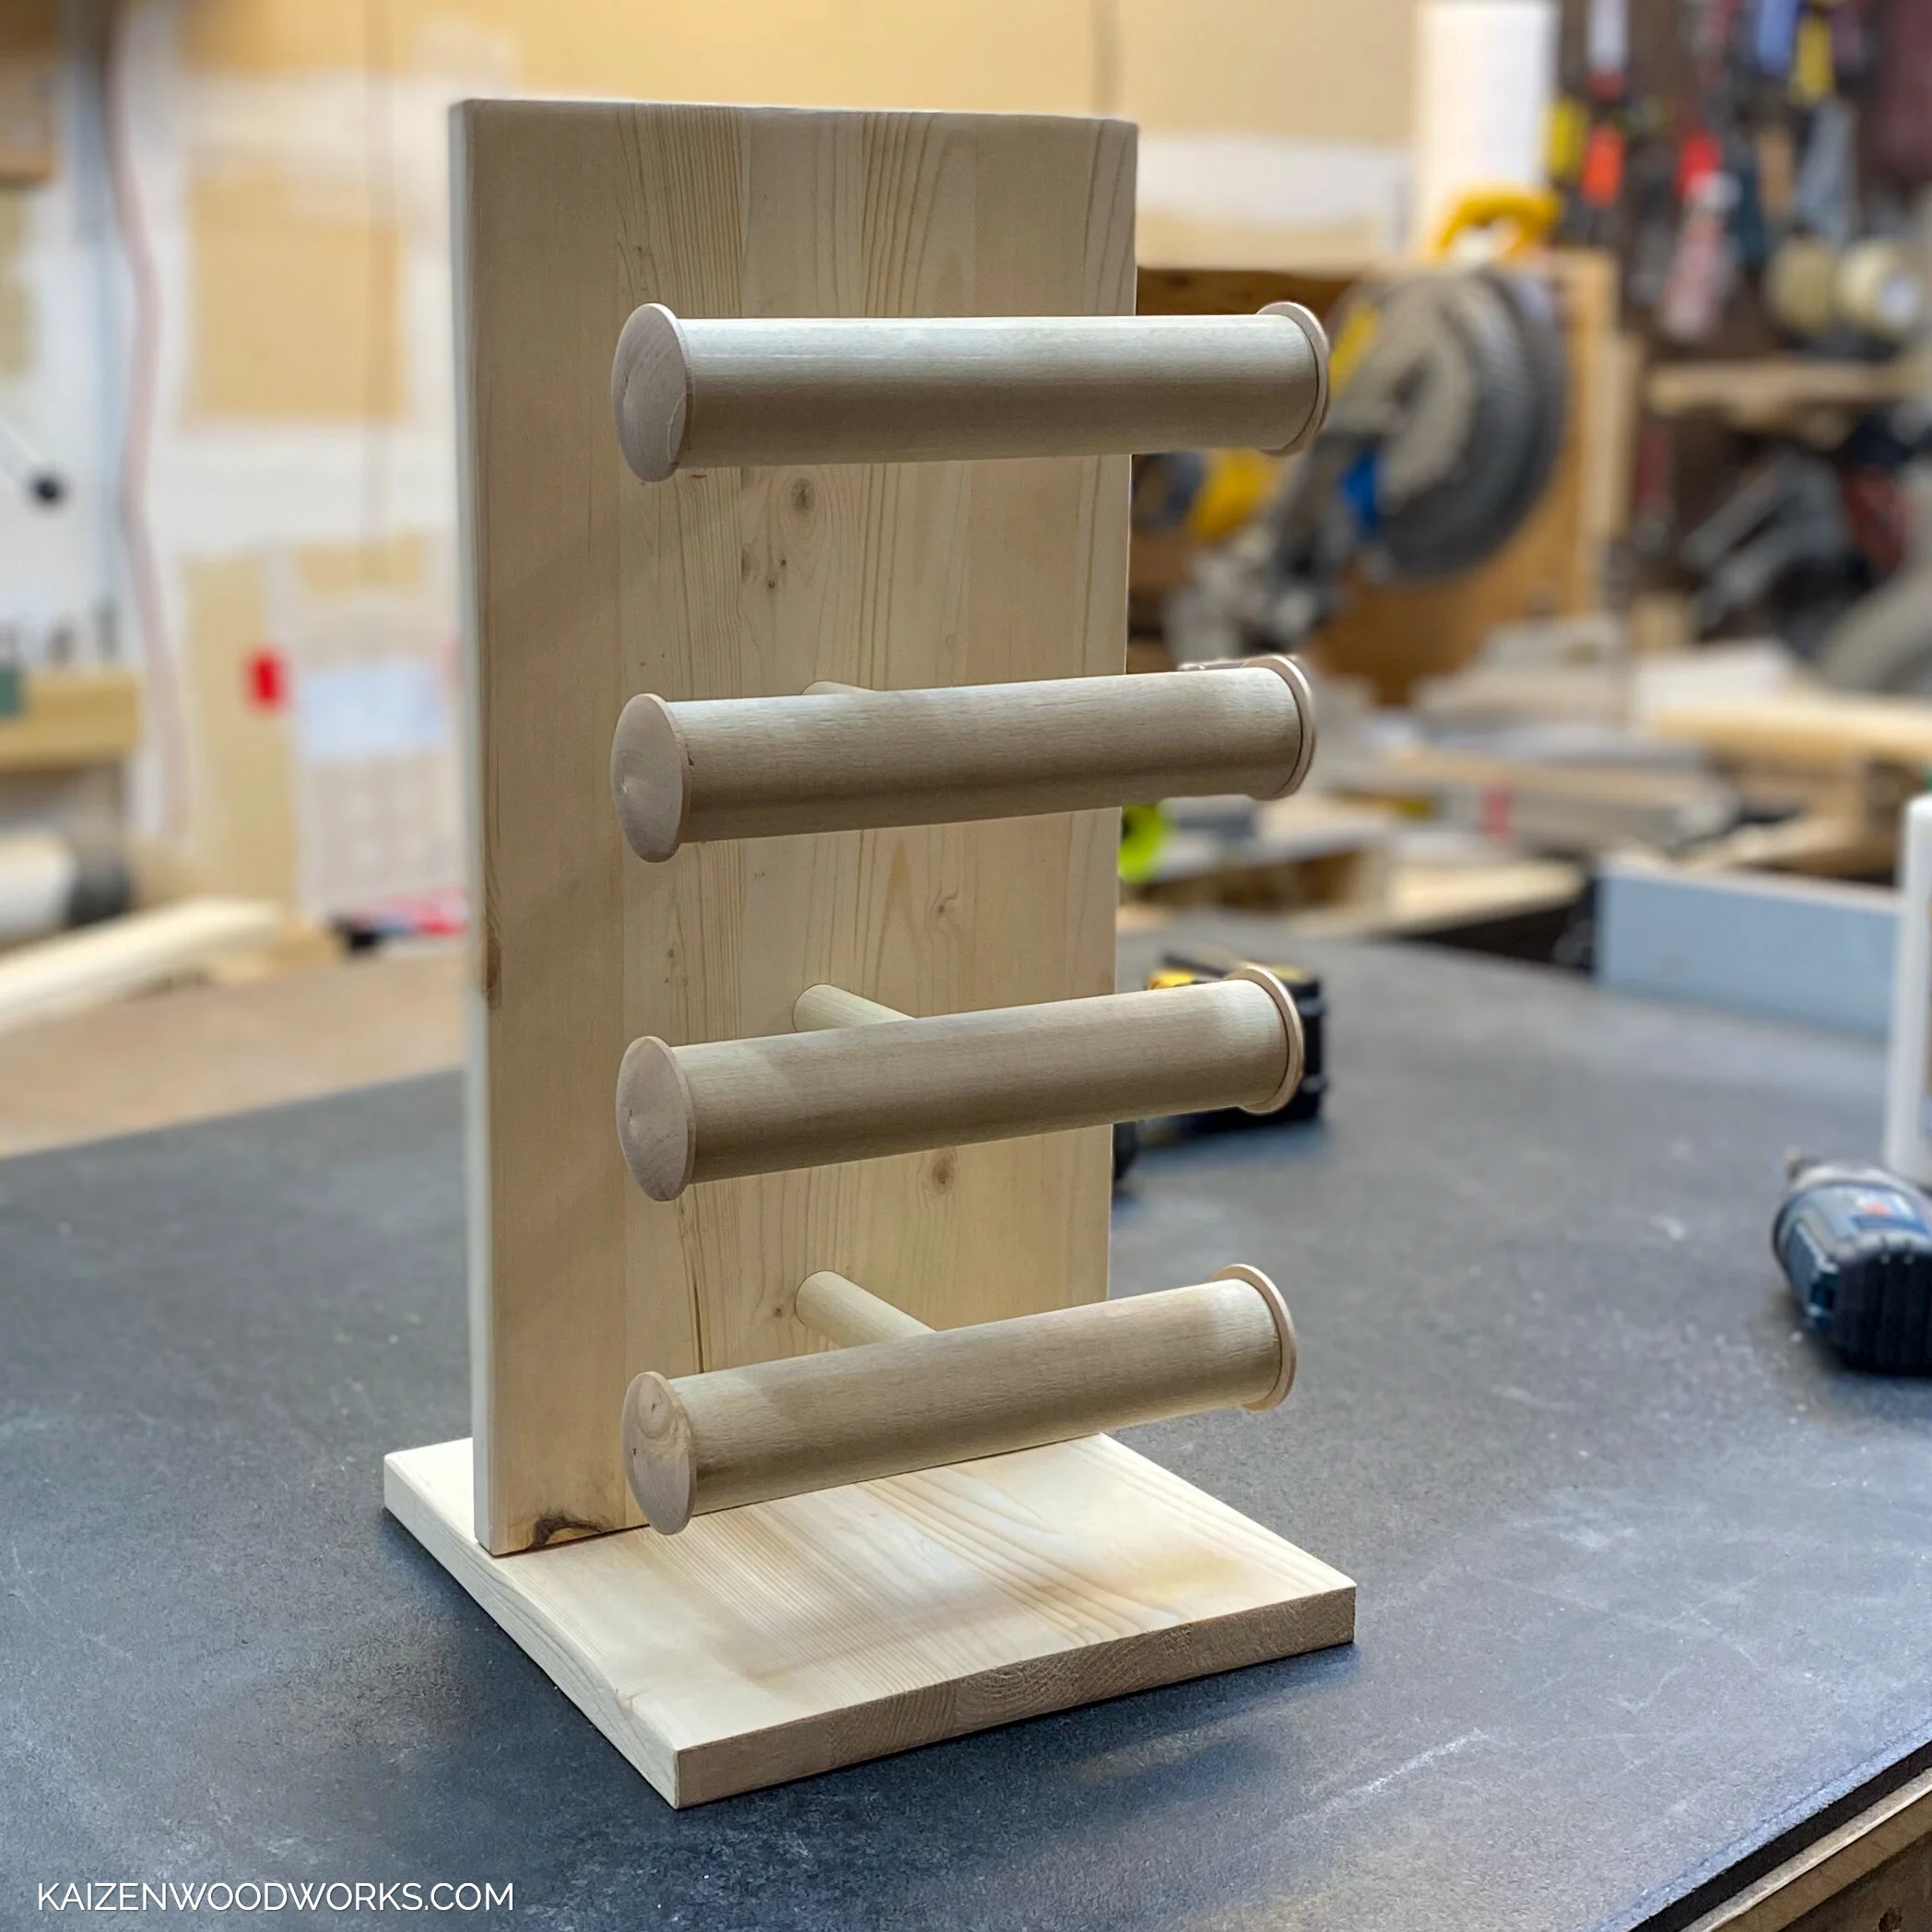
I start off with 1” x 12” x 36'“ piece of edge glued pine and cut the whole piece down to 9” wide with the table saw.
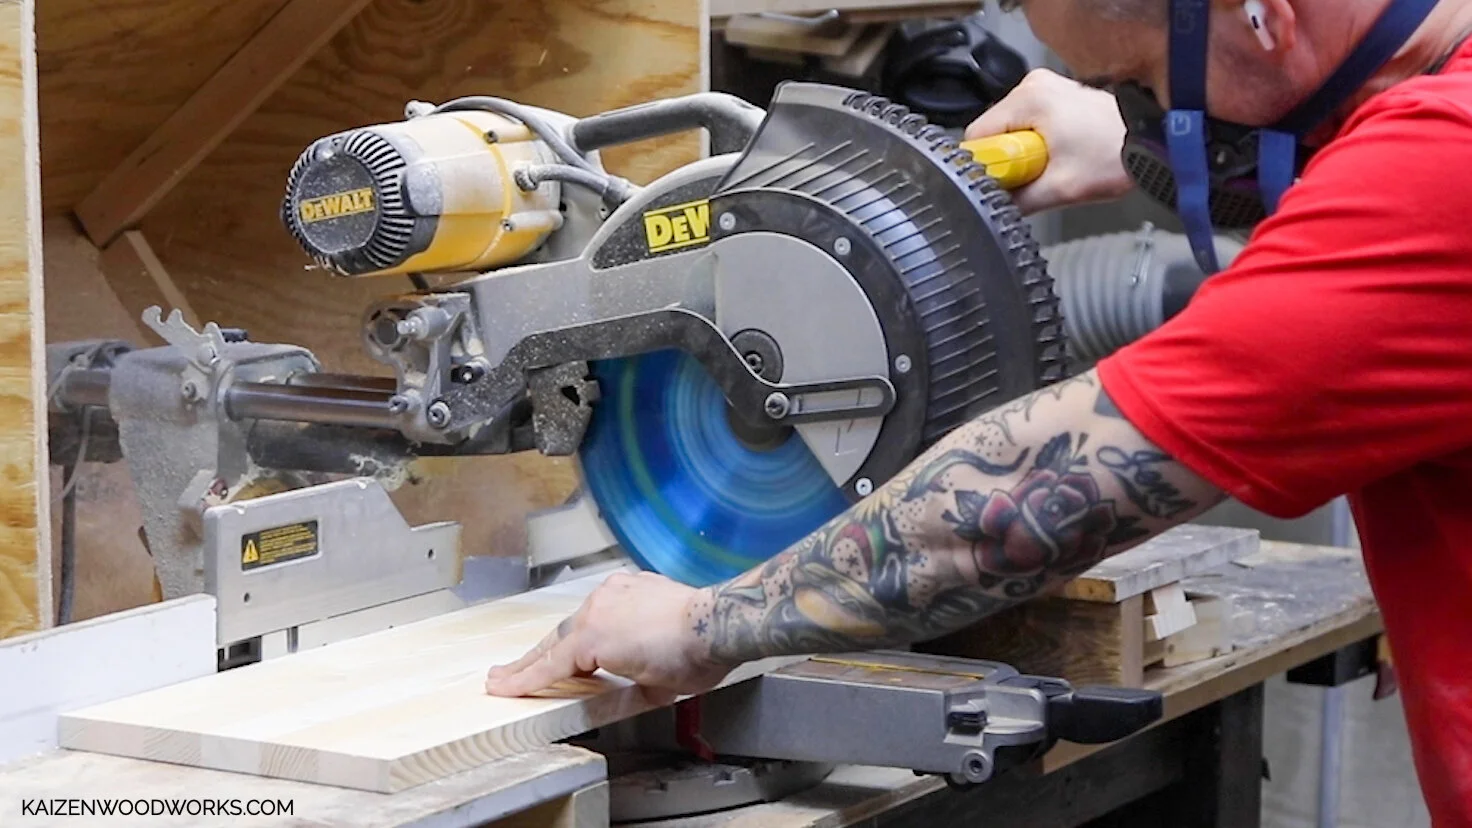
From that cut a 17” piece and a 9” piece.
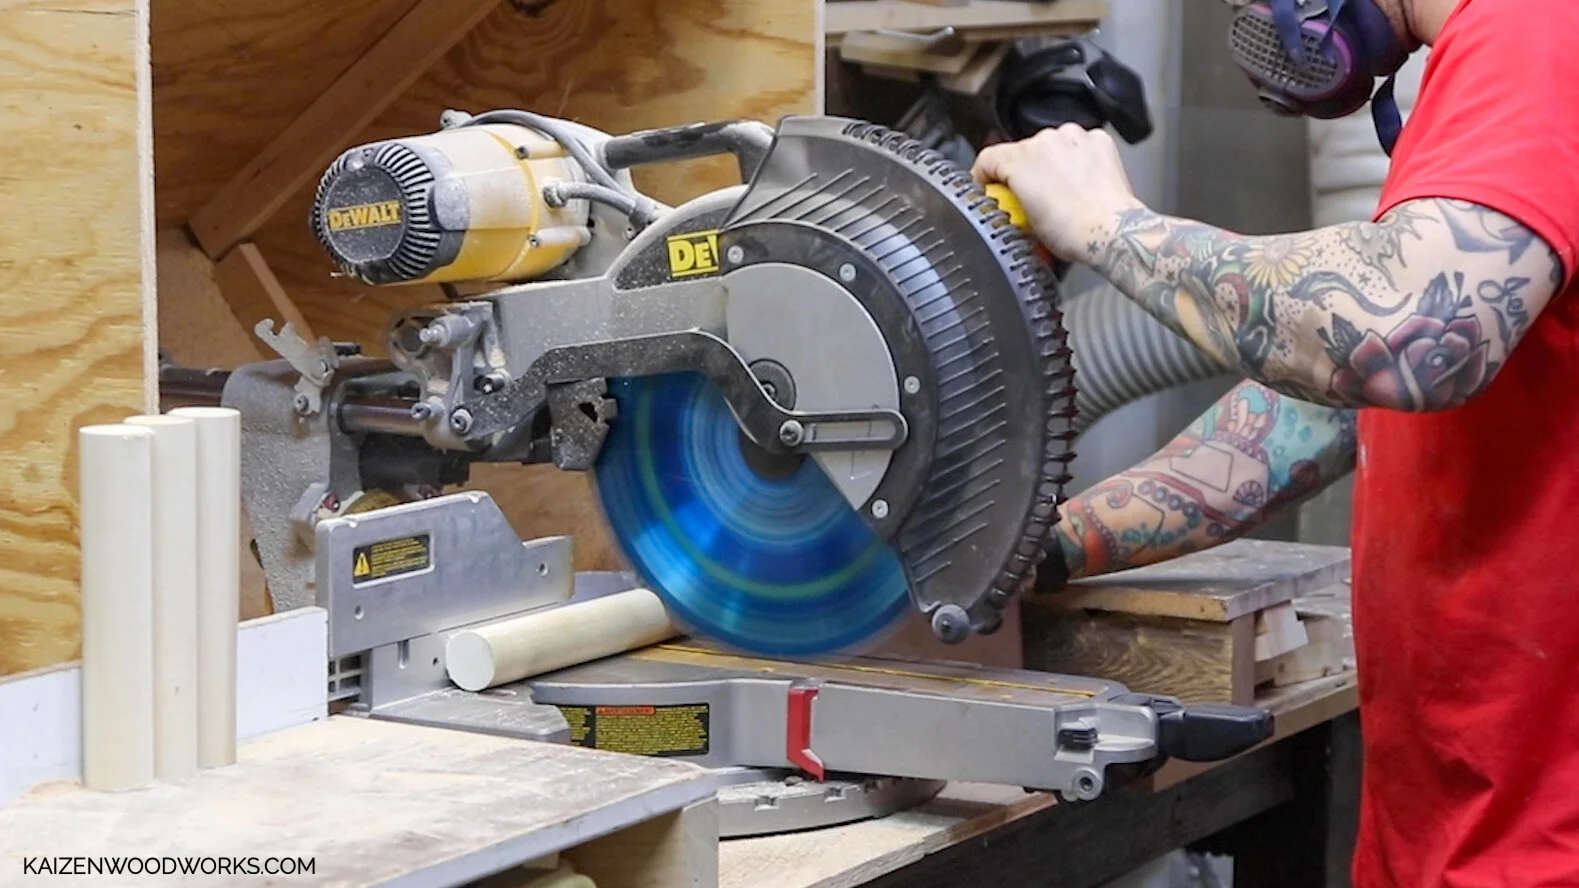
Cut the 1.5” poplar dowel into four 8” pieces, and the 3/4” dowel into four 4 inch pieces.
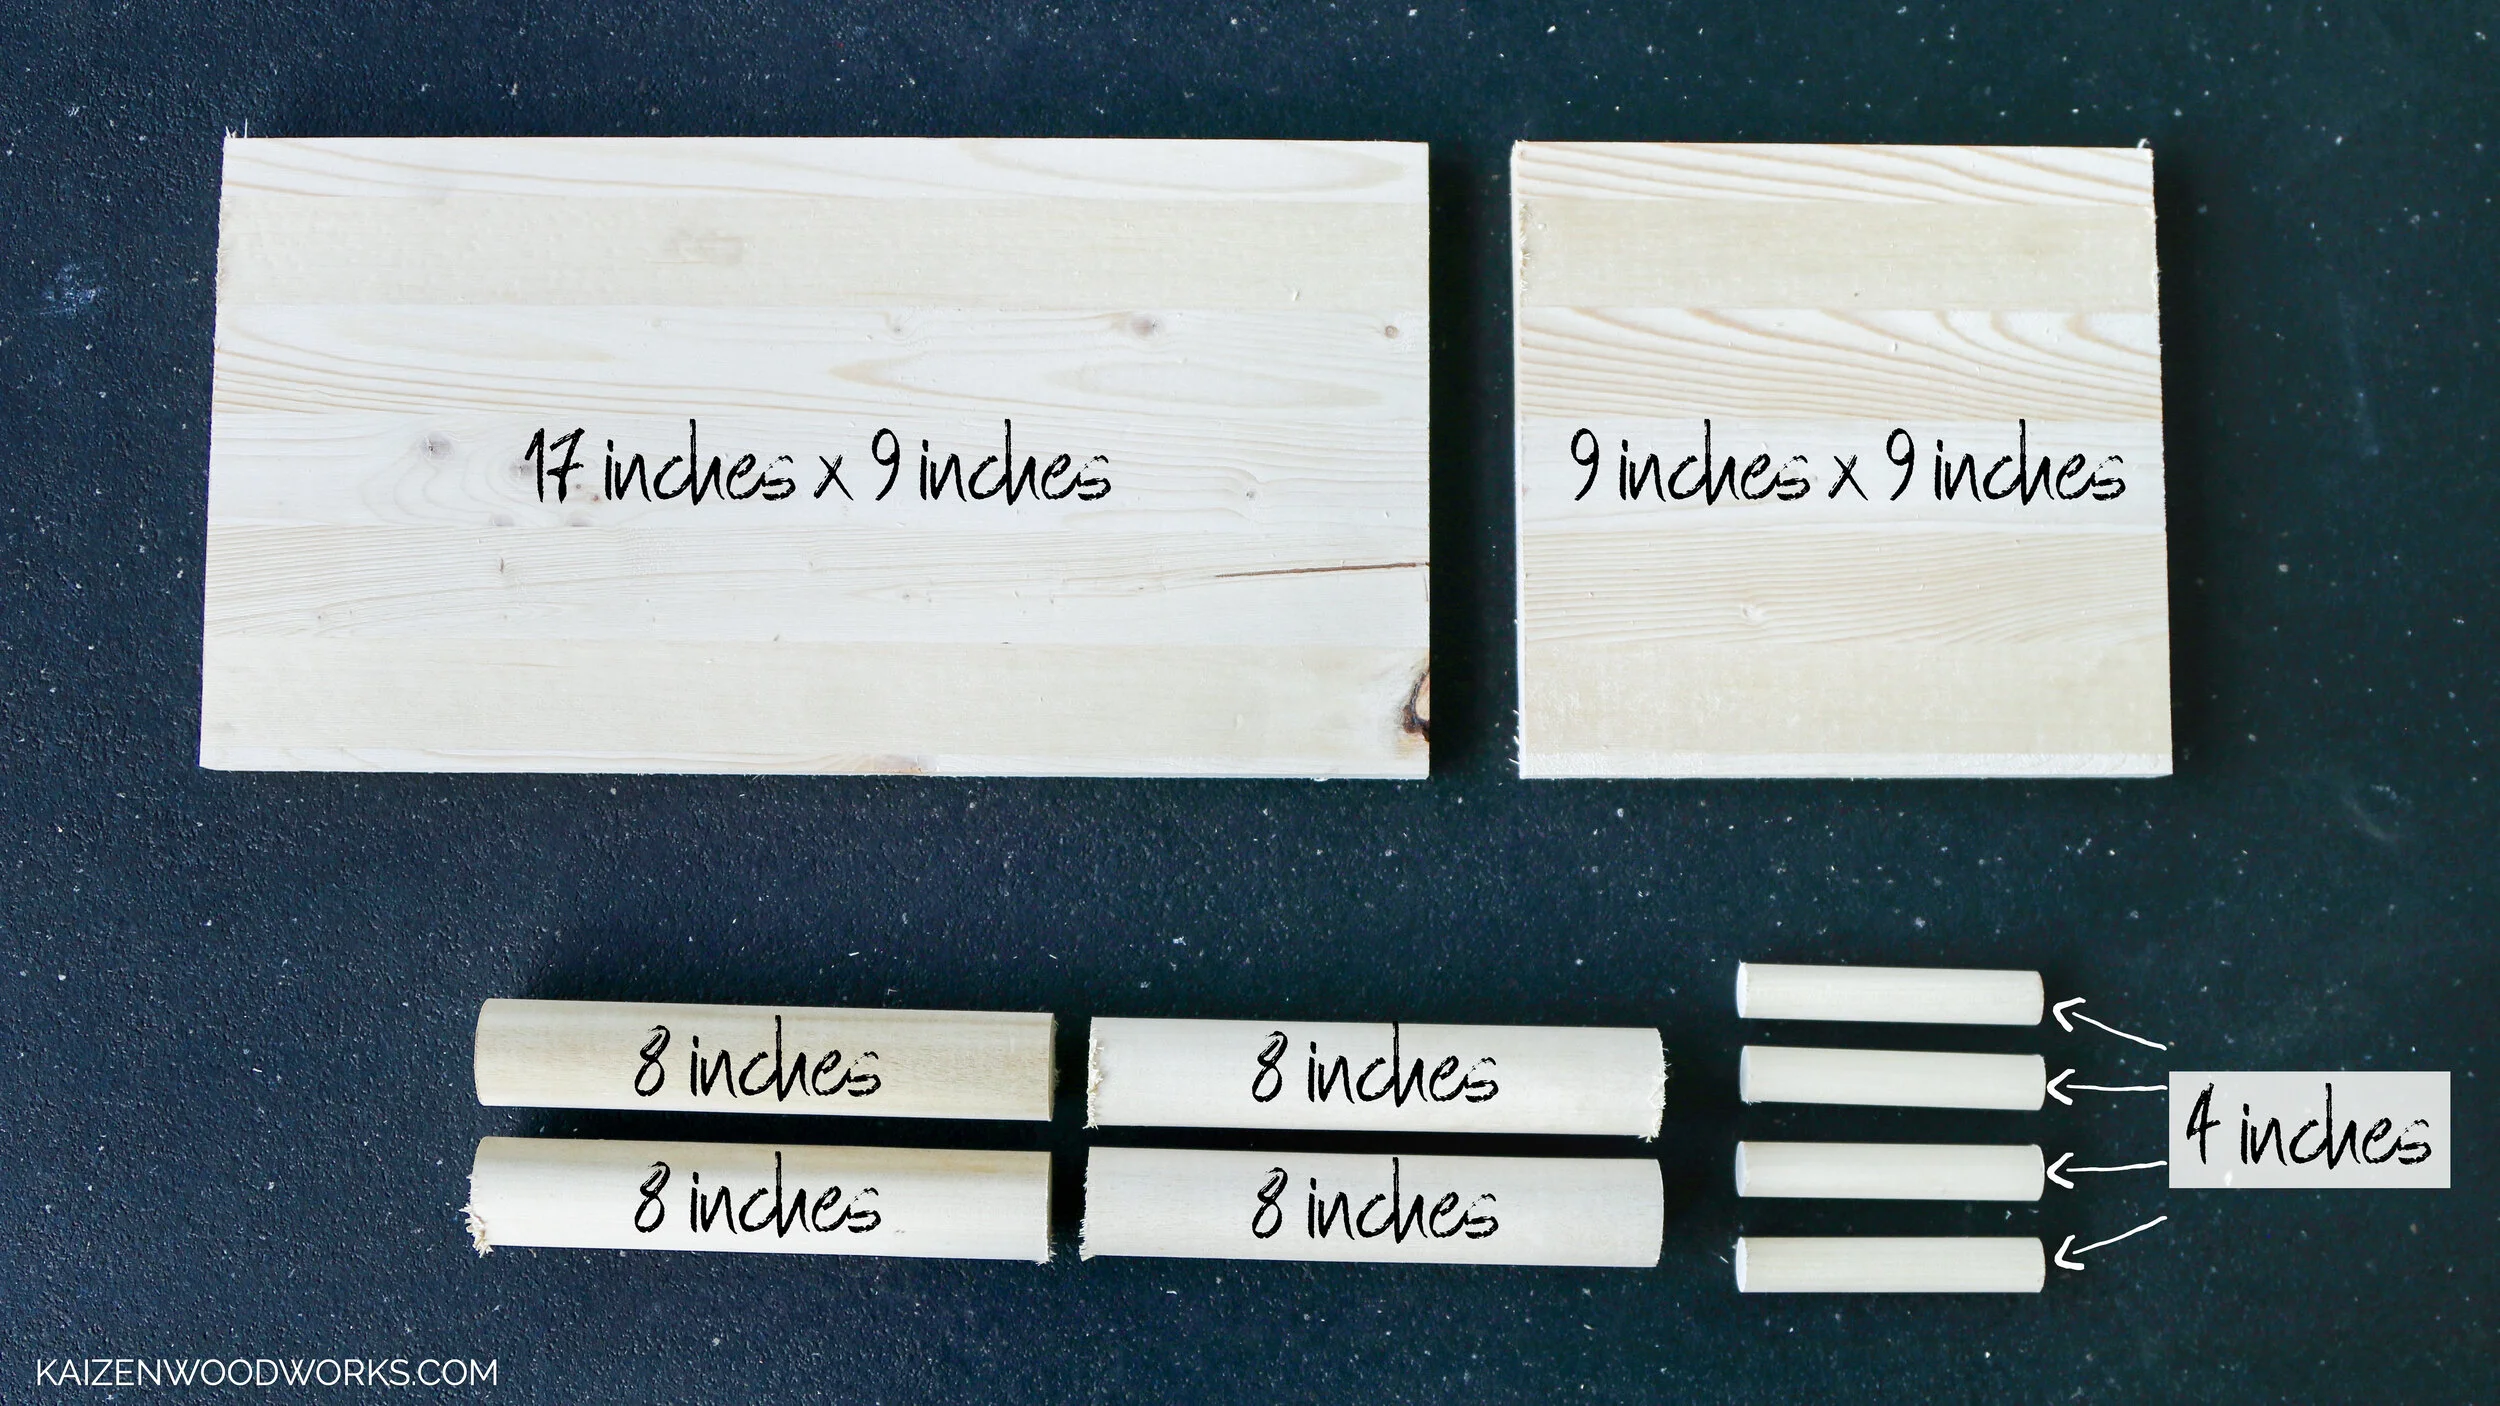
Your cut pieces should look like this.
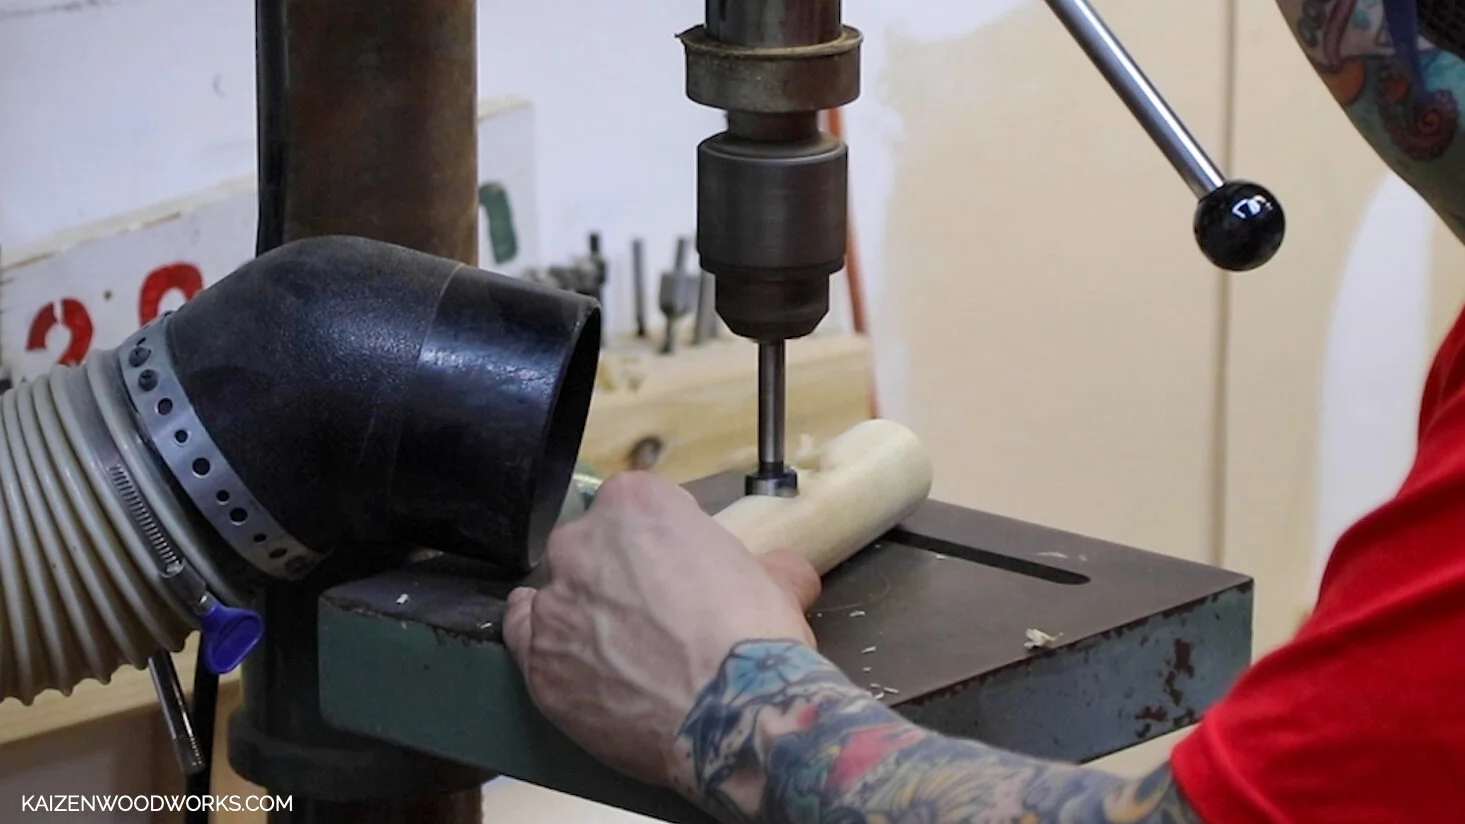
I use a 3/4” forstner bit to drill holes into the center of the 1.5” dowel pieces.
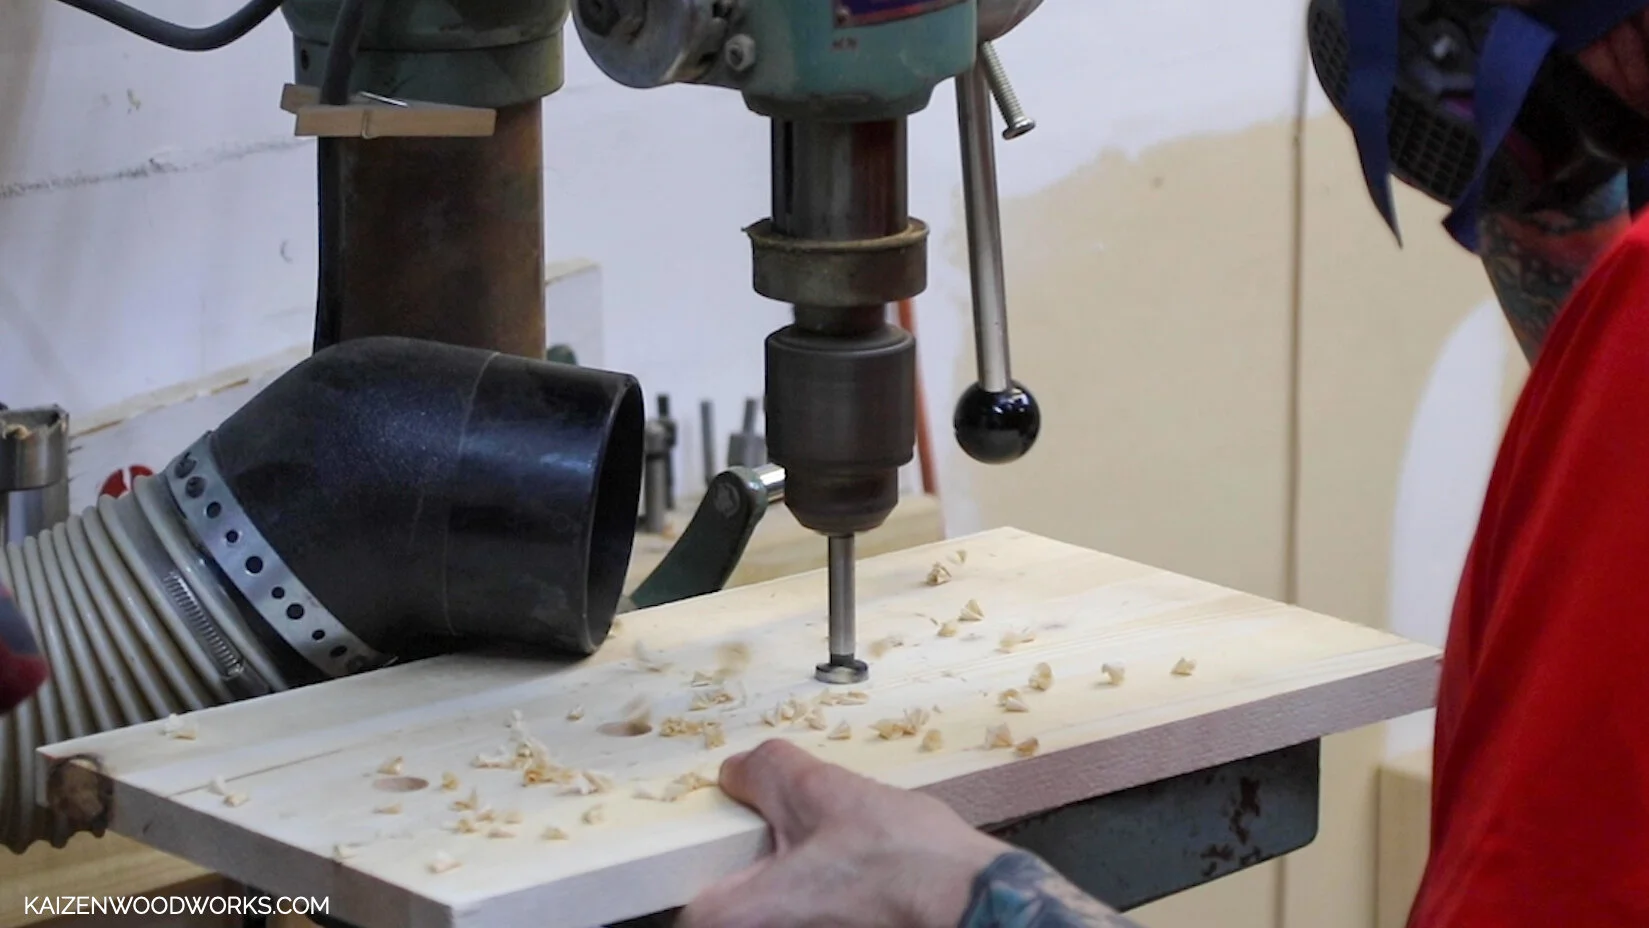
Use the same 3/4” forstner bit to drill four holes into the center of the 17” x 9” piece of pine. All the holes are along the center and equally spaced 4” apart.
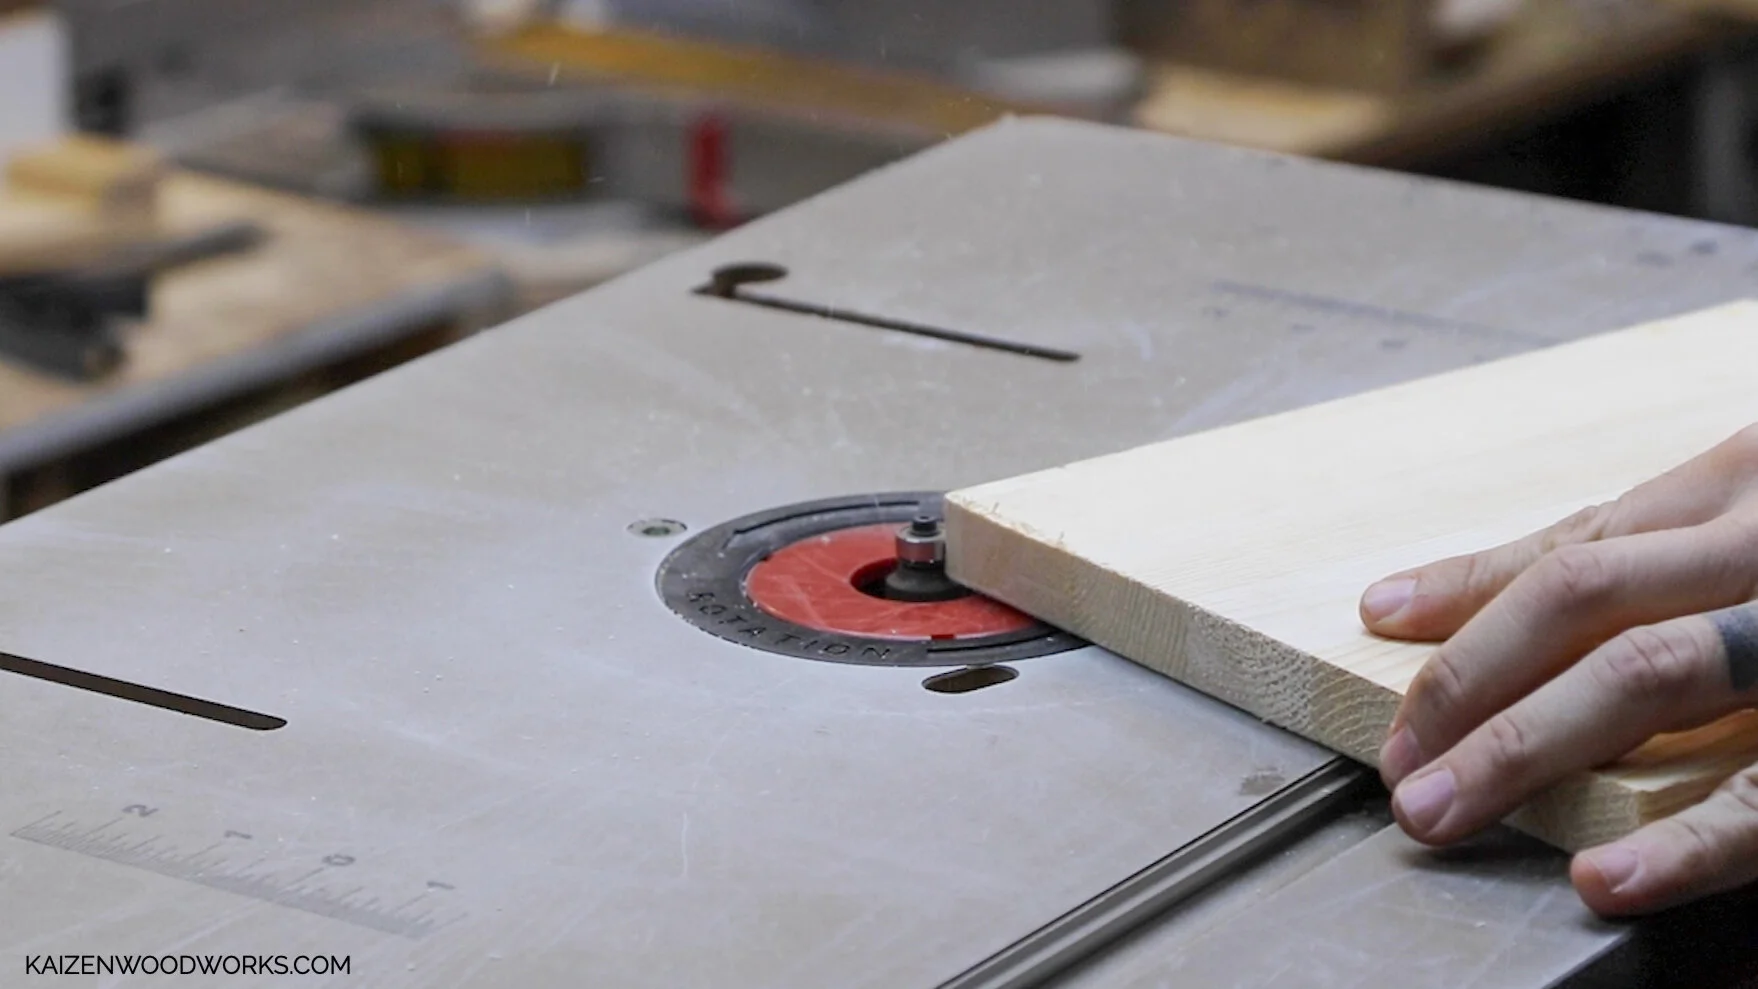
I use my router table and 1/8” round over bit to round the edges of both pine pieces.
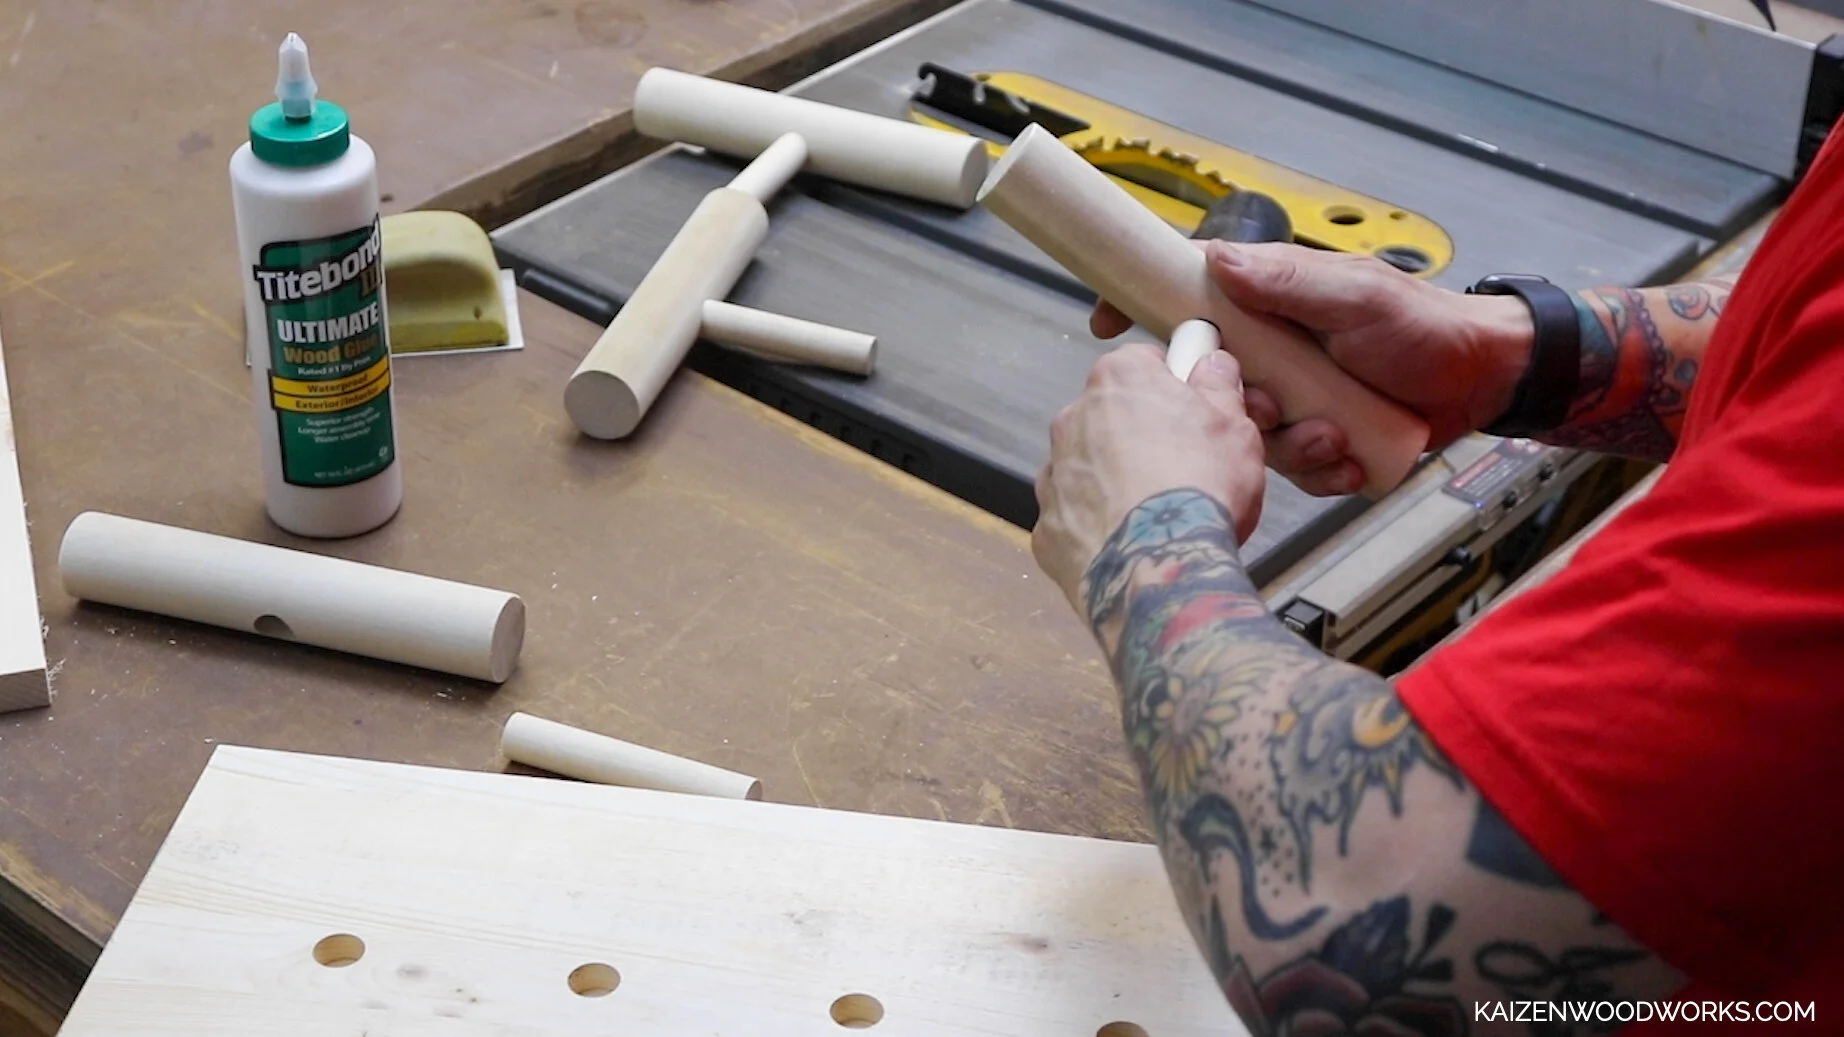
Add a little bit of wood glue before inserting the 3/4” dowel pieces into the holes in the 1.5” dowel pieces.

I add wood glue before attaching the 1.75” dome pieces onto the ends of the 1.5” dowel pieces.
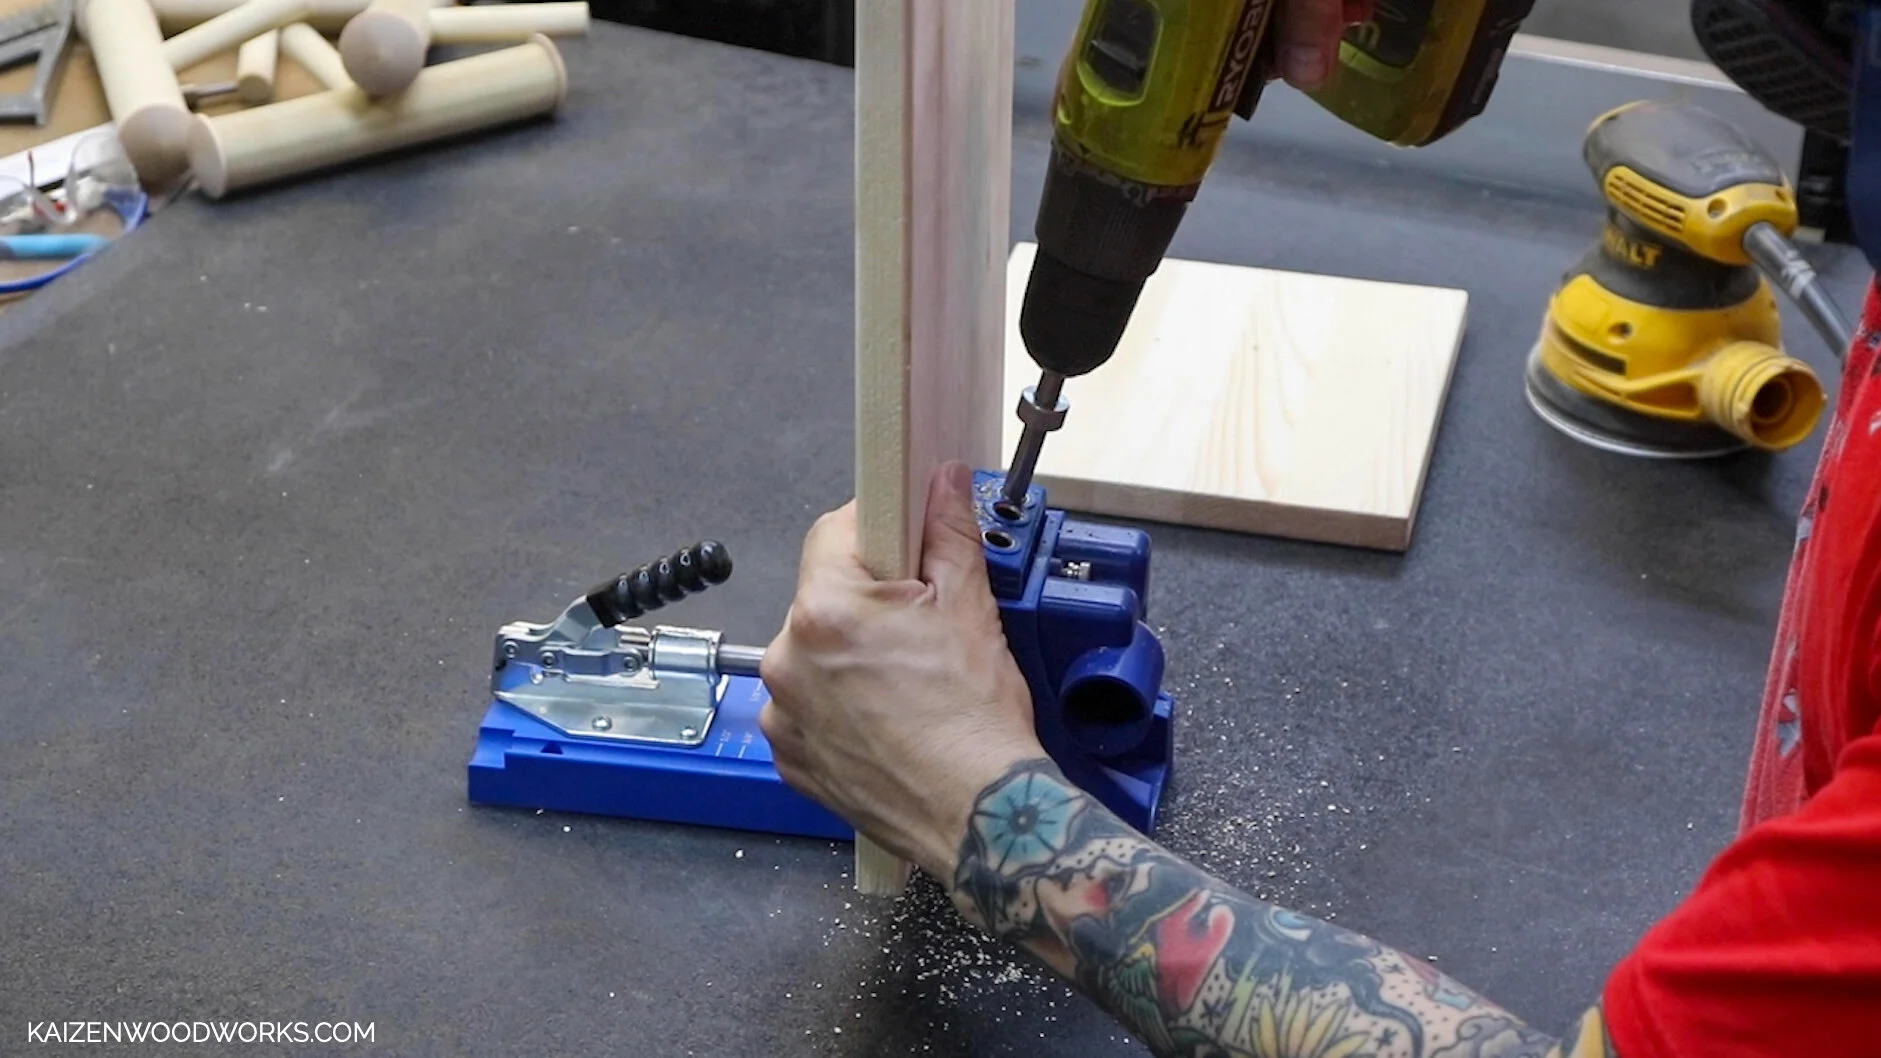
I use a Kreg pocket jig to add some pocket holes to the backside of this piece.

When I am ready to start assembling, I use corner clamps to hold the pieces in the right place.

I pre-drill four holes on the bottom to help attach the top piece.

I also add two pocket screws in from the top back side.
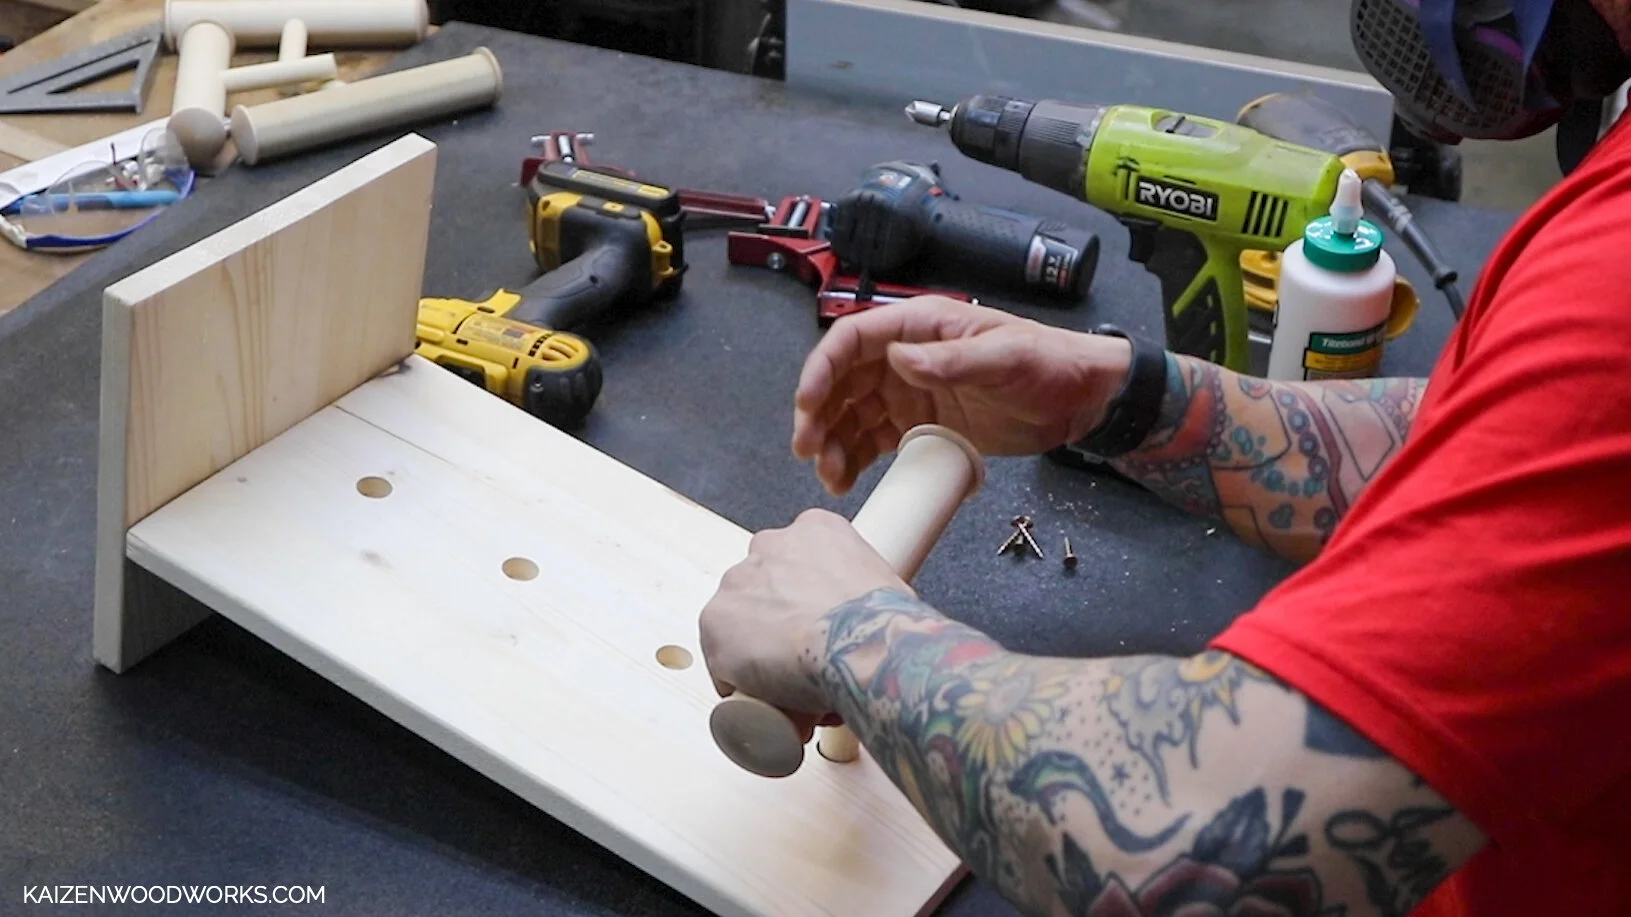
Add wood glue before inserting the pieces into the top piece.

I secure each one with a screw from the back.
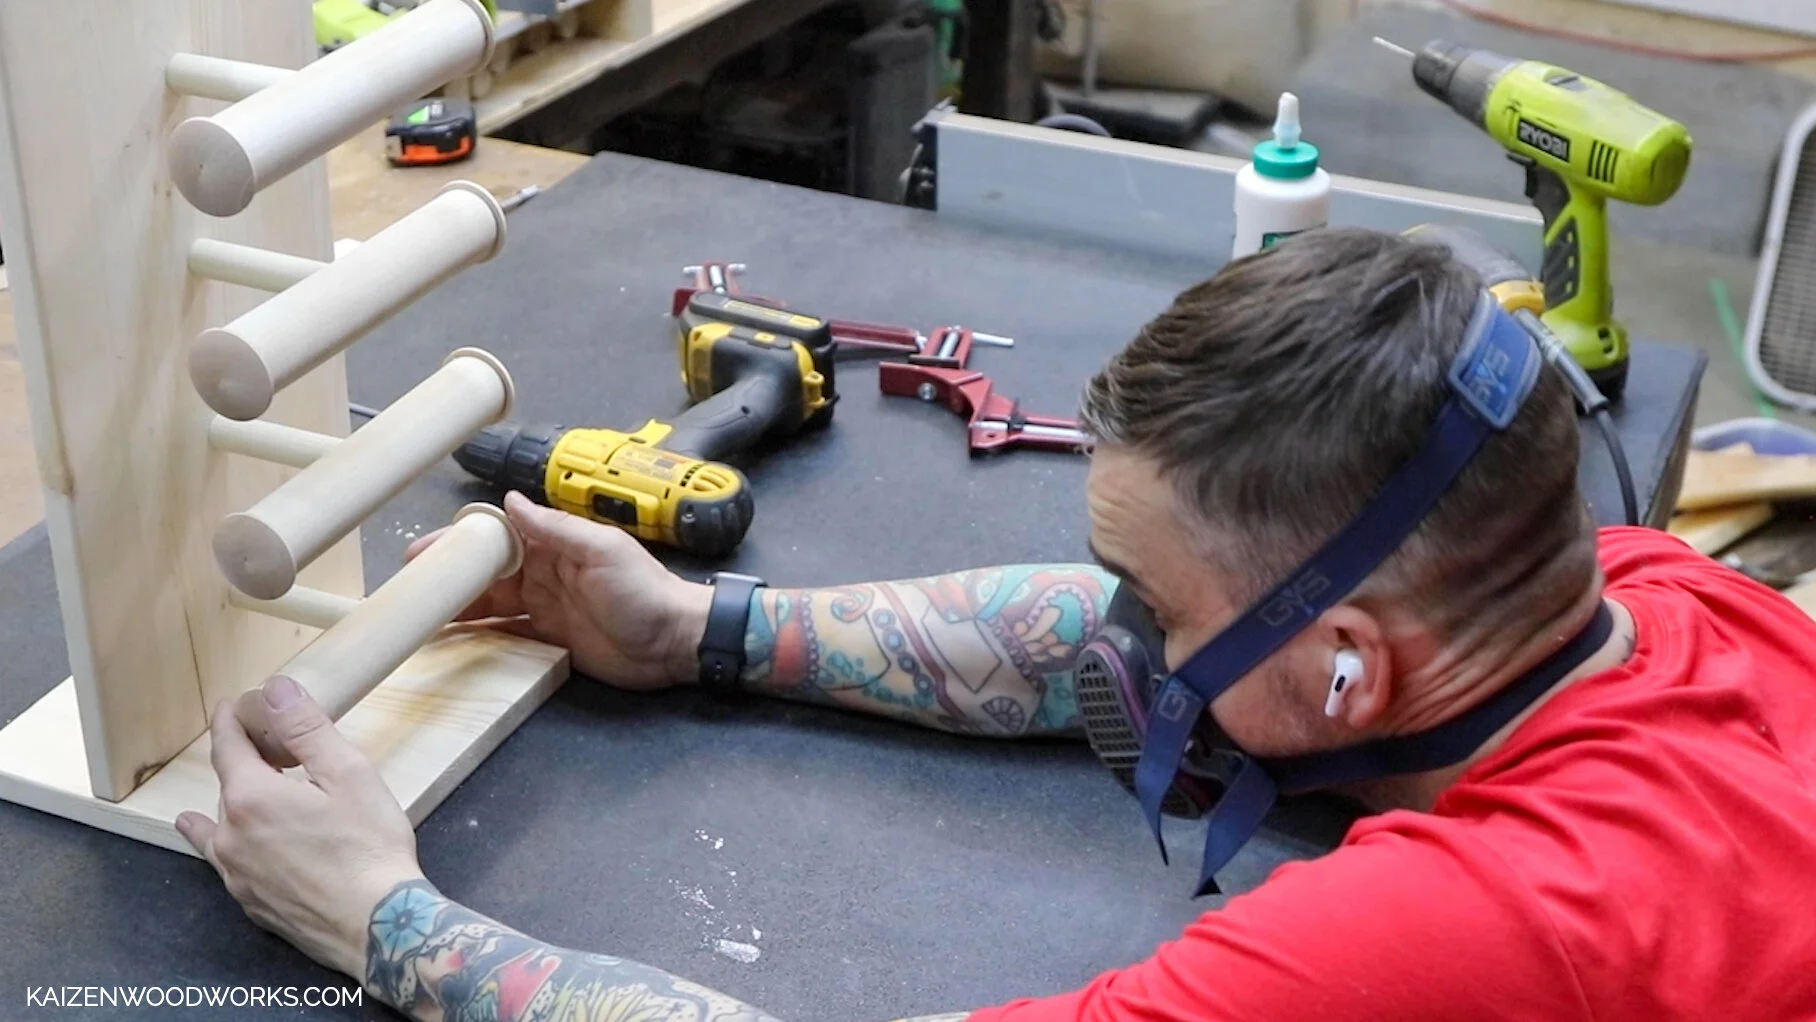
Once they’re all in, you can make sure they are level. Make sure to do this before the glue dries.
All done and ready for stain or paint.
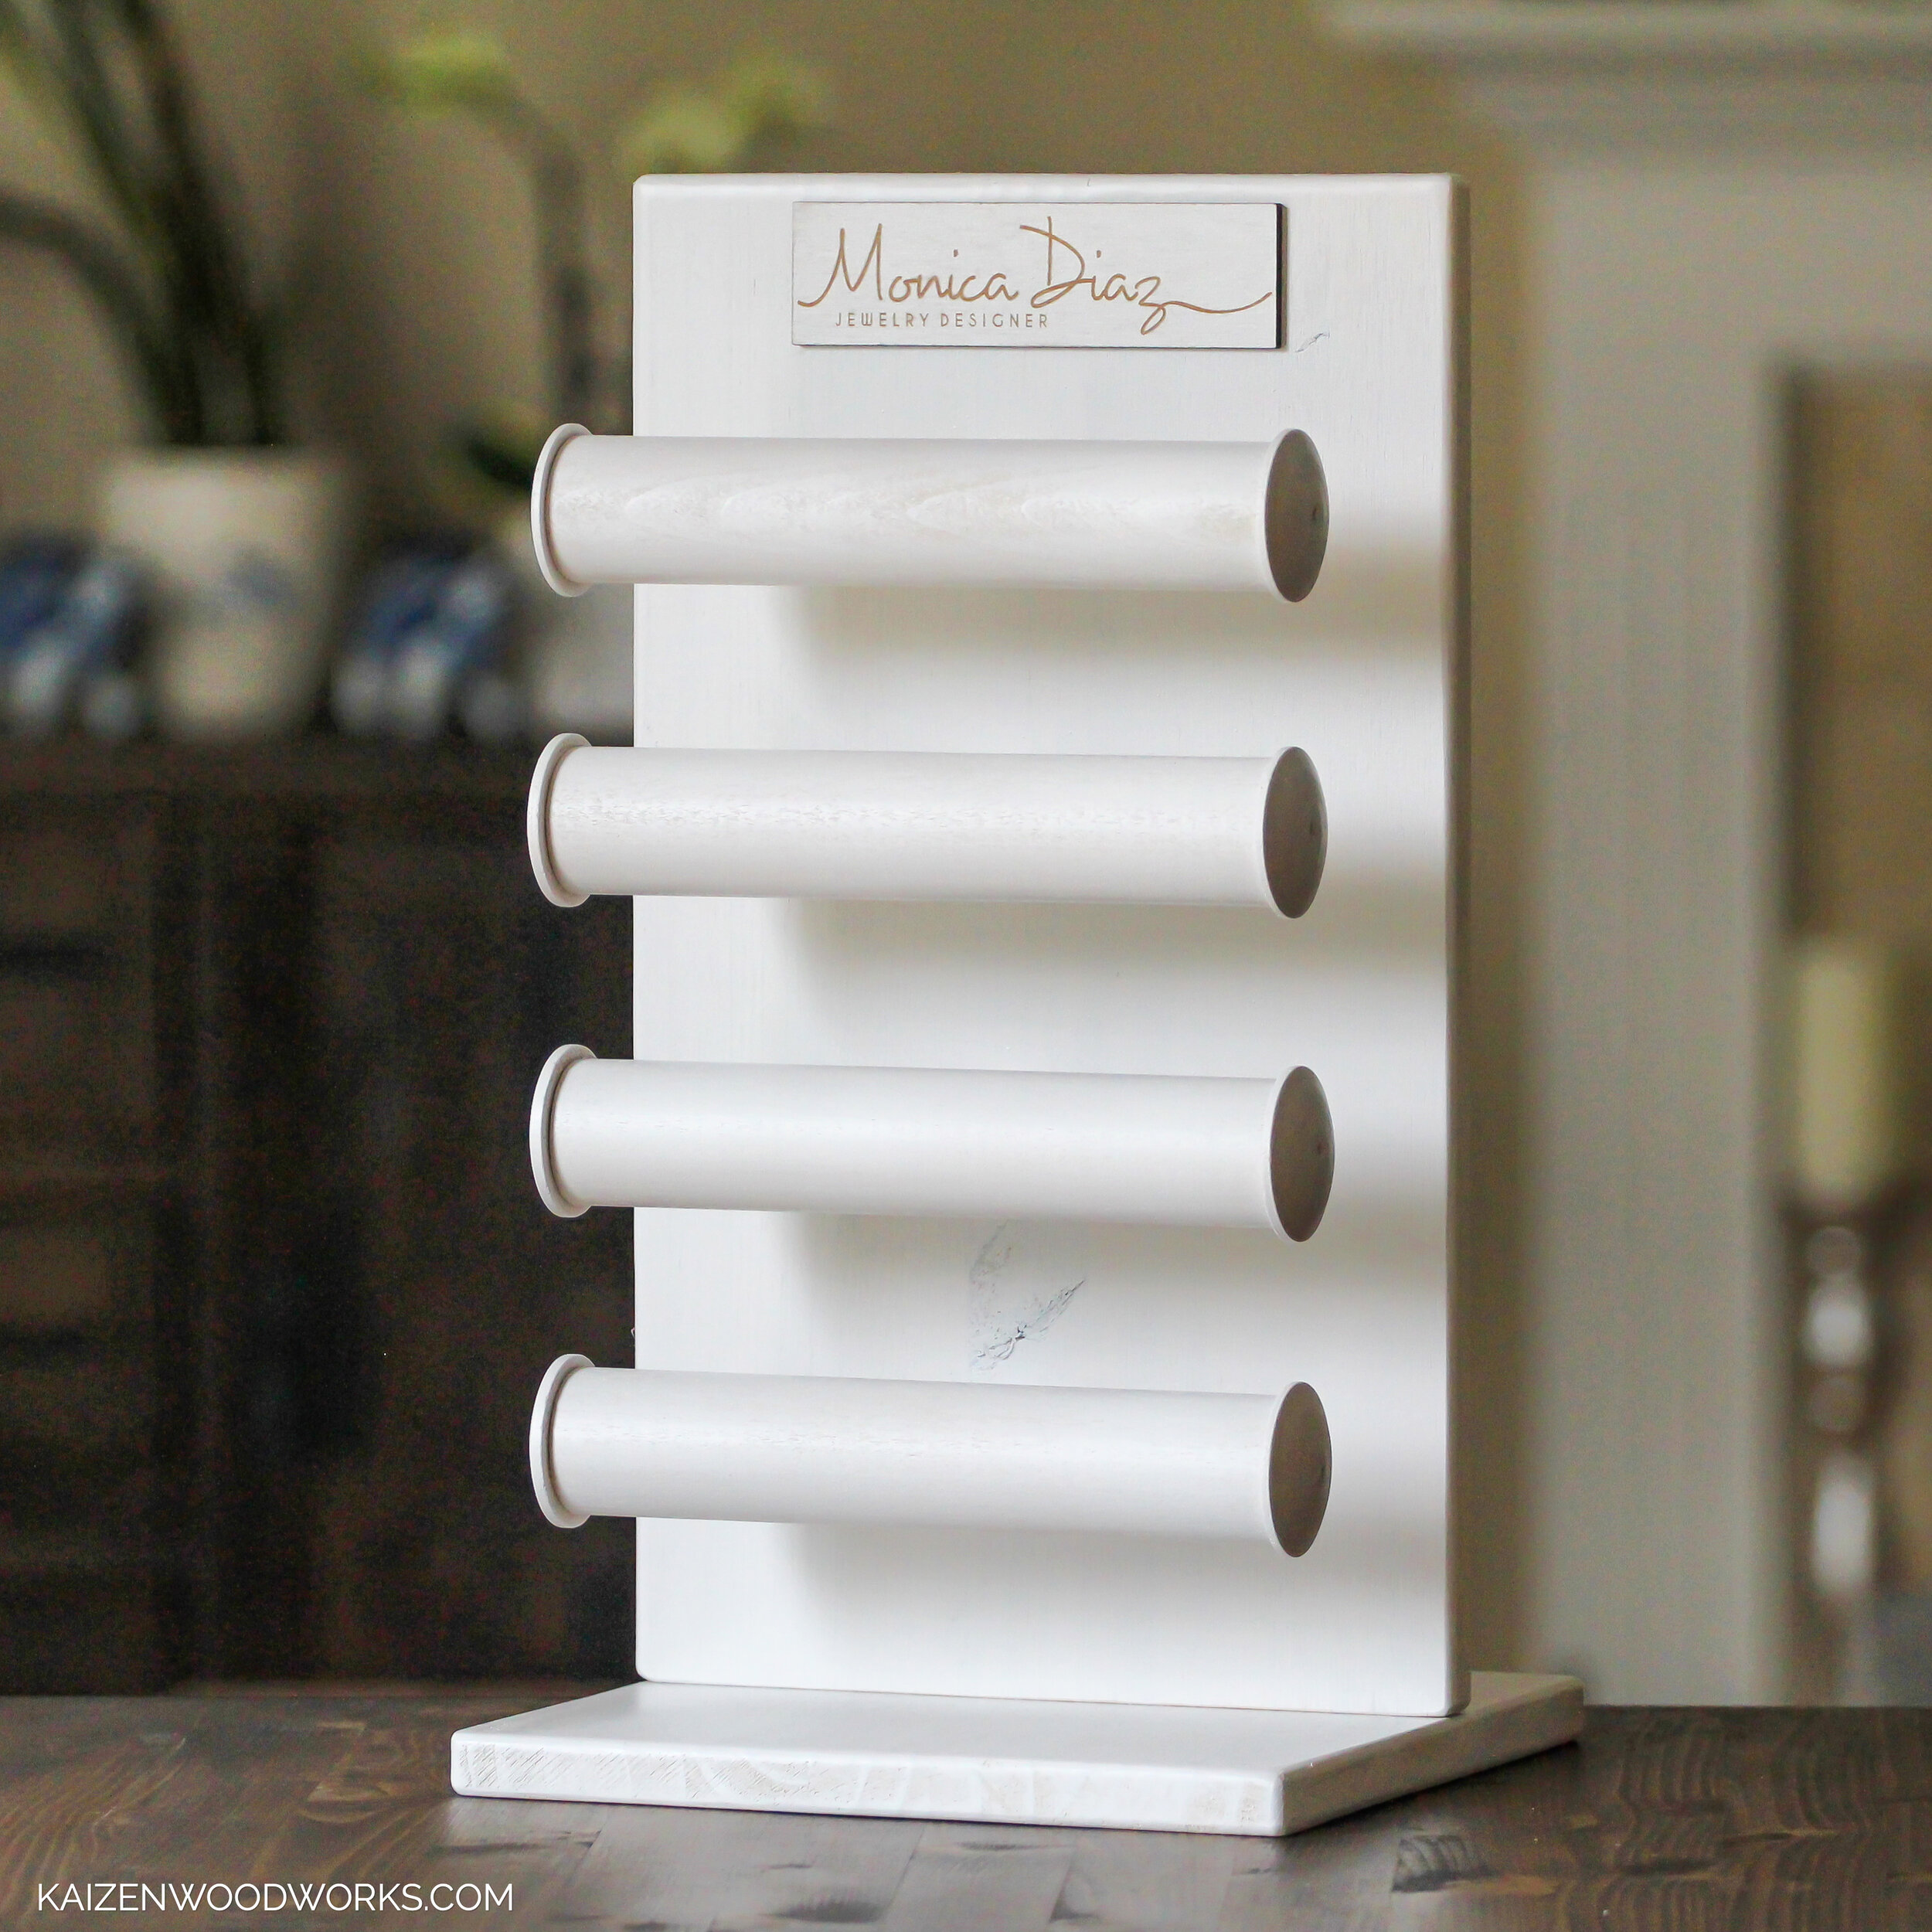
I the customer would like customization, I use my Glowforge to create a label for the top.
