
DIY Chest Support Pad
I’ve seen awesome reviews of the Bulldog Pad by Sorinex but the price tag is crazy. Construction seemed simple enough, so I built one.
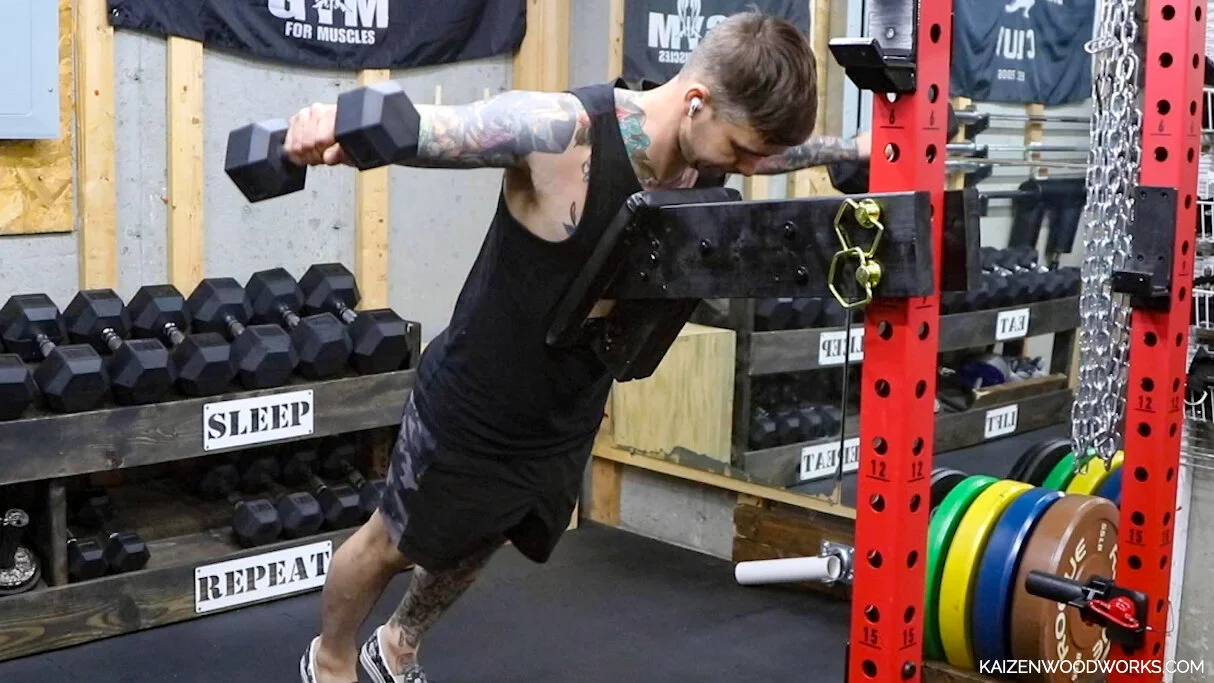
This relatively small piece of equipment can had add tons of variety to your home gym workouts.
Tools:
Dewalt sliding mitre saw - Amazon link (https://amzn.to/3pdqFe3), Home Depot link (https://homedepot.sjv.io/3P7GRB)
Dewalt cordless drill - Amazon link (https://amzn.to/3g2VM7L), Home Depot link (https://homedepot.sjv.io/doRm3K)
Bosch cordless drill set - Amazon link (https://amzn.to/2TGLLpz)
Drill press - Amazon link (https://amzn.to/3wh8beK), Home Depot link (homedepot.sjv.io/doRm3K) - alternatively, the holes can also be drilled using a cordless drill
1 inch forstner bit - Amazon link (https://amzn.to/3uJm44s), Home Depot link (homedepot.sjv.io/LPDQoZ)
Staple gun - Amazon link (https://amzn.to/3yYqSWP), Home Depot Link (https://homedepot.sjv.io/e4R6Jj)
Wood clamps - Amazon link (https://amzn.to/3xfySB8), Home Depot link (homedepot.sjv.io/jW1vD5)
12 inch long 3/8 drill bit - Amazon link (https://amzn.to/3pNU4vA), Home Depot link (https://homedepot.sjv.io/qng7kL)
Countersink drill bit - Amazon link (https://amzn.to/35Qwq8k), Home Depot link (https://homedepot.sjv.io/9WeXx3)
Materials:
1 - 8ft 2x6 - Home Depot link (https://homedepot.sjv.io/Eaq3VK)
1 - 4ft 2x4 - Home Depot link (homedepot.sjv.io/OR1j5n)
1 - 1x10 scrap (at least 12 inches long), 3/4'“ plywood would also work
1/4 x 1 in lag screws - Amazon link (https://amzn.to/3pgJJry), Home Depot link (homedepot.sjv.io/qng7NL)
1 inch thick upholstery foam - Amazon link (https://amzn.to/3wRIDFp), Home Depot link (https://homedepot.sjv.io/a1K06M)
1 yard of black vinyl fabric (https://amzn.to/3if7waa)
Spray adhesive - Amazon link (https://amzn.to/3fLYOym), Home Depot link (homedepot.sjv.io/0JYe1J)
Black spray paint (https://amzn.to/34EKOzZ), Home Depot link (https://homedepot.sjv.io/2rKAJQ)
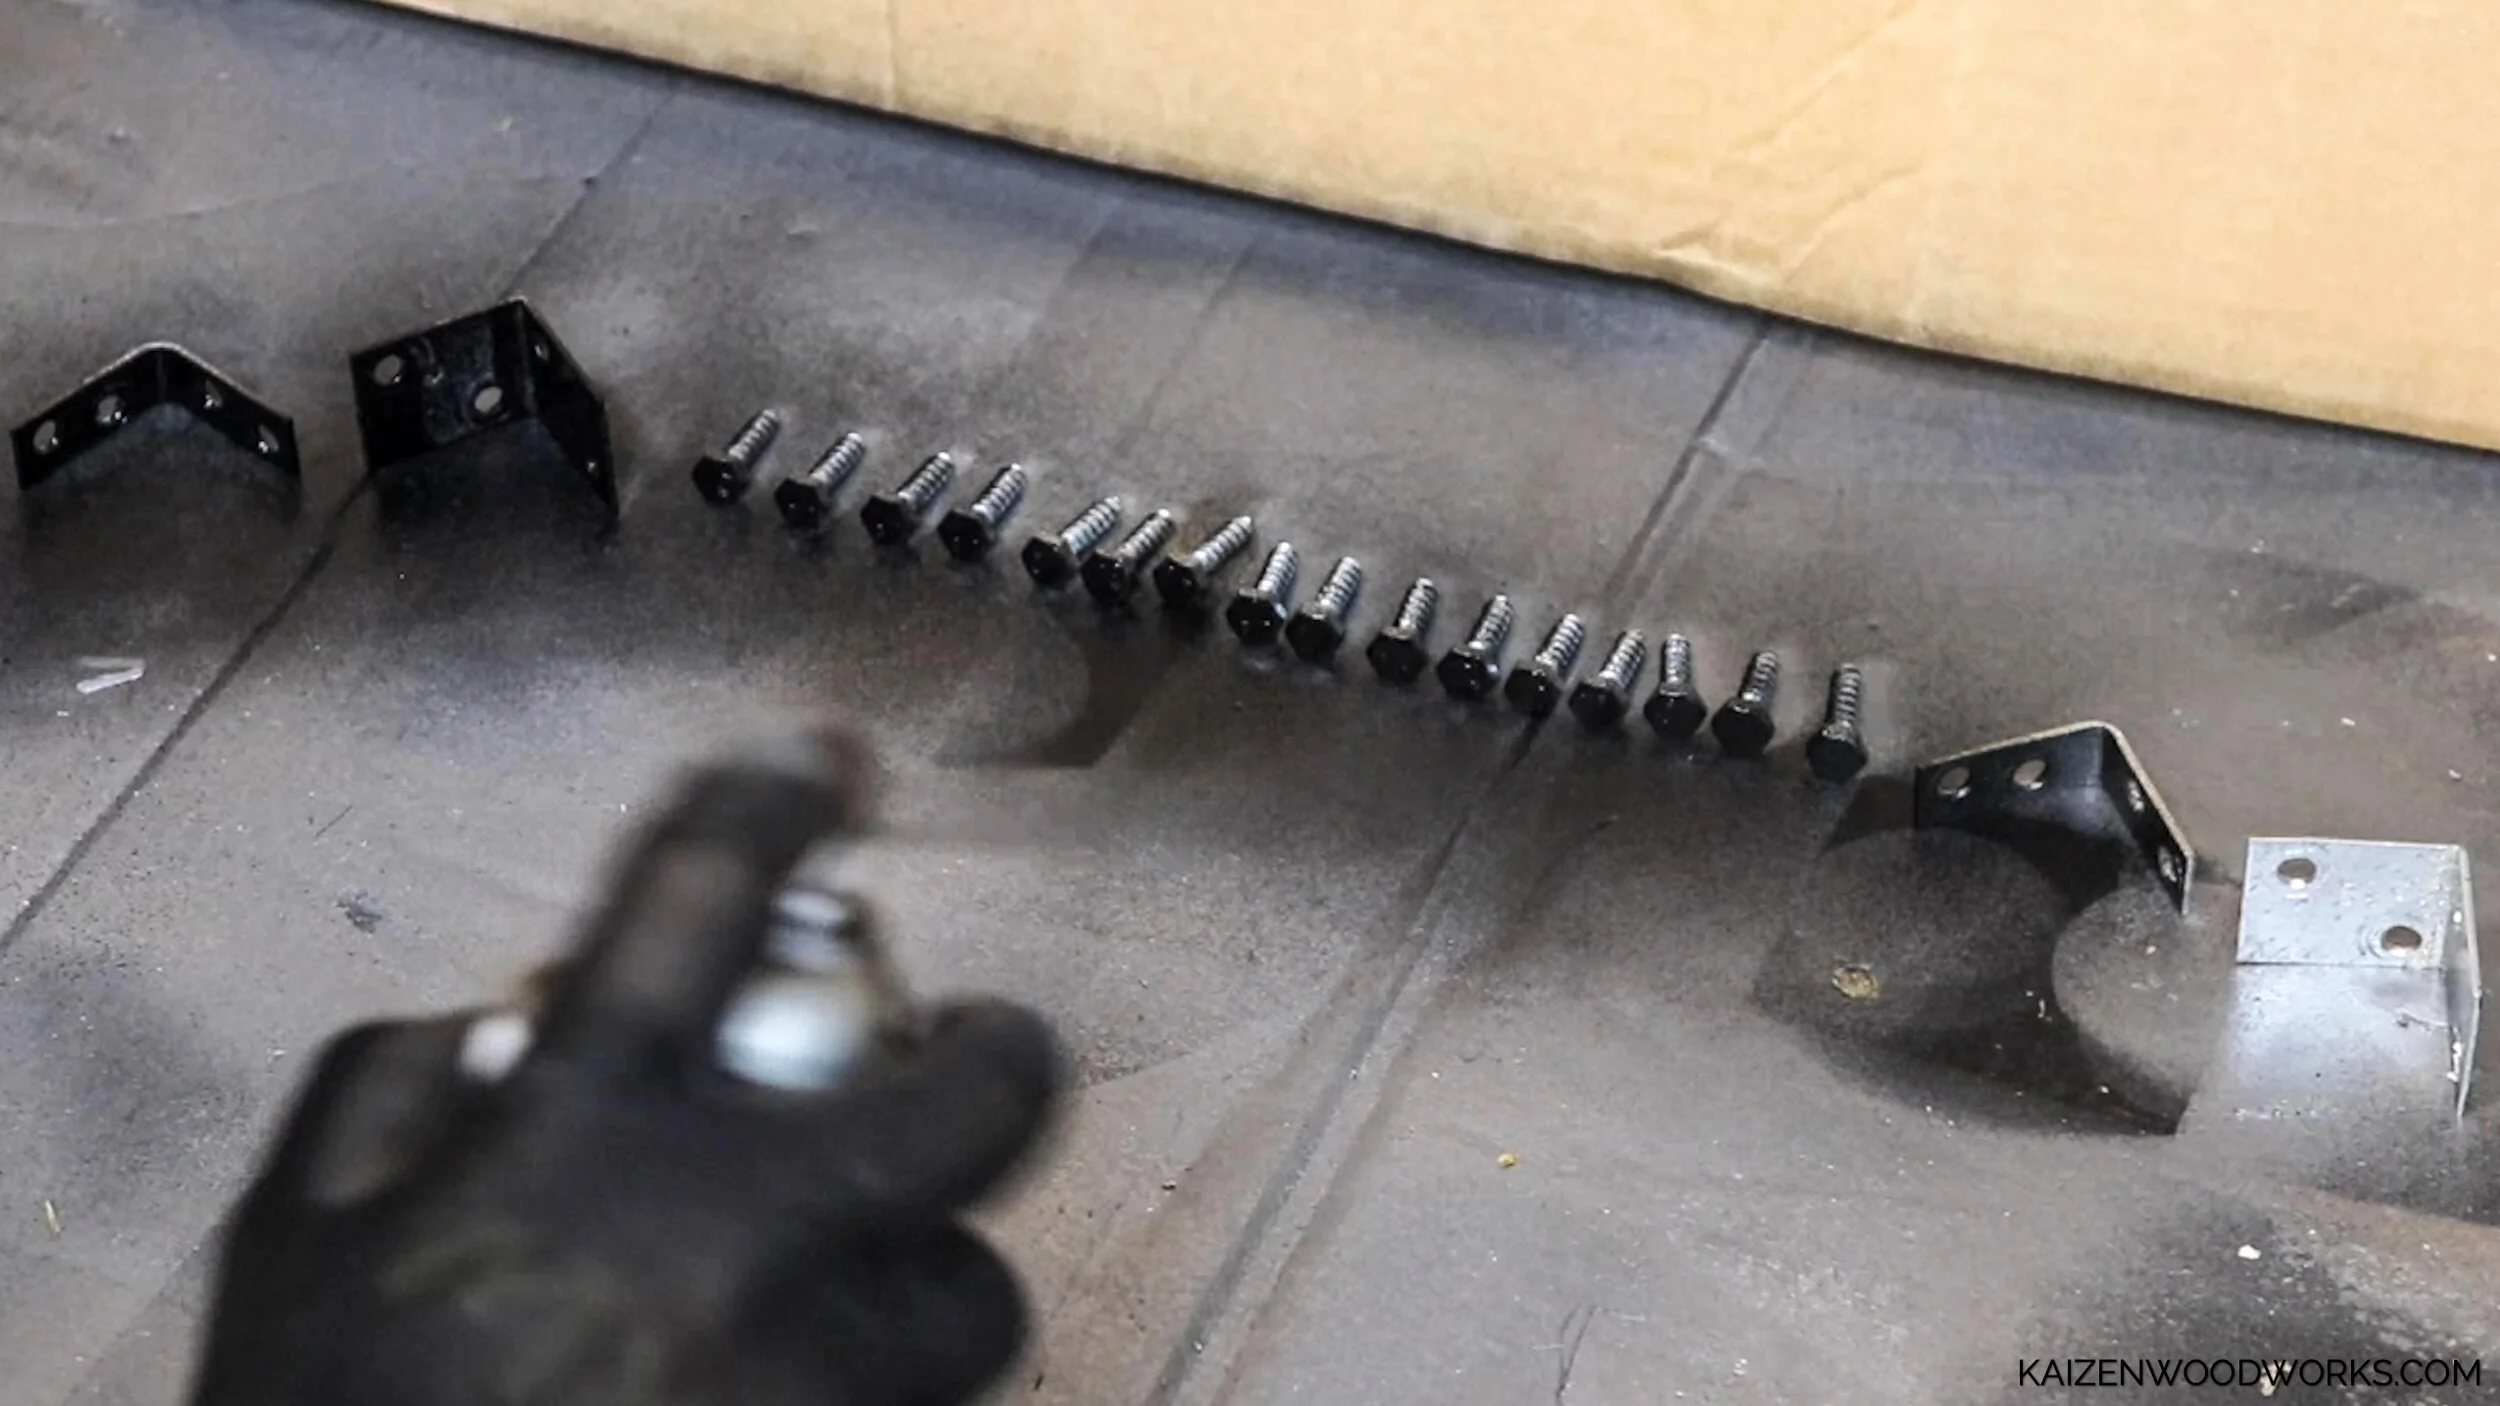
7 inch long 3/8 bolts and lock nuts (Menards.com)
3/8 Washers (Menards.com)
L brackets (Menards.com)
6.5 in long 7/8 hitch pins (Tractorsupplyco.com)
Finishing washers (for foam mat) (https://amzn.to/3vPEG3Z)
Gym floor tile (https://amzn.to/3vR0GLS)
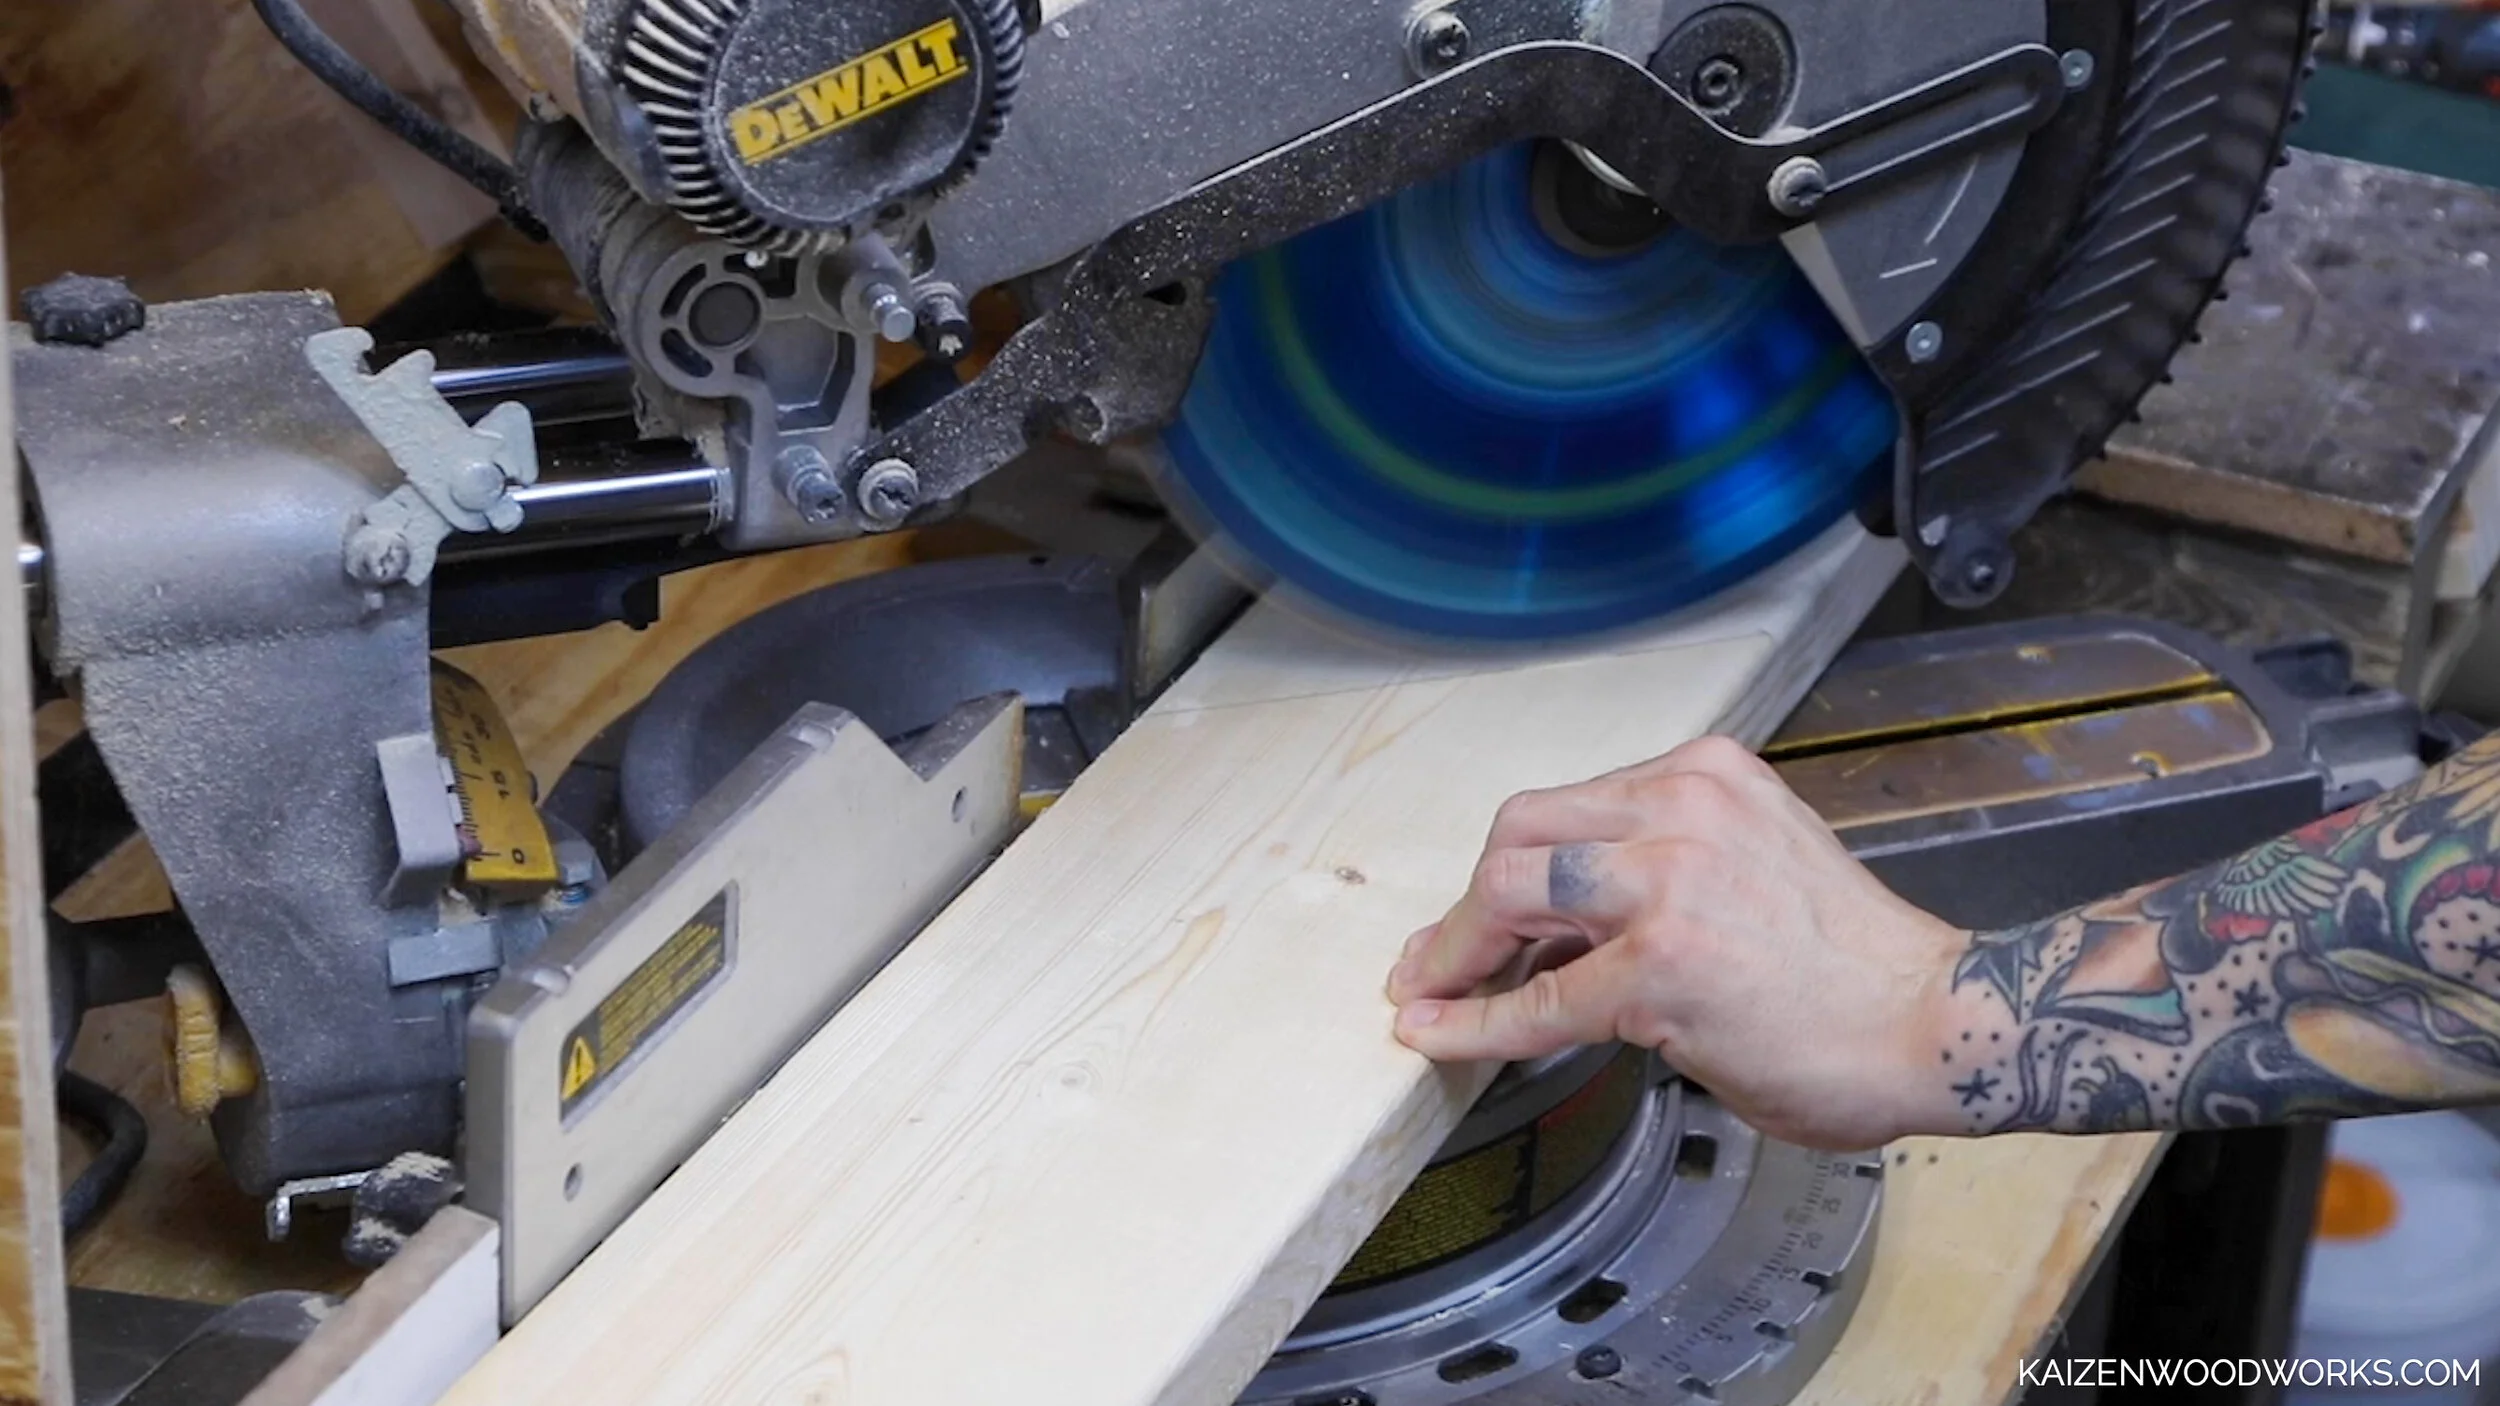
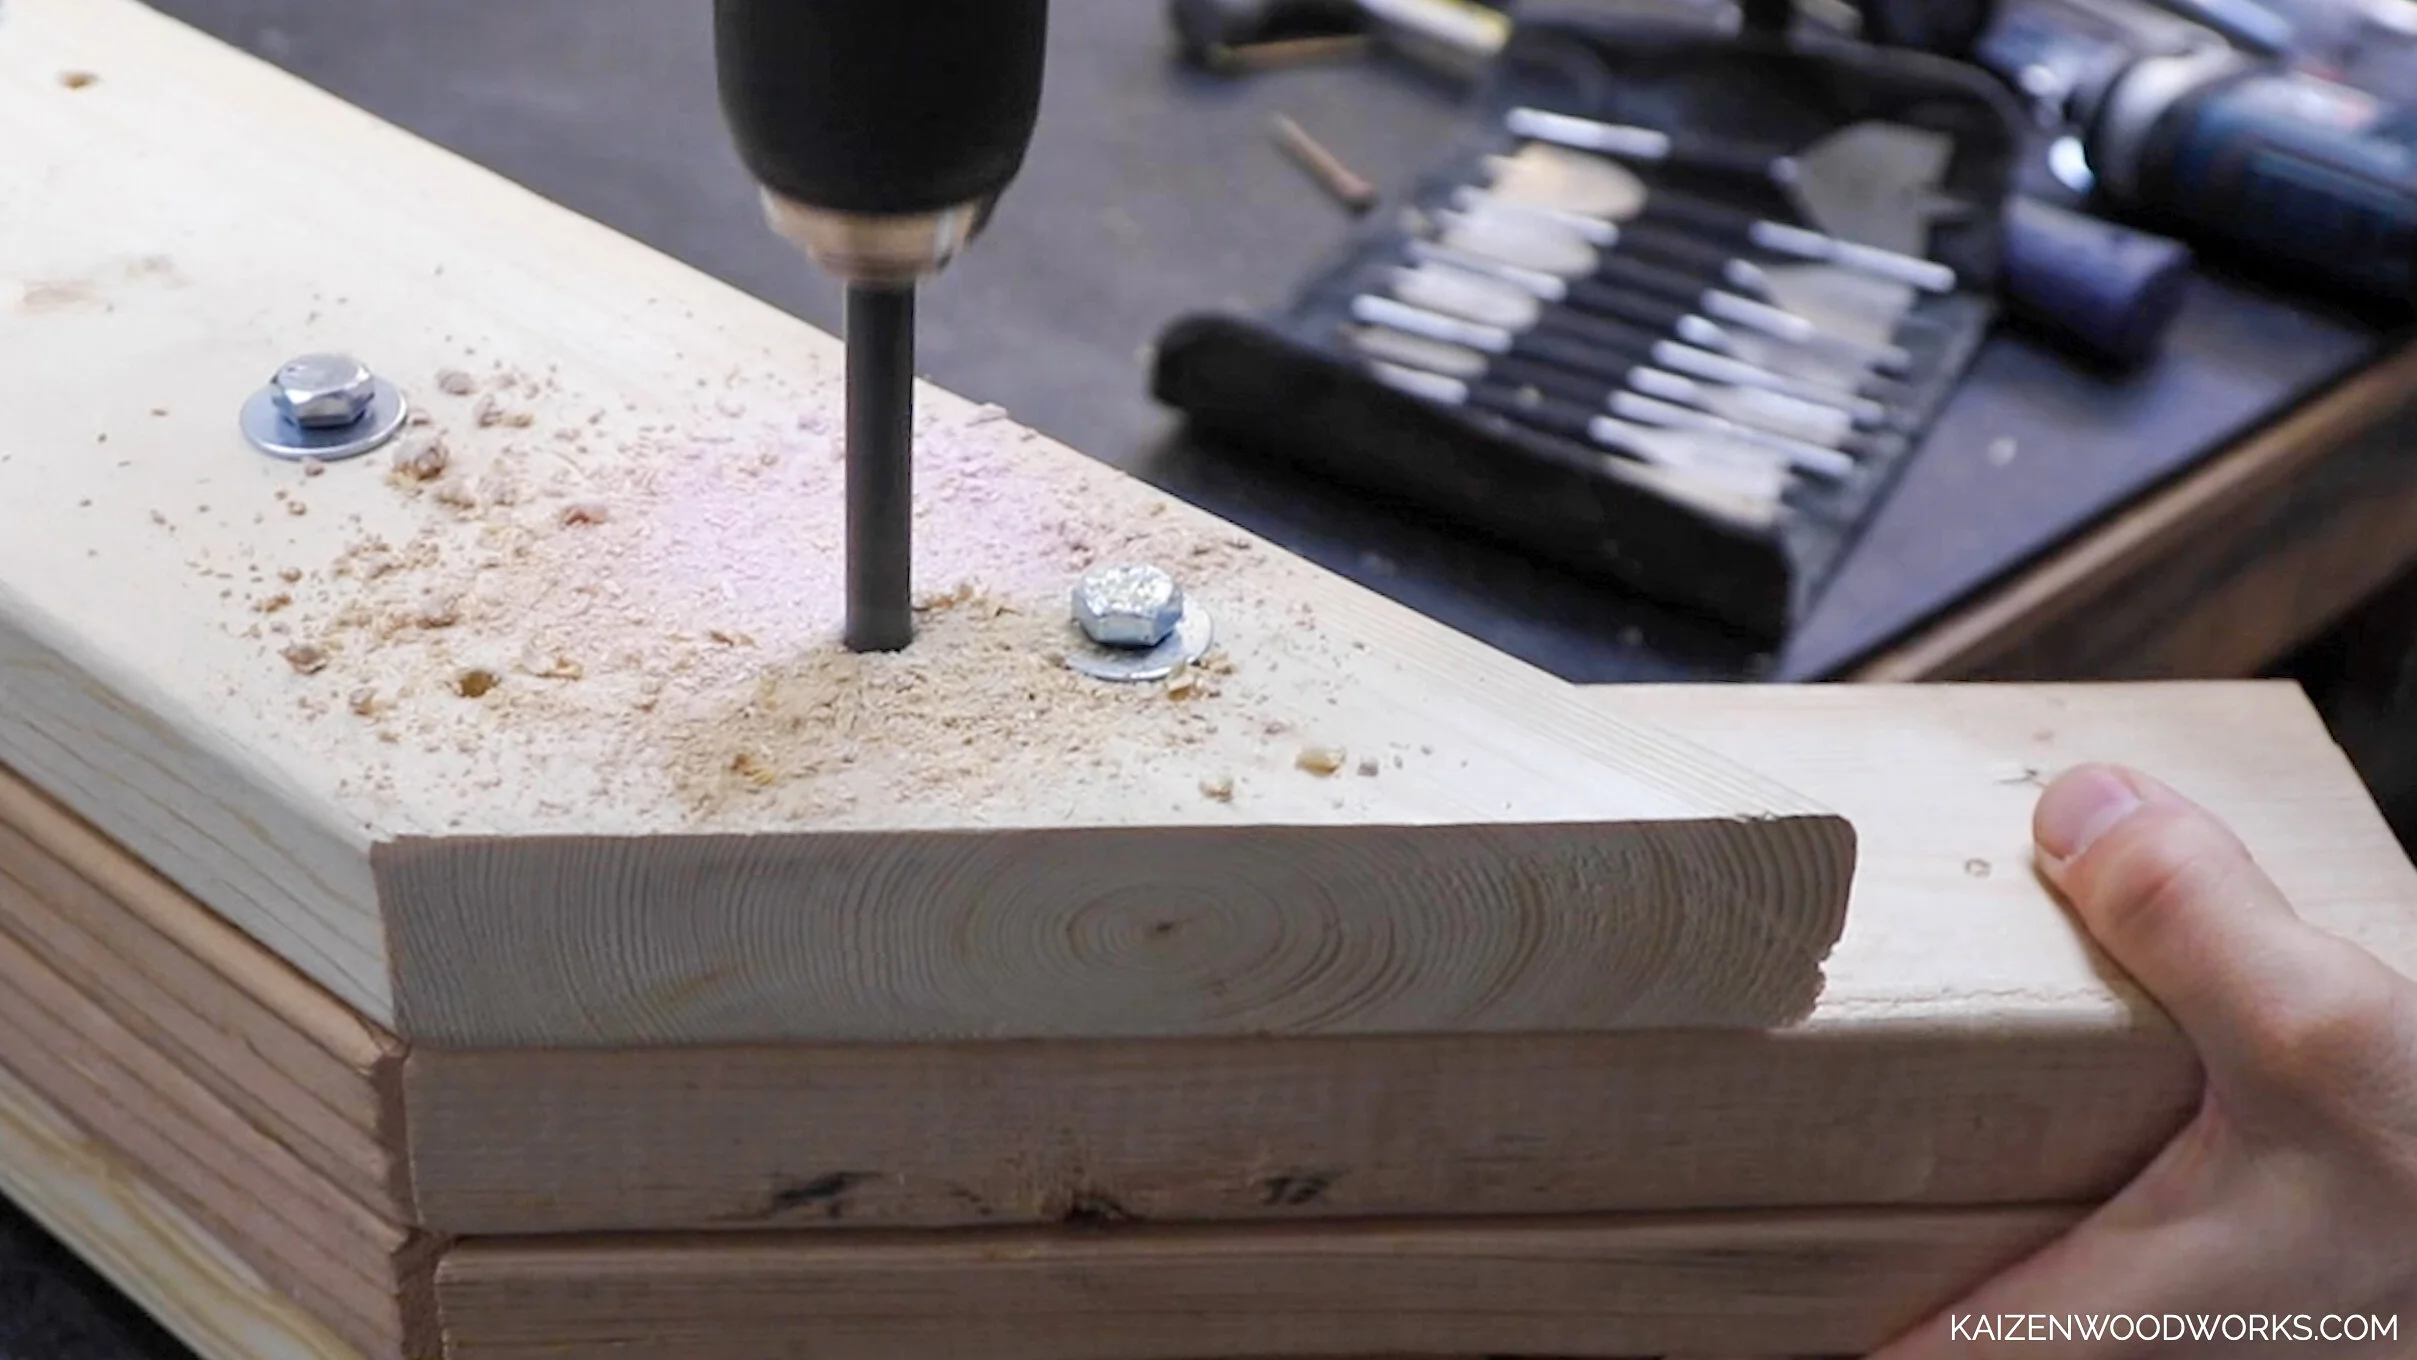
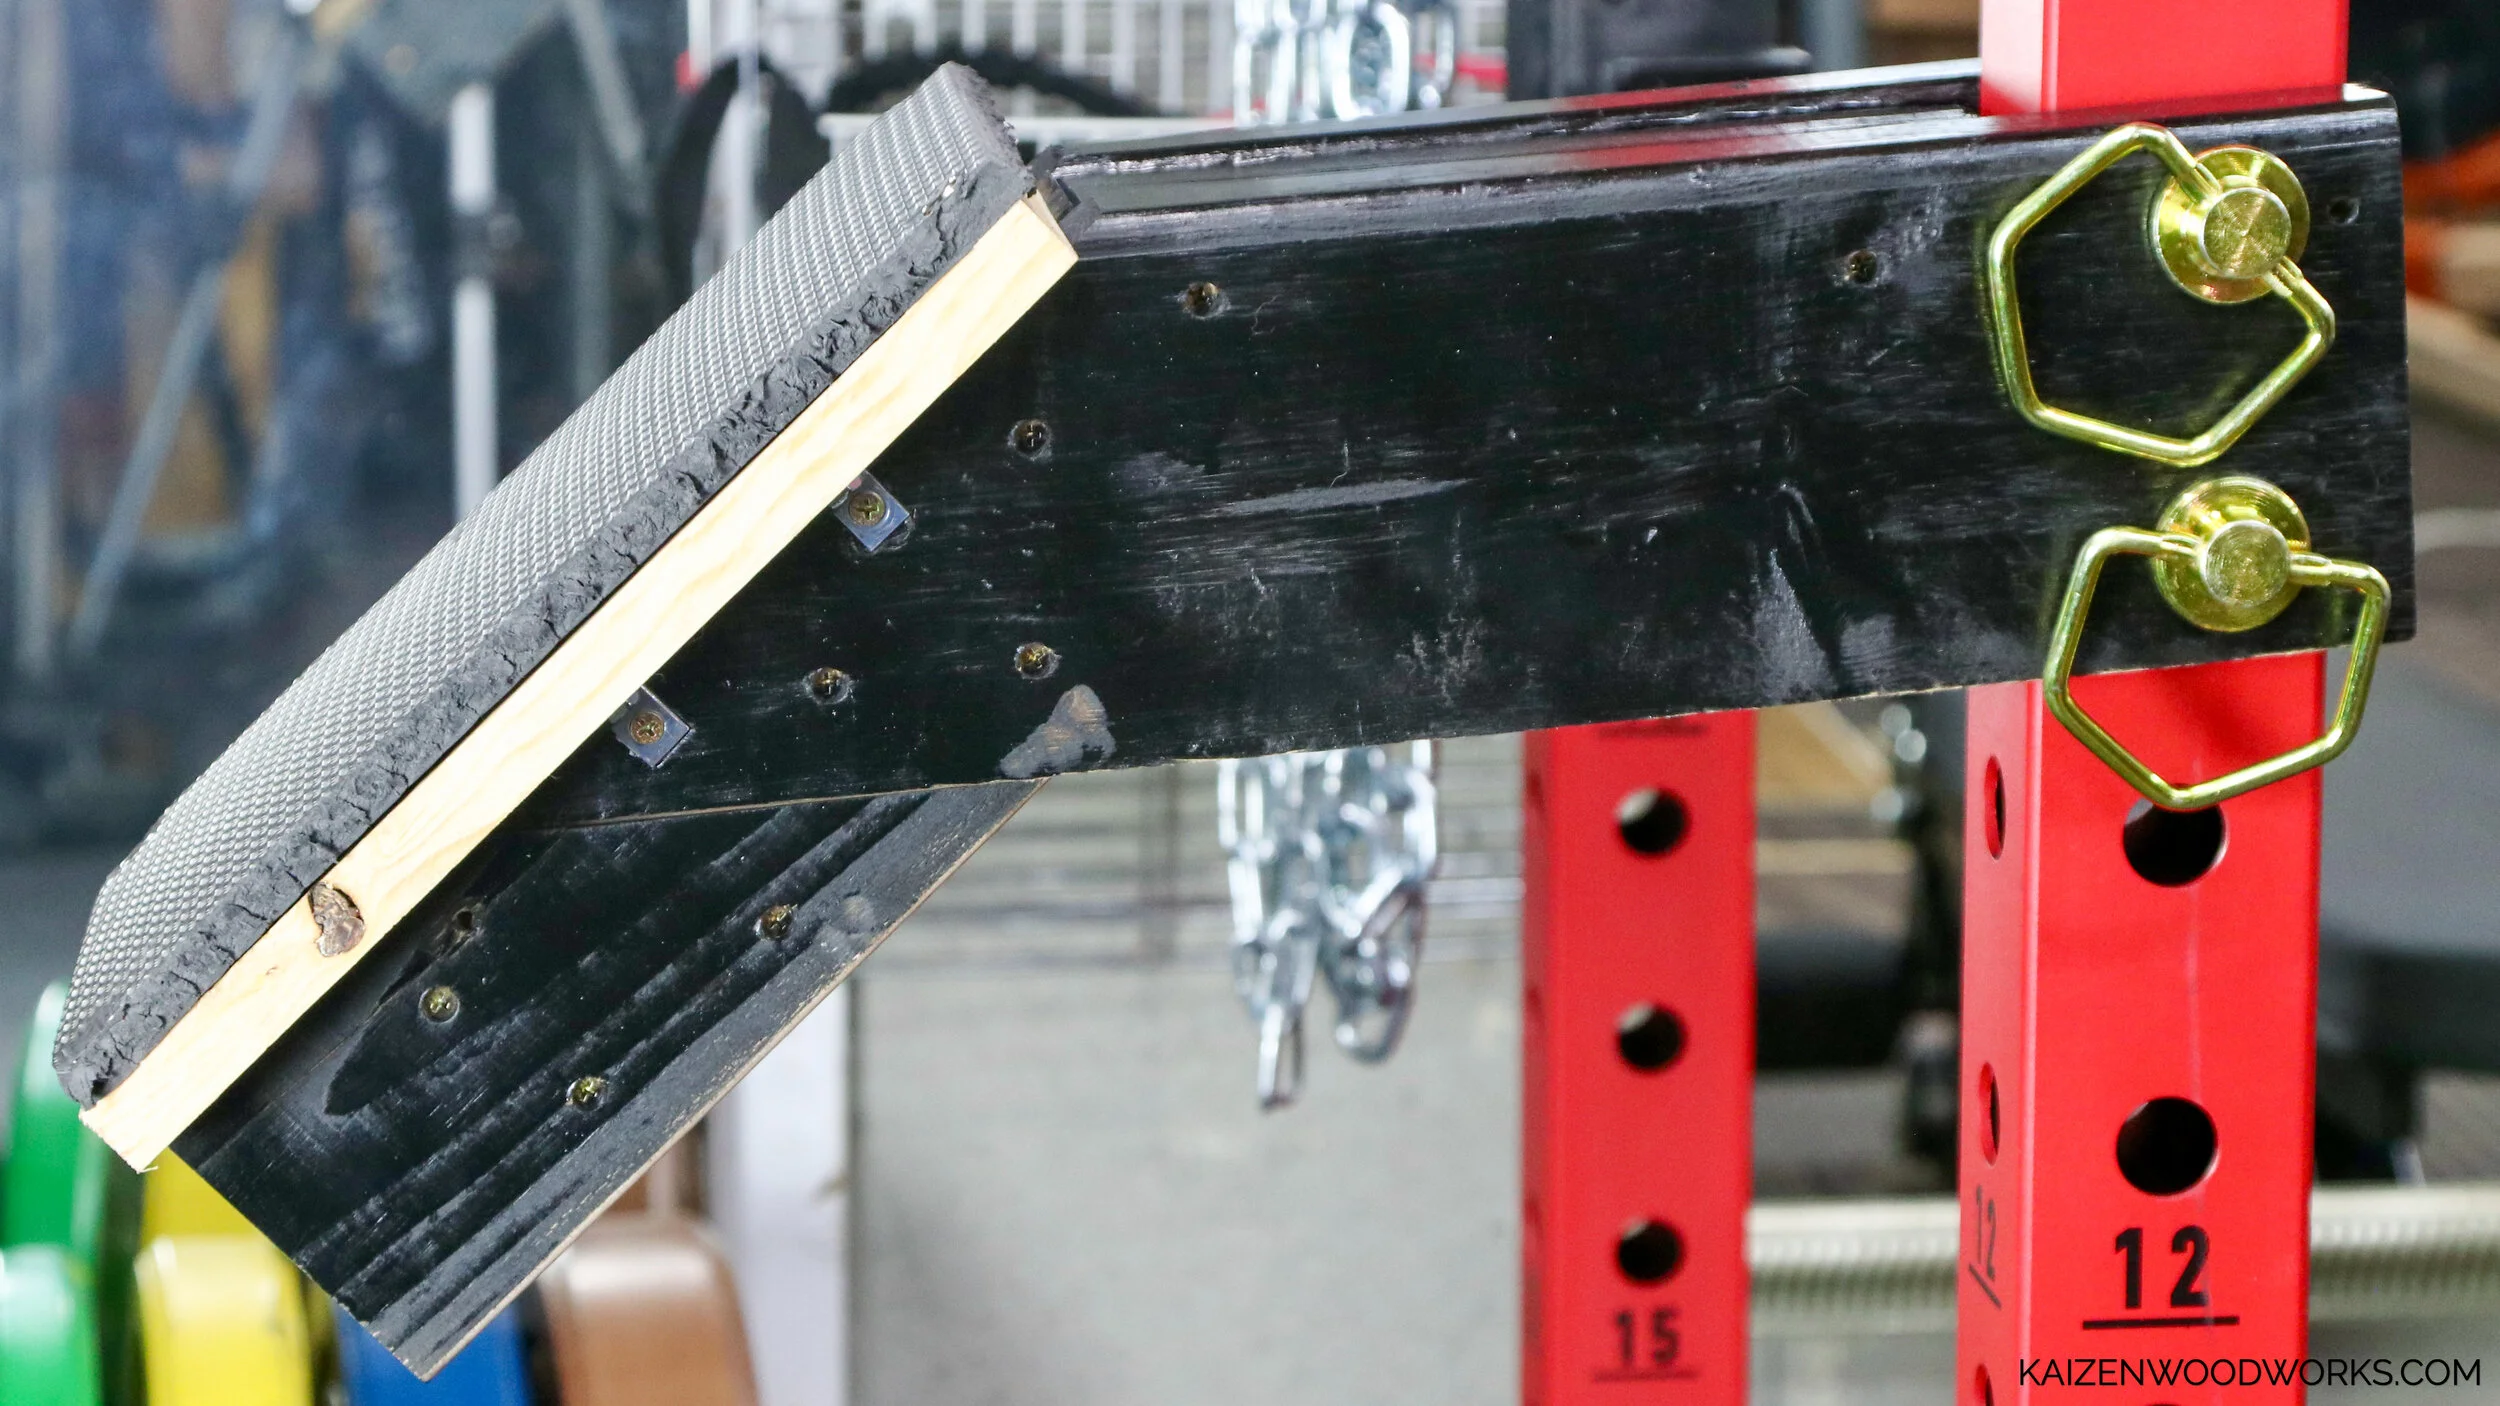
I start off my cutting by 2x6, 24 inches long with a 45 degree angle on one end. You’ll need two of these.
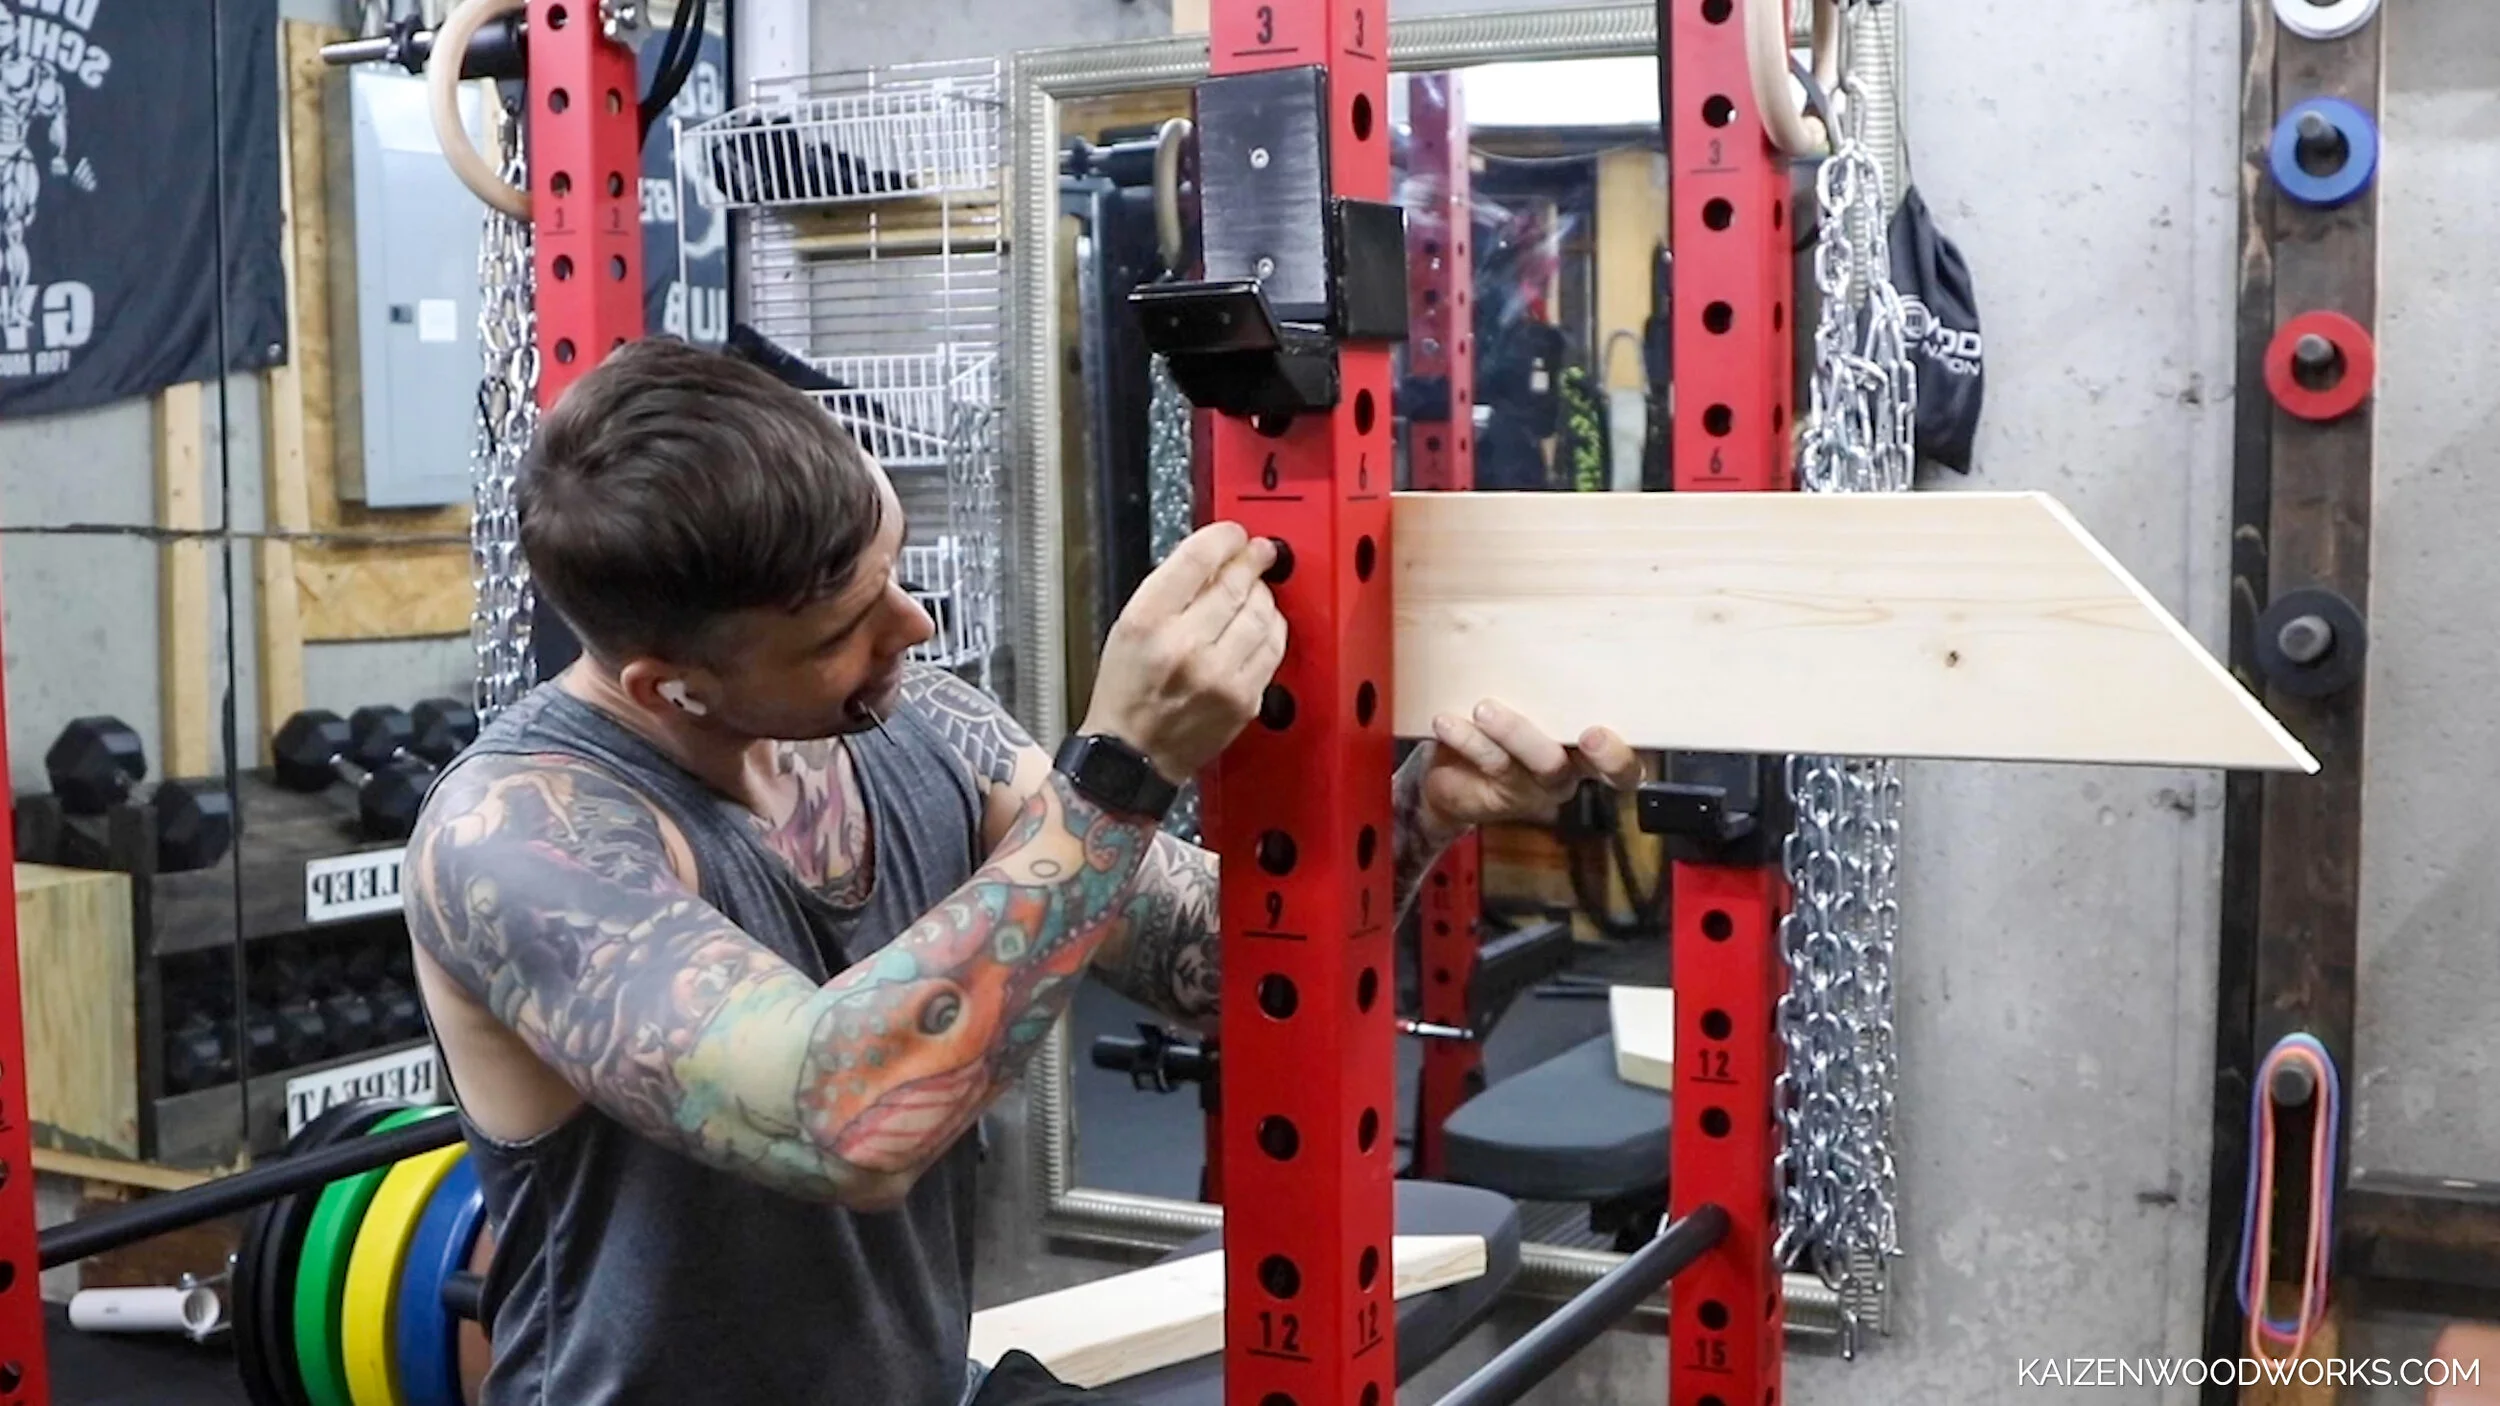
To make sure I’ve got the right spacing, I hold the board to the rack and mark the holes with a pen. You can see from my pens marks, it took a few tries to get it right.

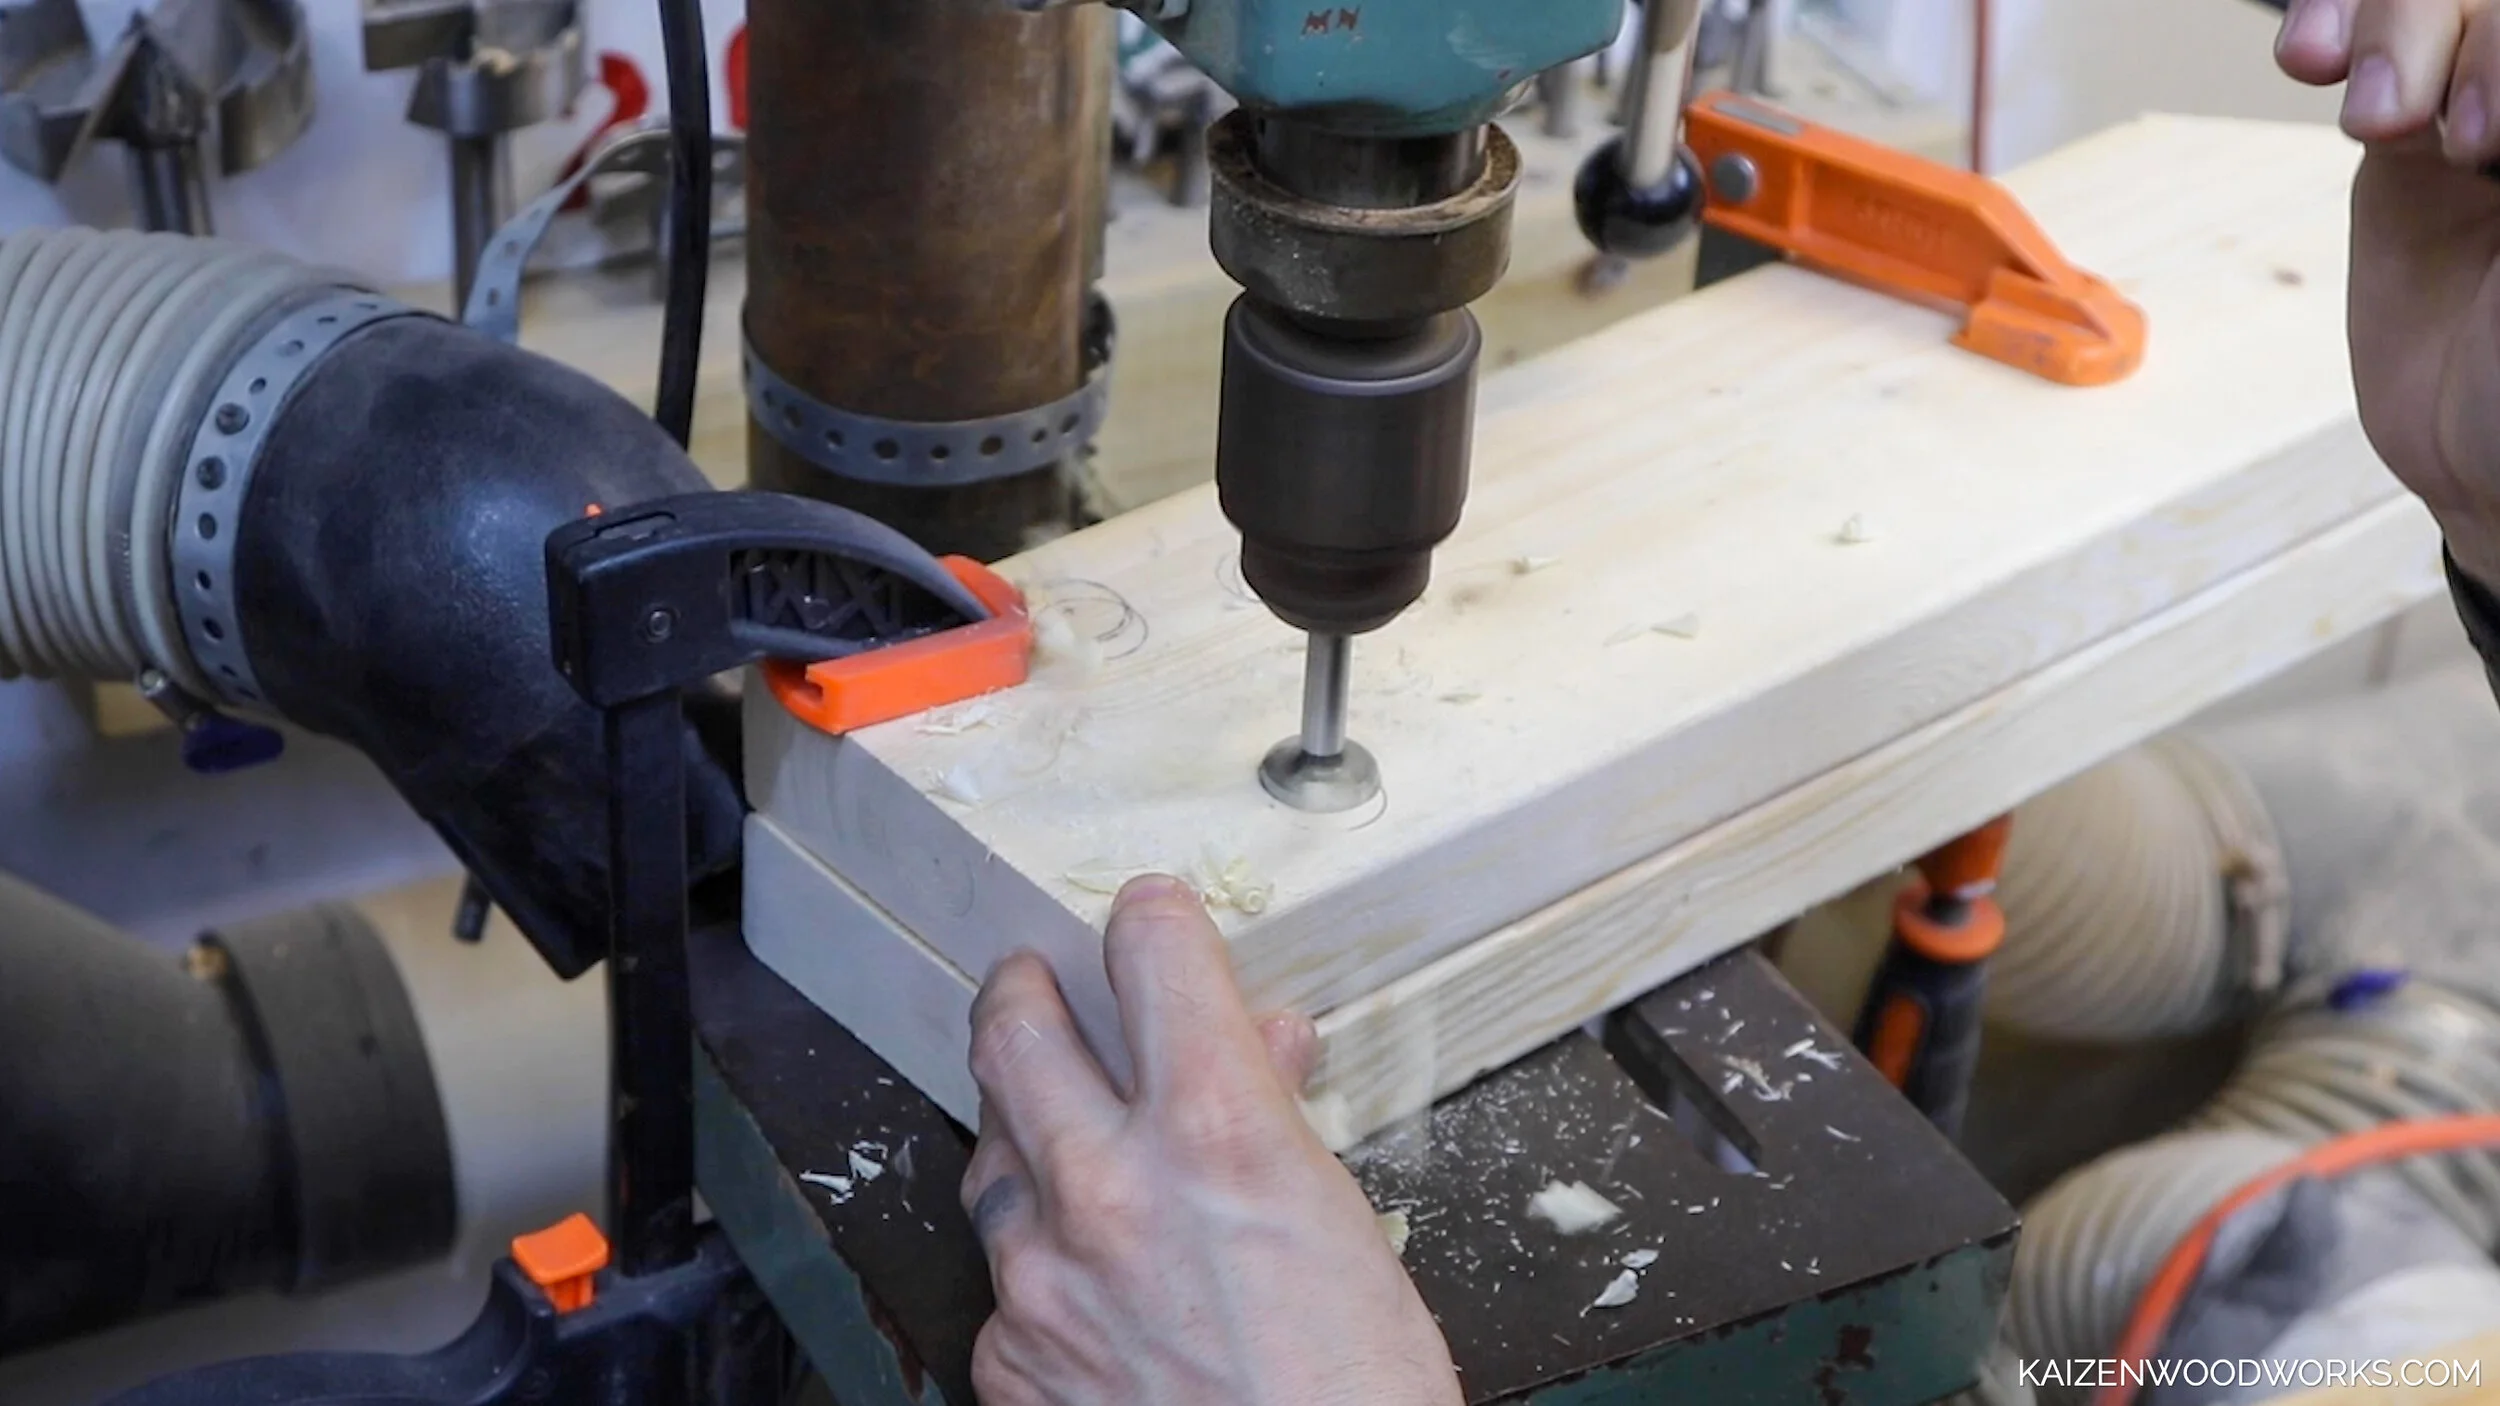
I clamp both 2x6 pieces together and then clamp them to my drill press. I use a 1 inch for forstner bit to drill the holes.
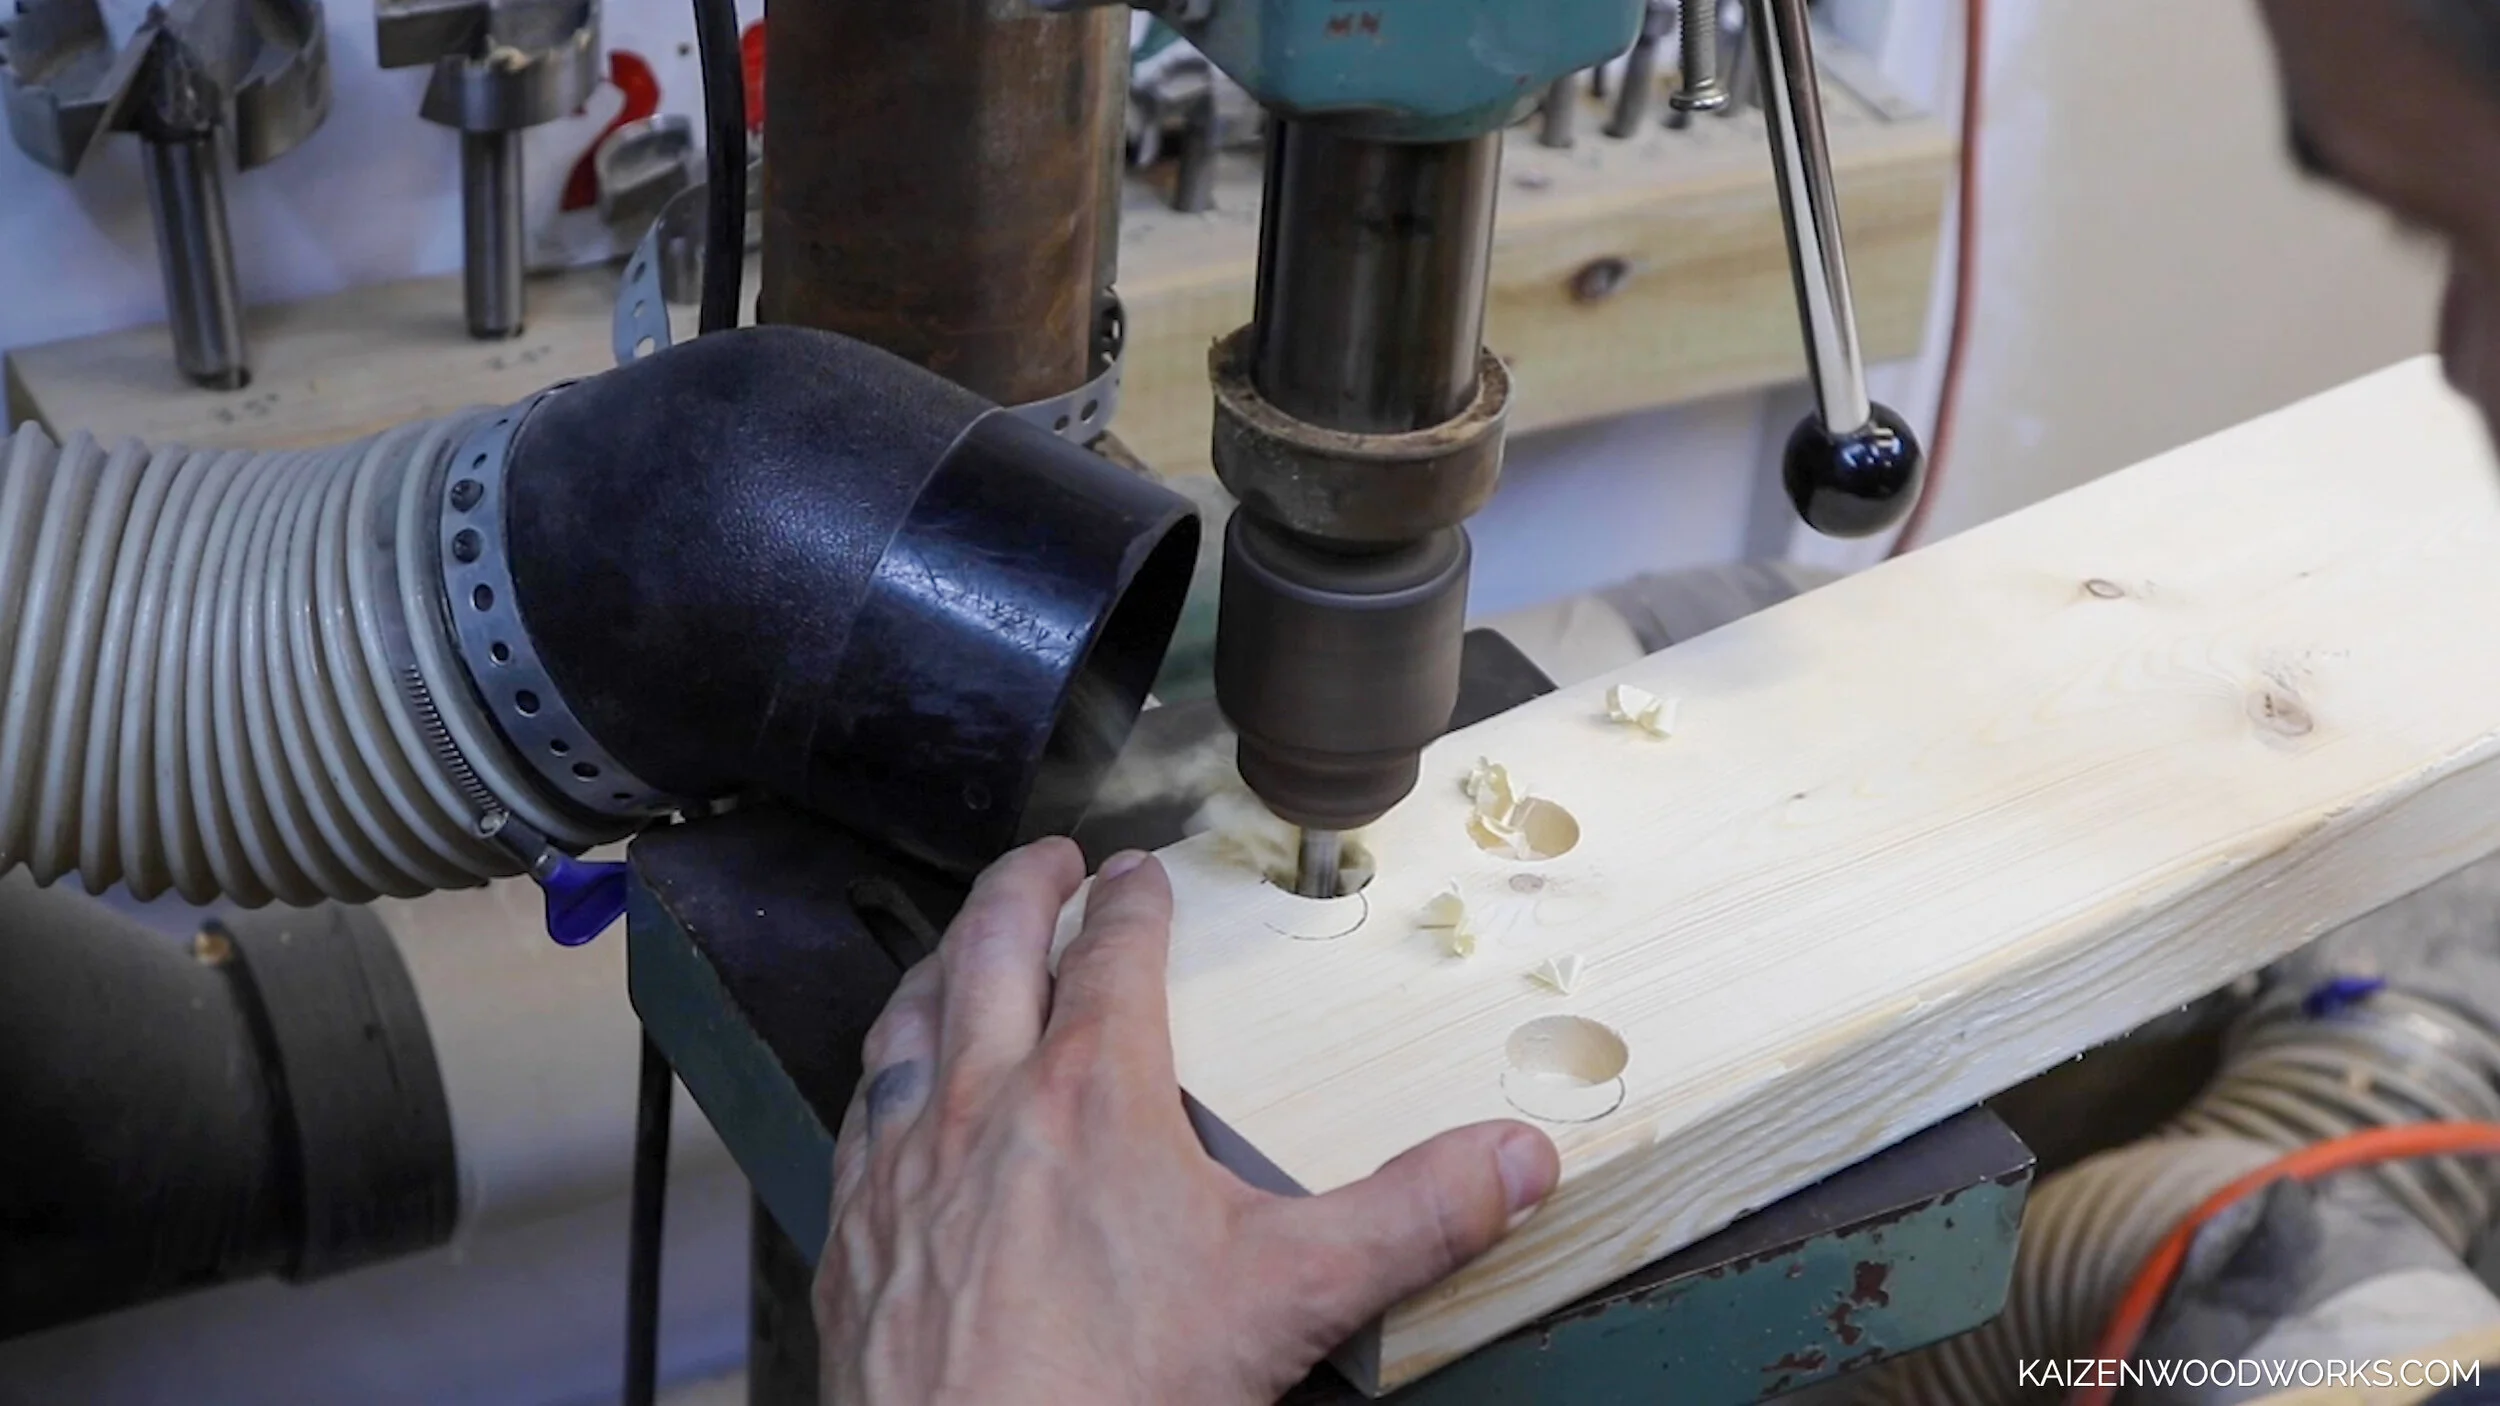
The shank is not quite long enough to go all the way through both, but it goes halfway through the bottom board. I unclamp, adjust the drill press and drill the rest of the way through.

By clamping the pieces together beforehand, I know all the holes will line up exactly.
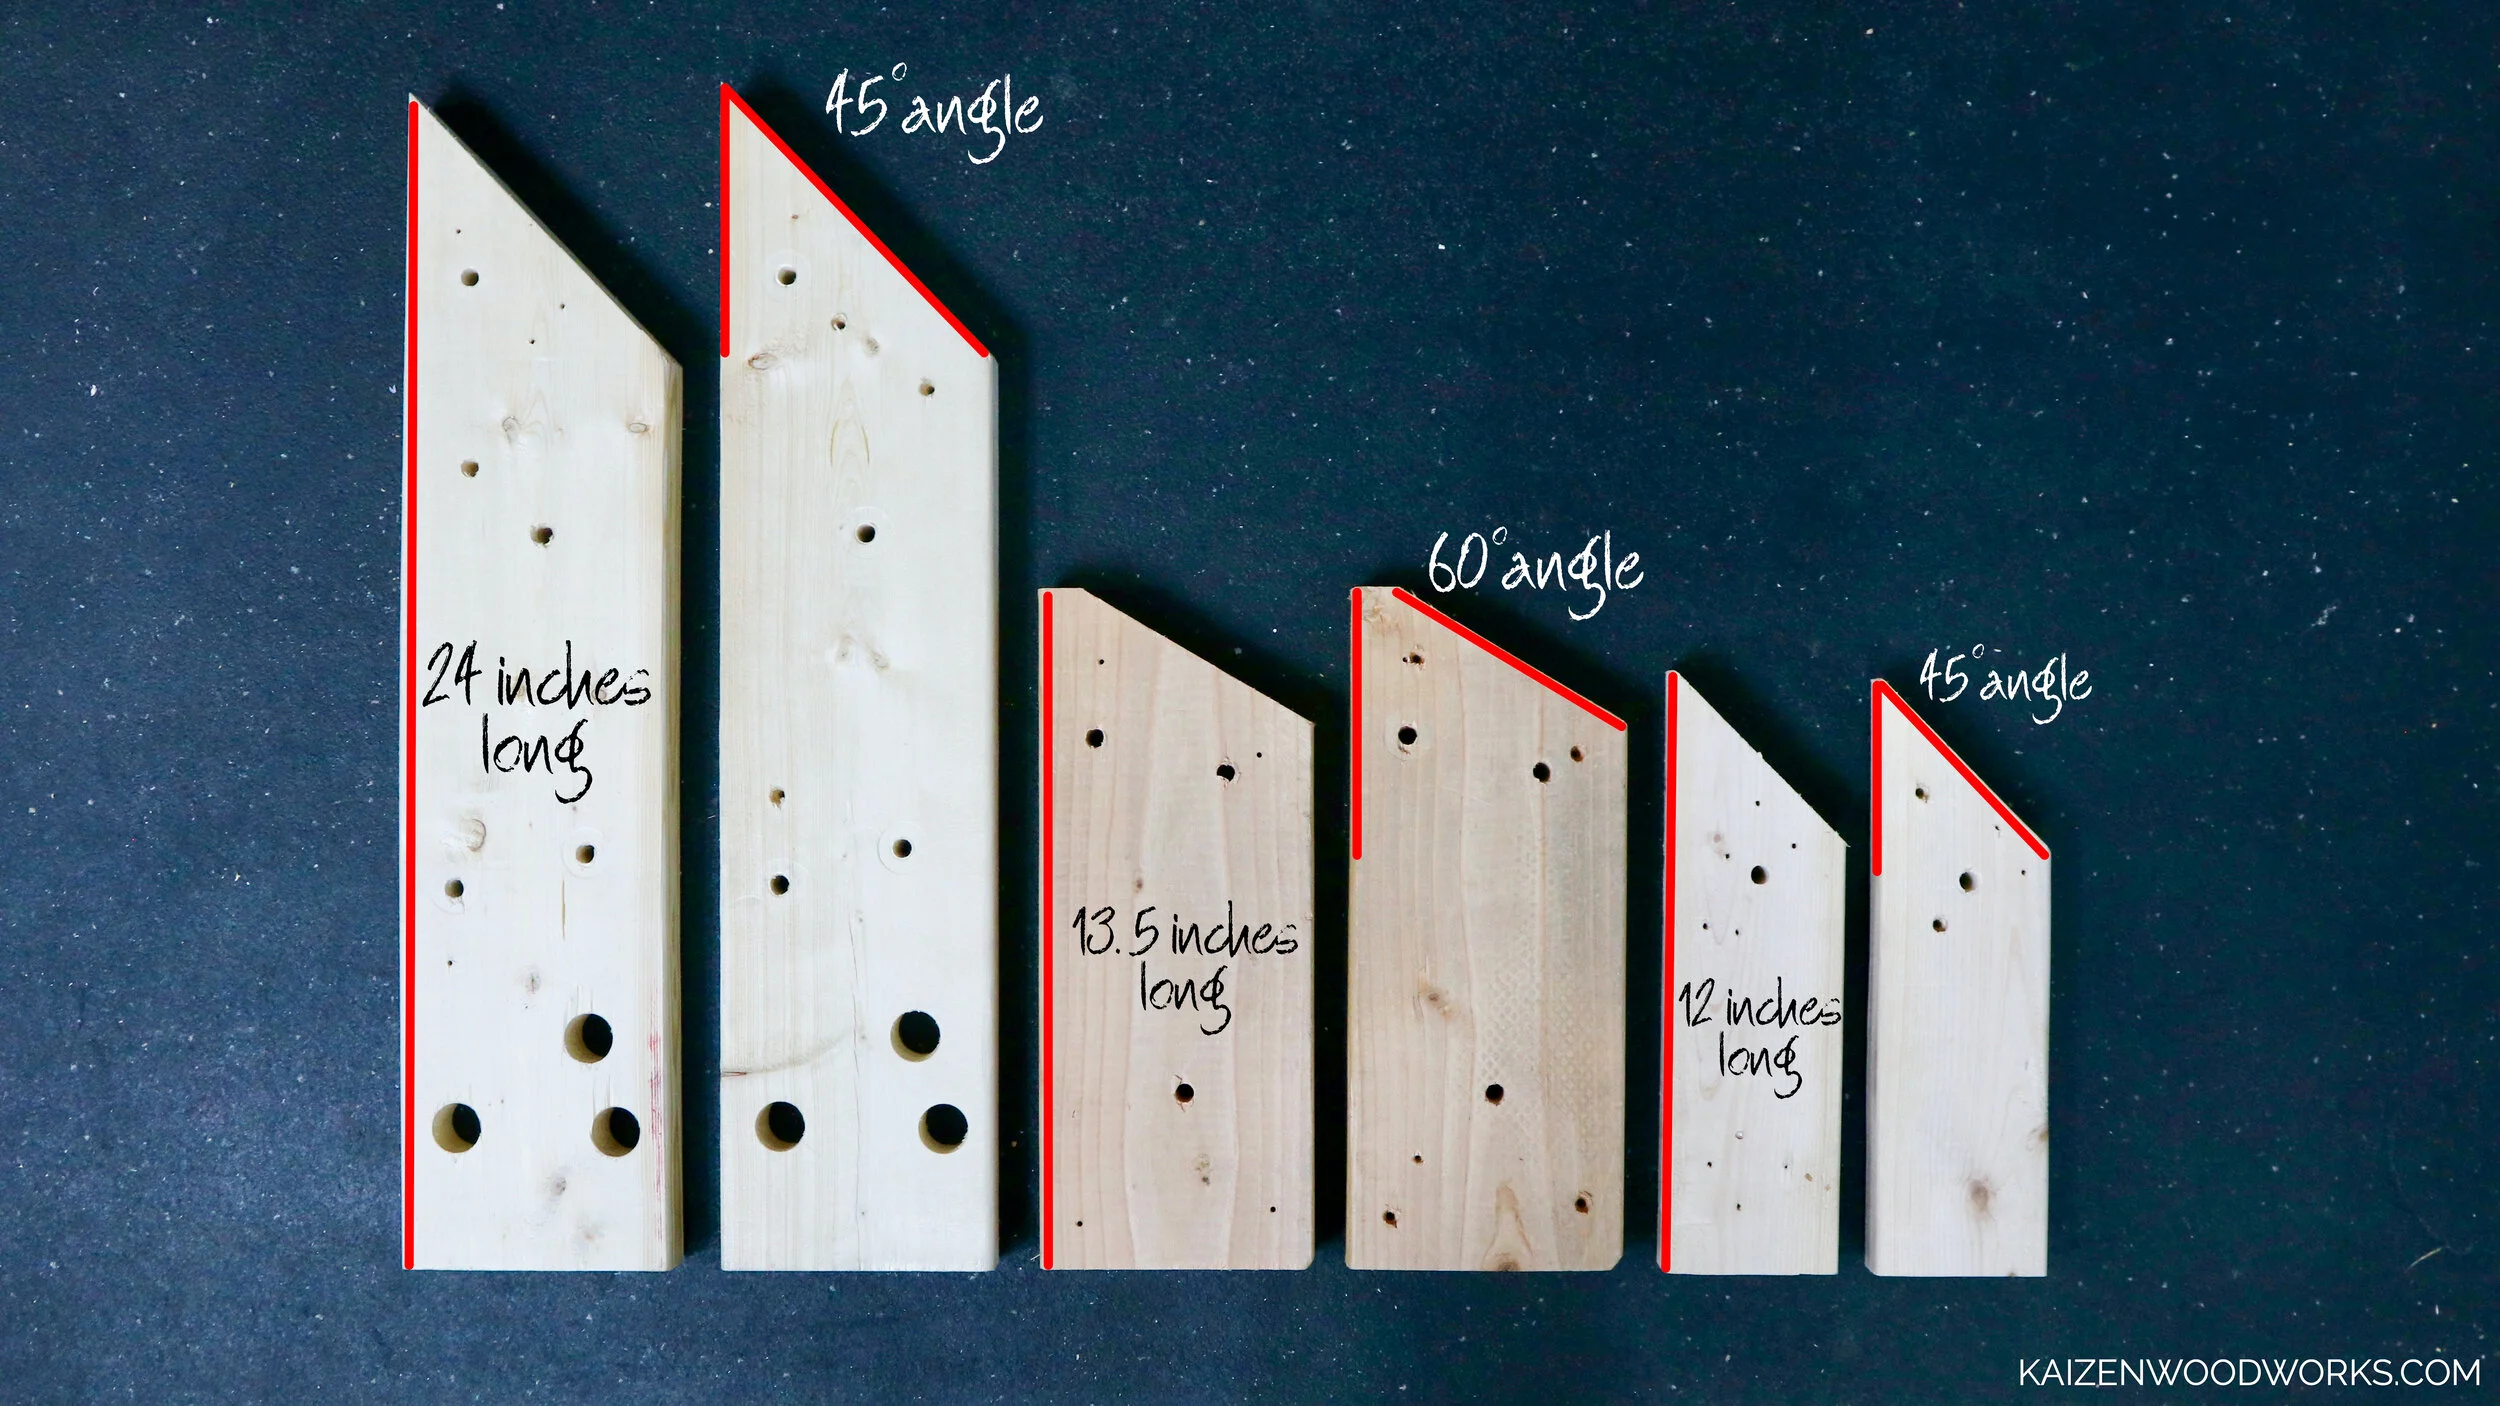
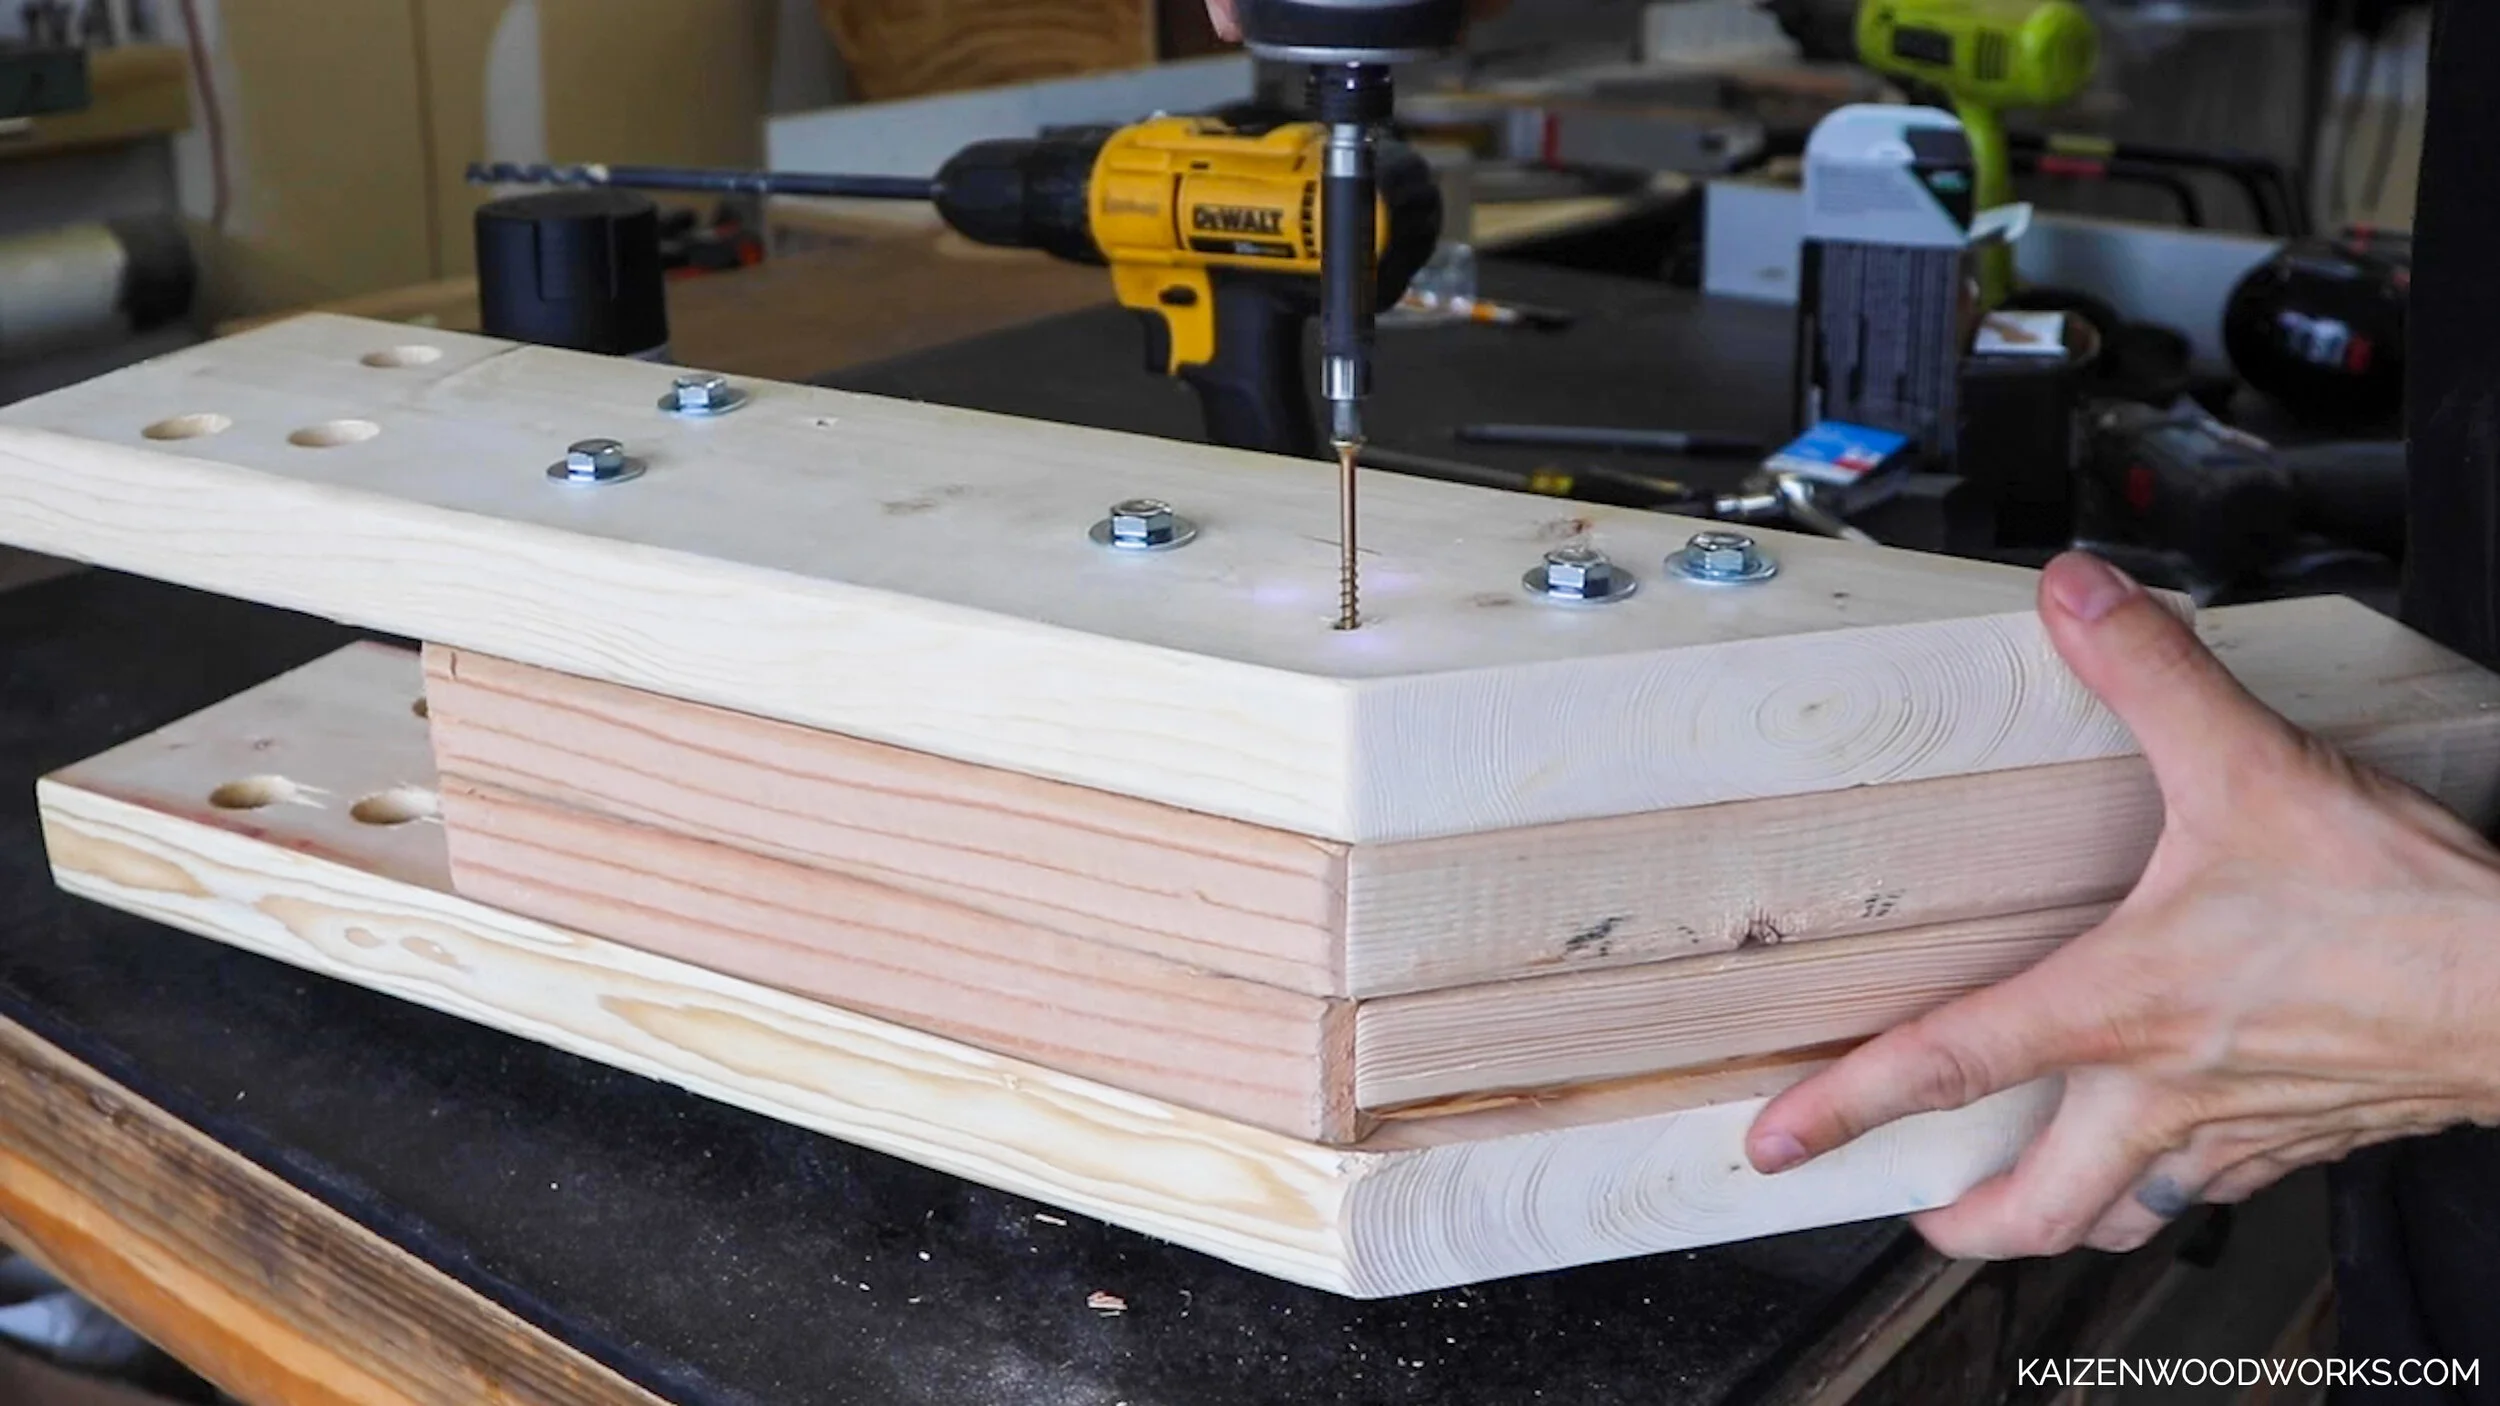
Next I cut my next 2x4 and 2x6 pieces. I put everything together, drilled all the holes, and then took everything apart to take this picture.
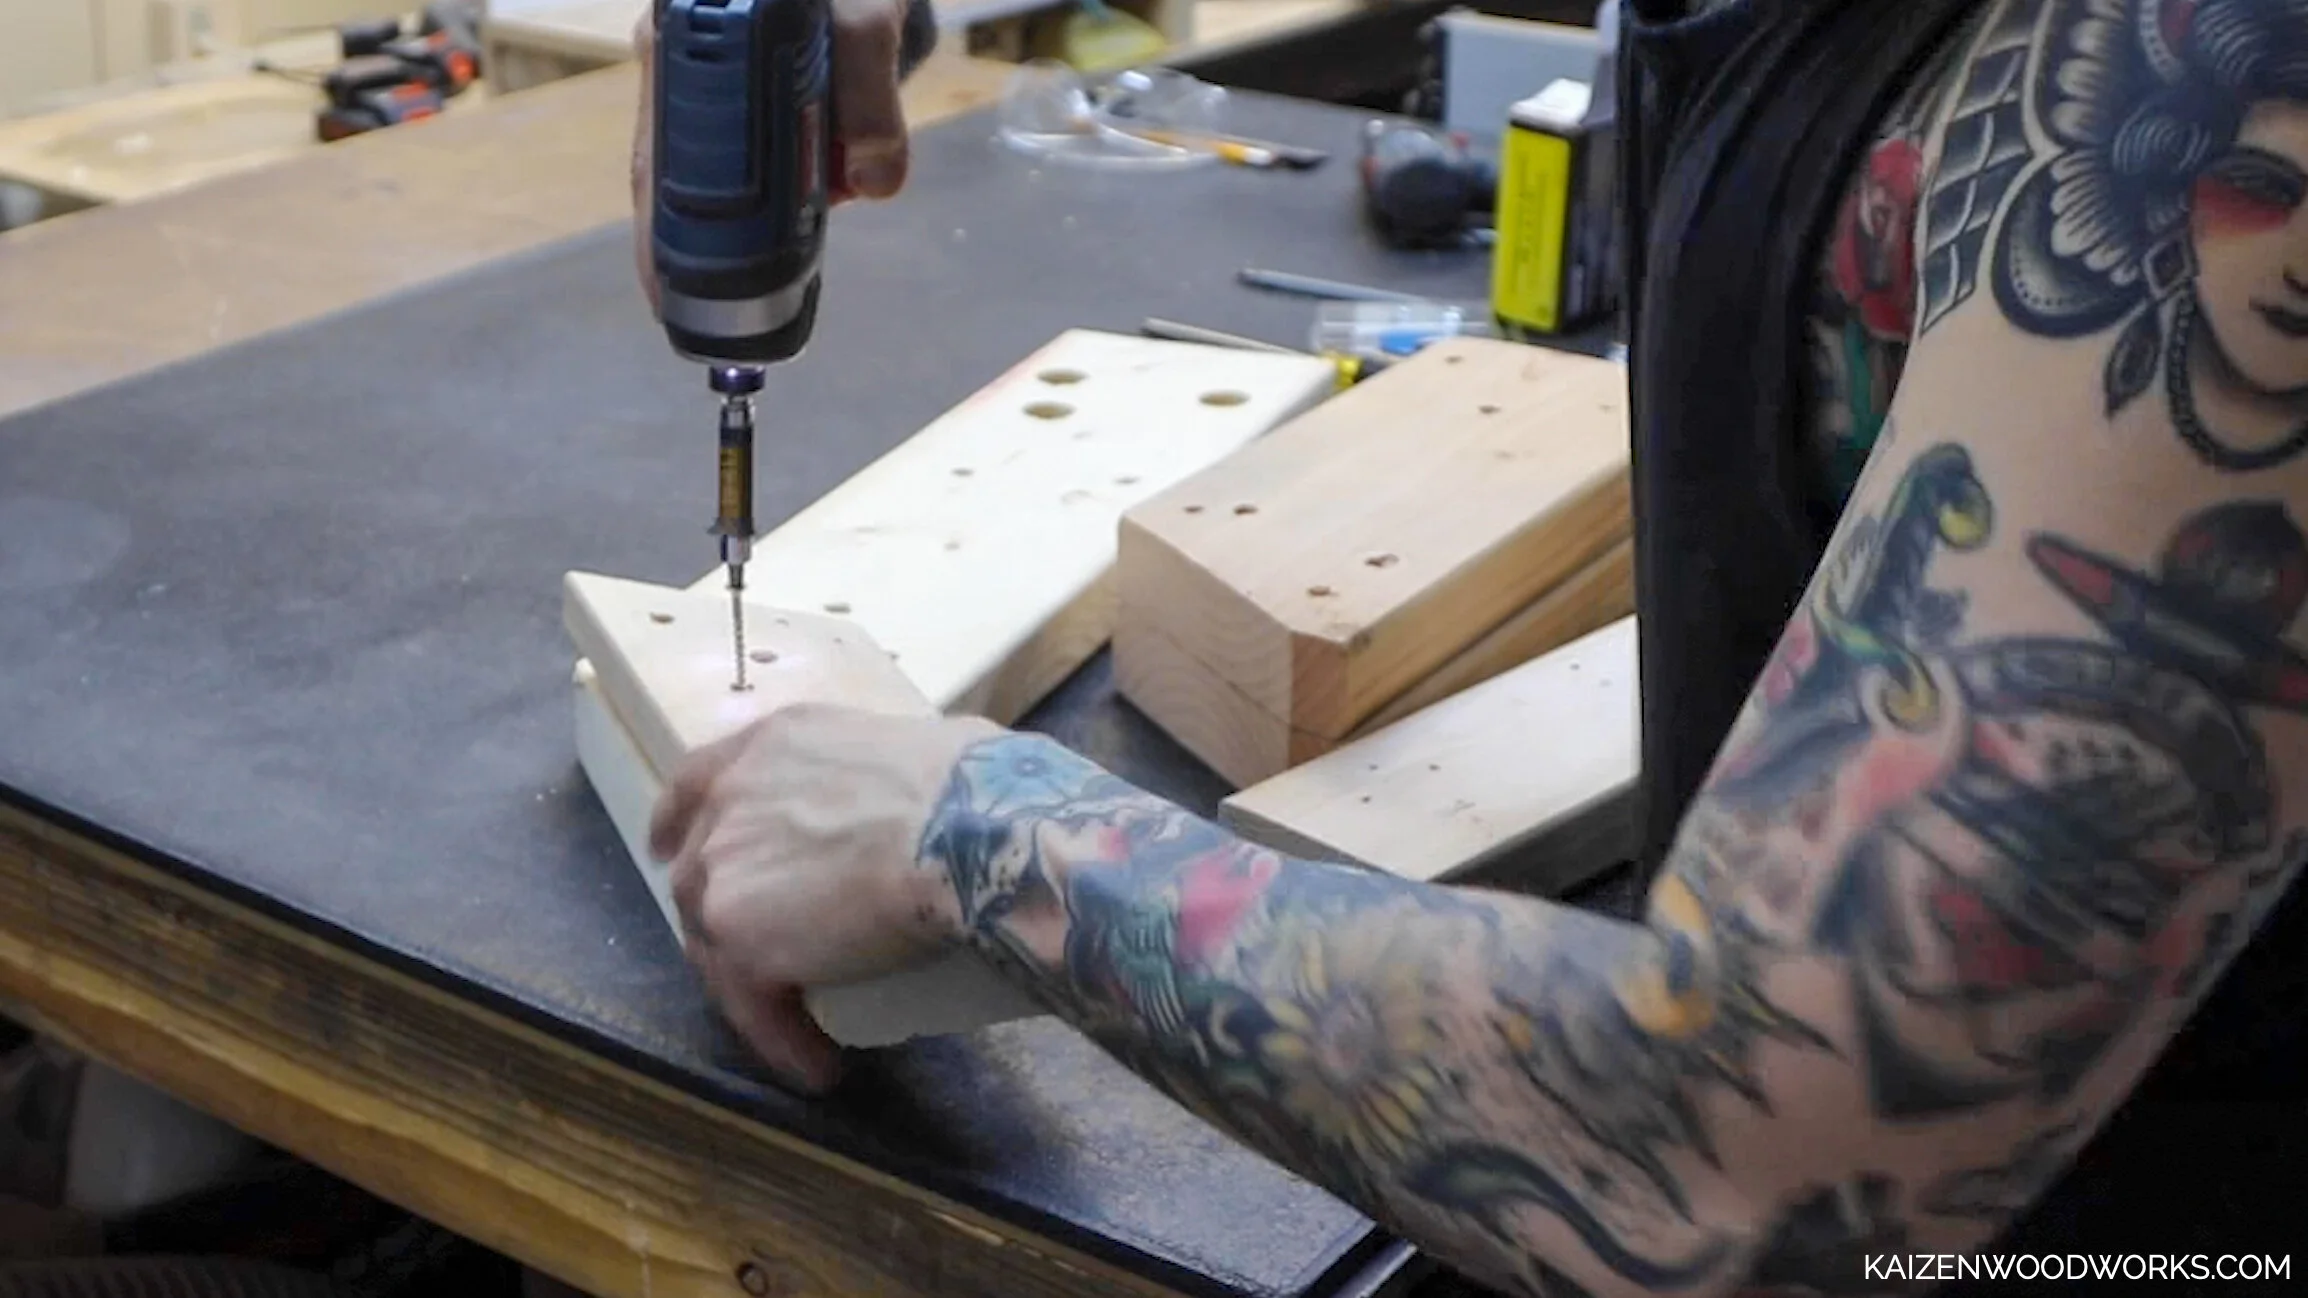
With all the holes pre-drilled, it goes together pretty fast. I assemble everything with lots of screws, and then five long 5/8th bolts with washers and lock nuts.
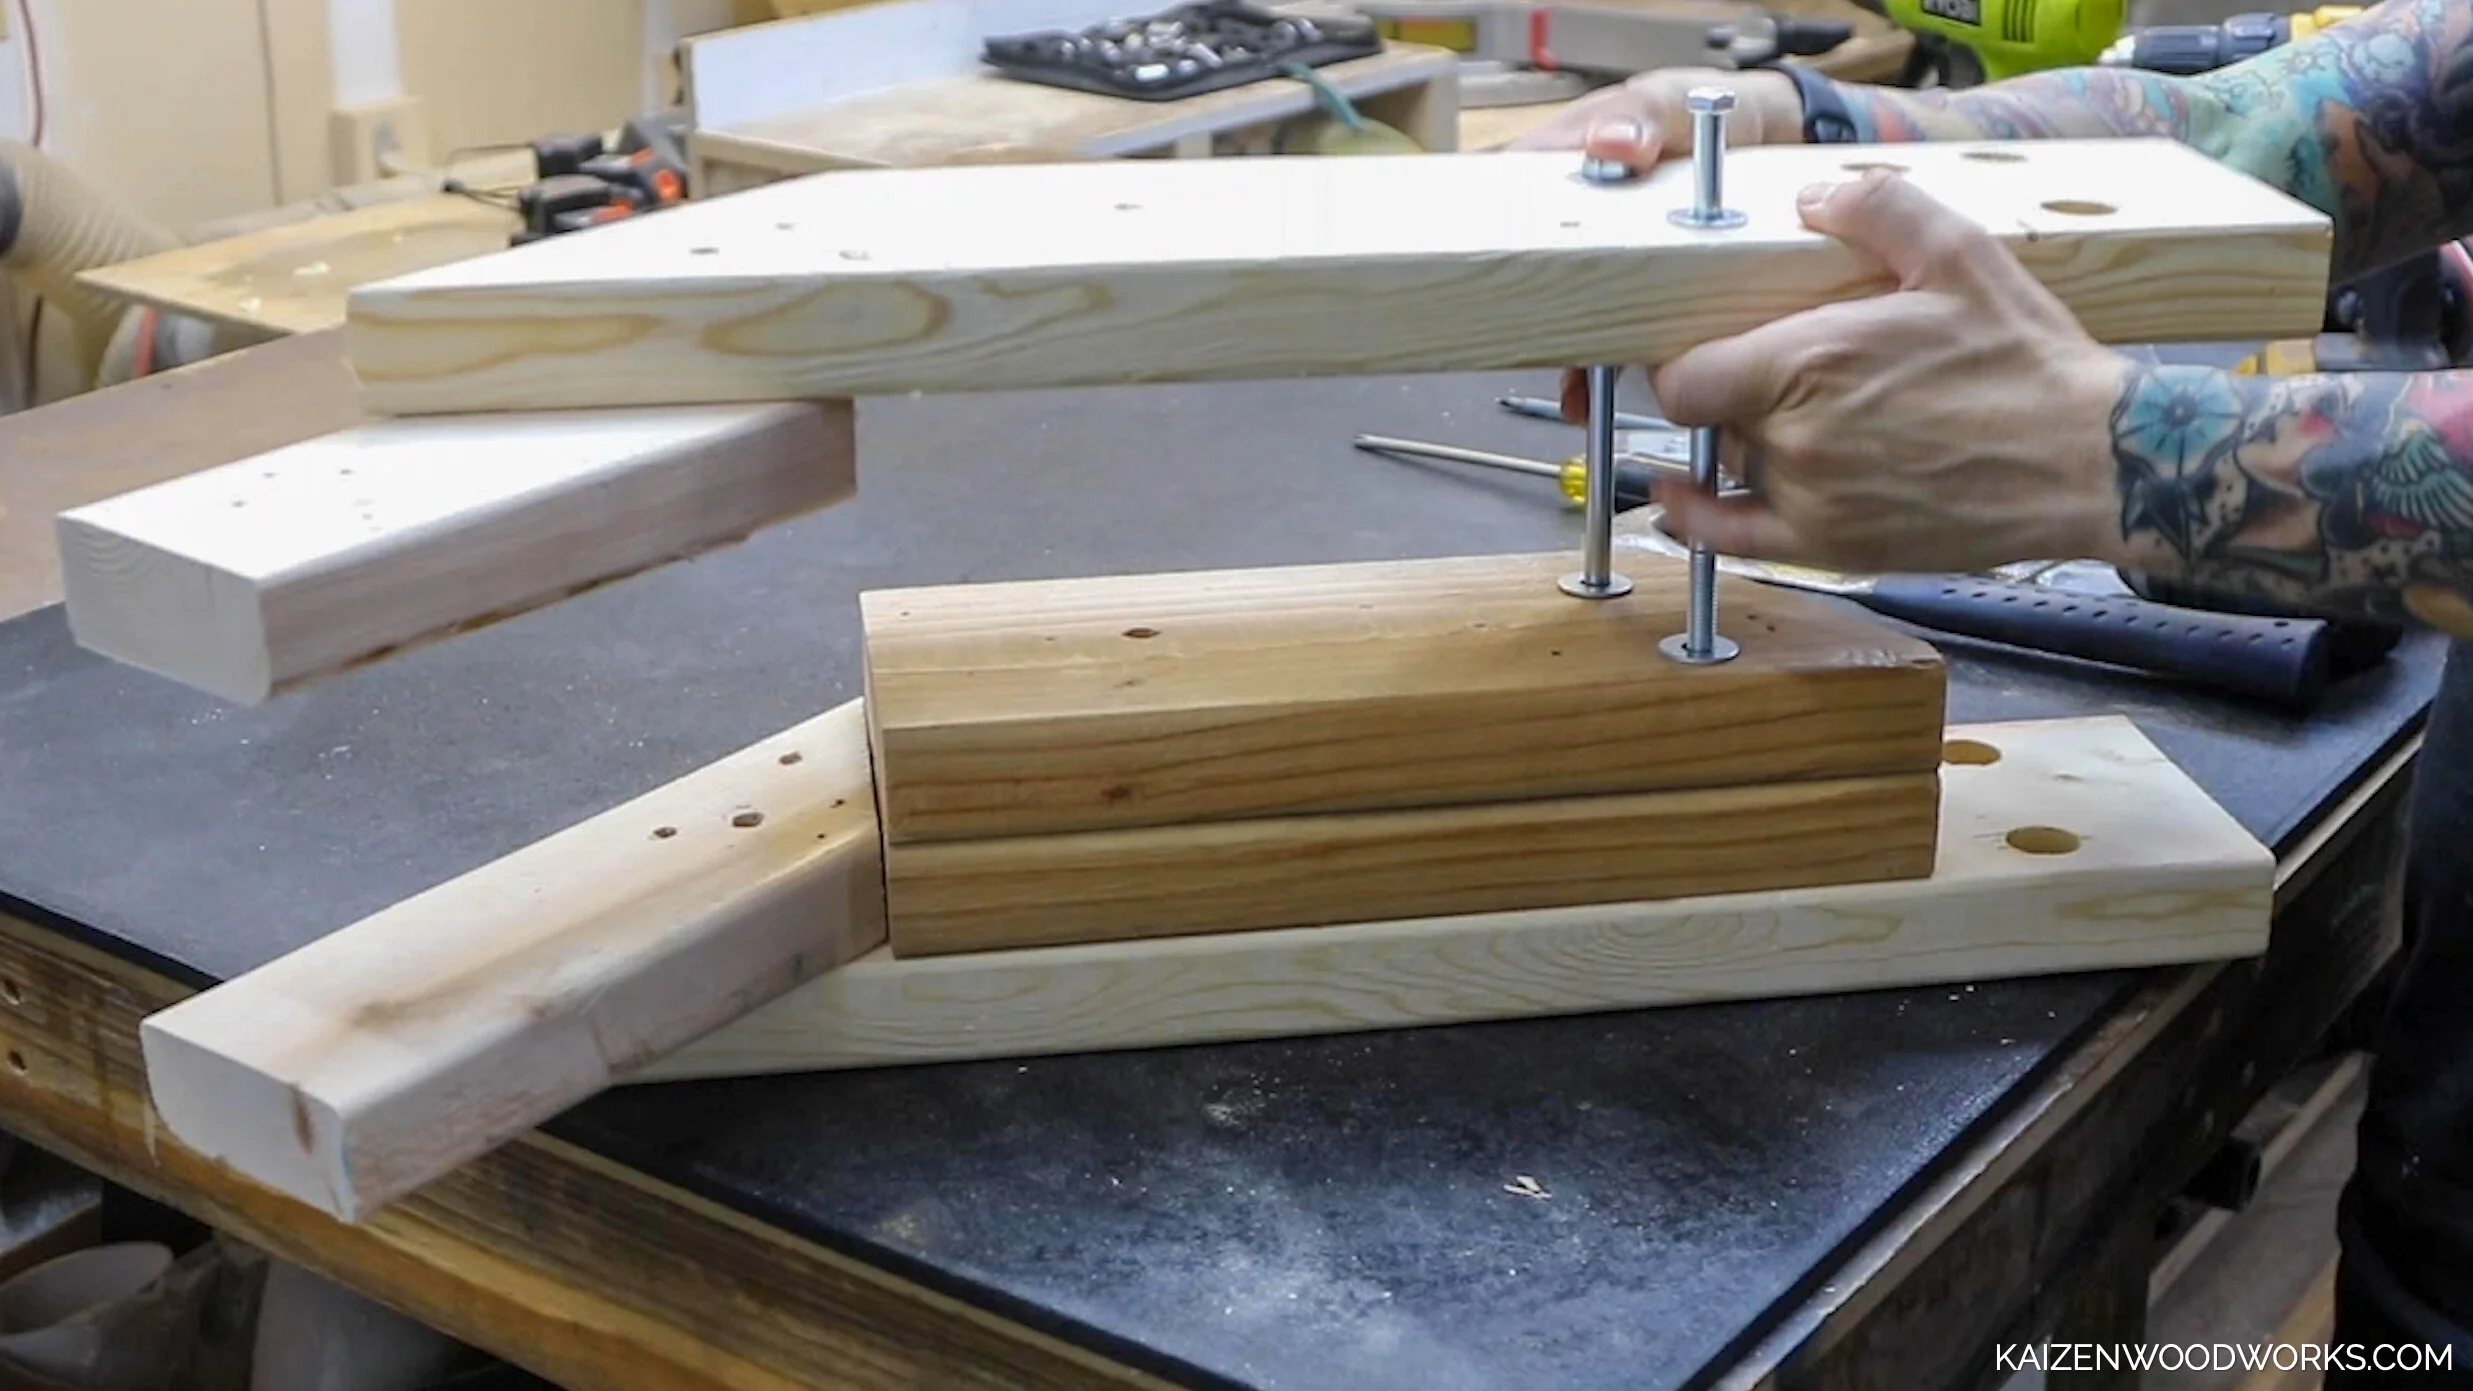
On the bolts that are closest to where it attaches to the rack, I add washers to act as spacers between the 2x6s. This will give it a little extra room and make it easier to put on and take and off.
I realize there needs to be another bolt in the front going through the 2x4s. This is a quick fix.

I go over all of them with a wrench and ratchet to make sure they’re all super snug.
Add some more screws, it’s probably overkill but I want to make sure this thing is extremely secure.

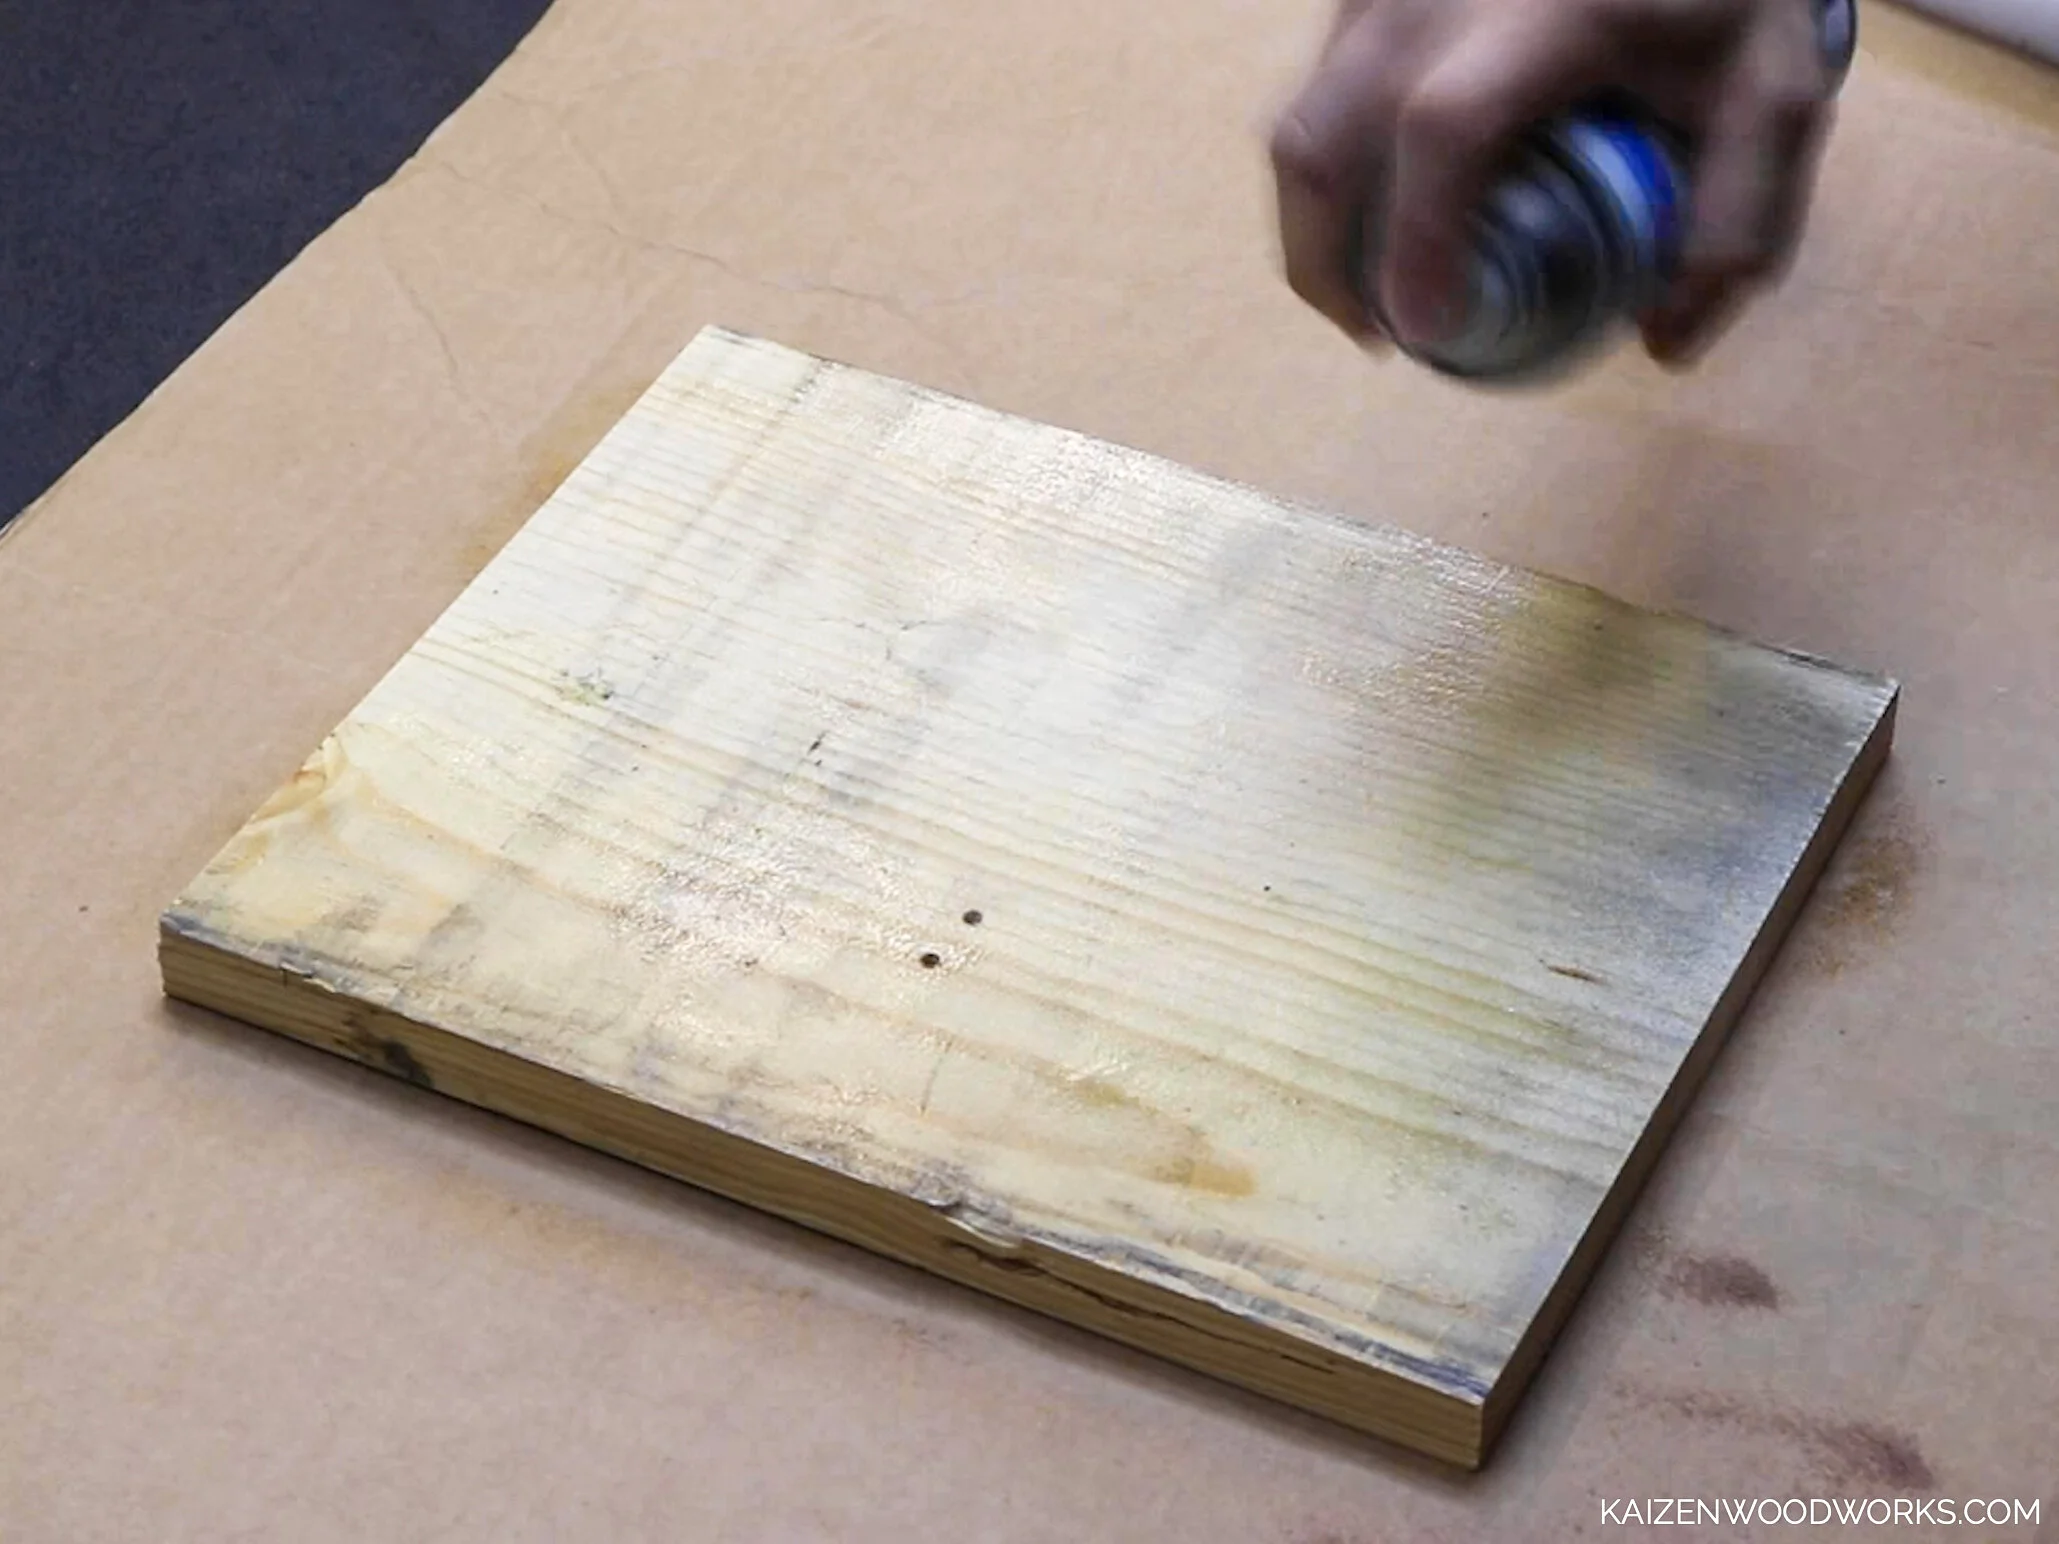
I paint it black to match my power rack. I also paint the lags screws and L brackets that will attach the pad. They’ll be slightly visible.

The pad is 9x12”, I just use some 1x10 scraps I have leftover from another project. You could also use plywood or OSB for this. Just make sure it’s thick enough to hold your body weight. 3/4” to 1” minimum.
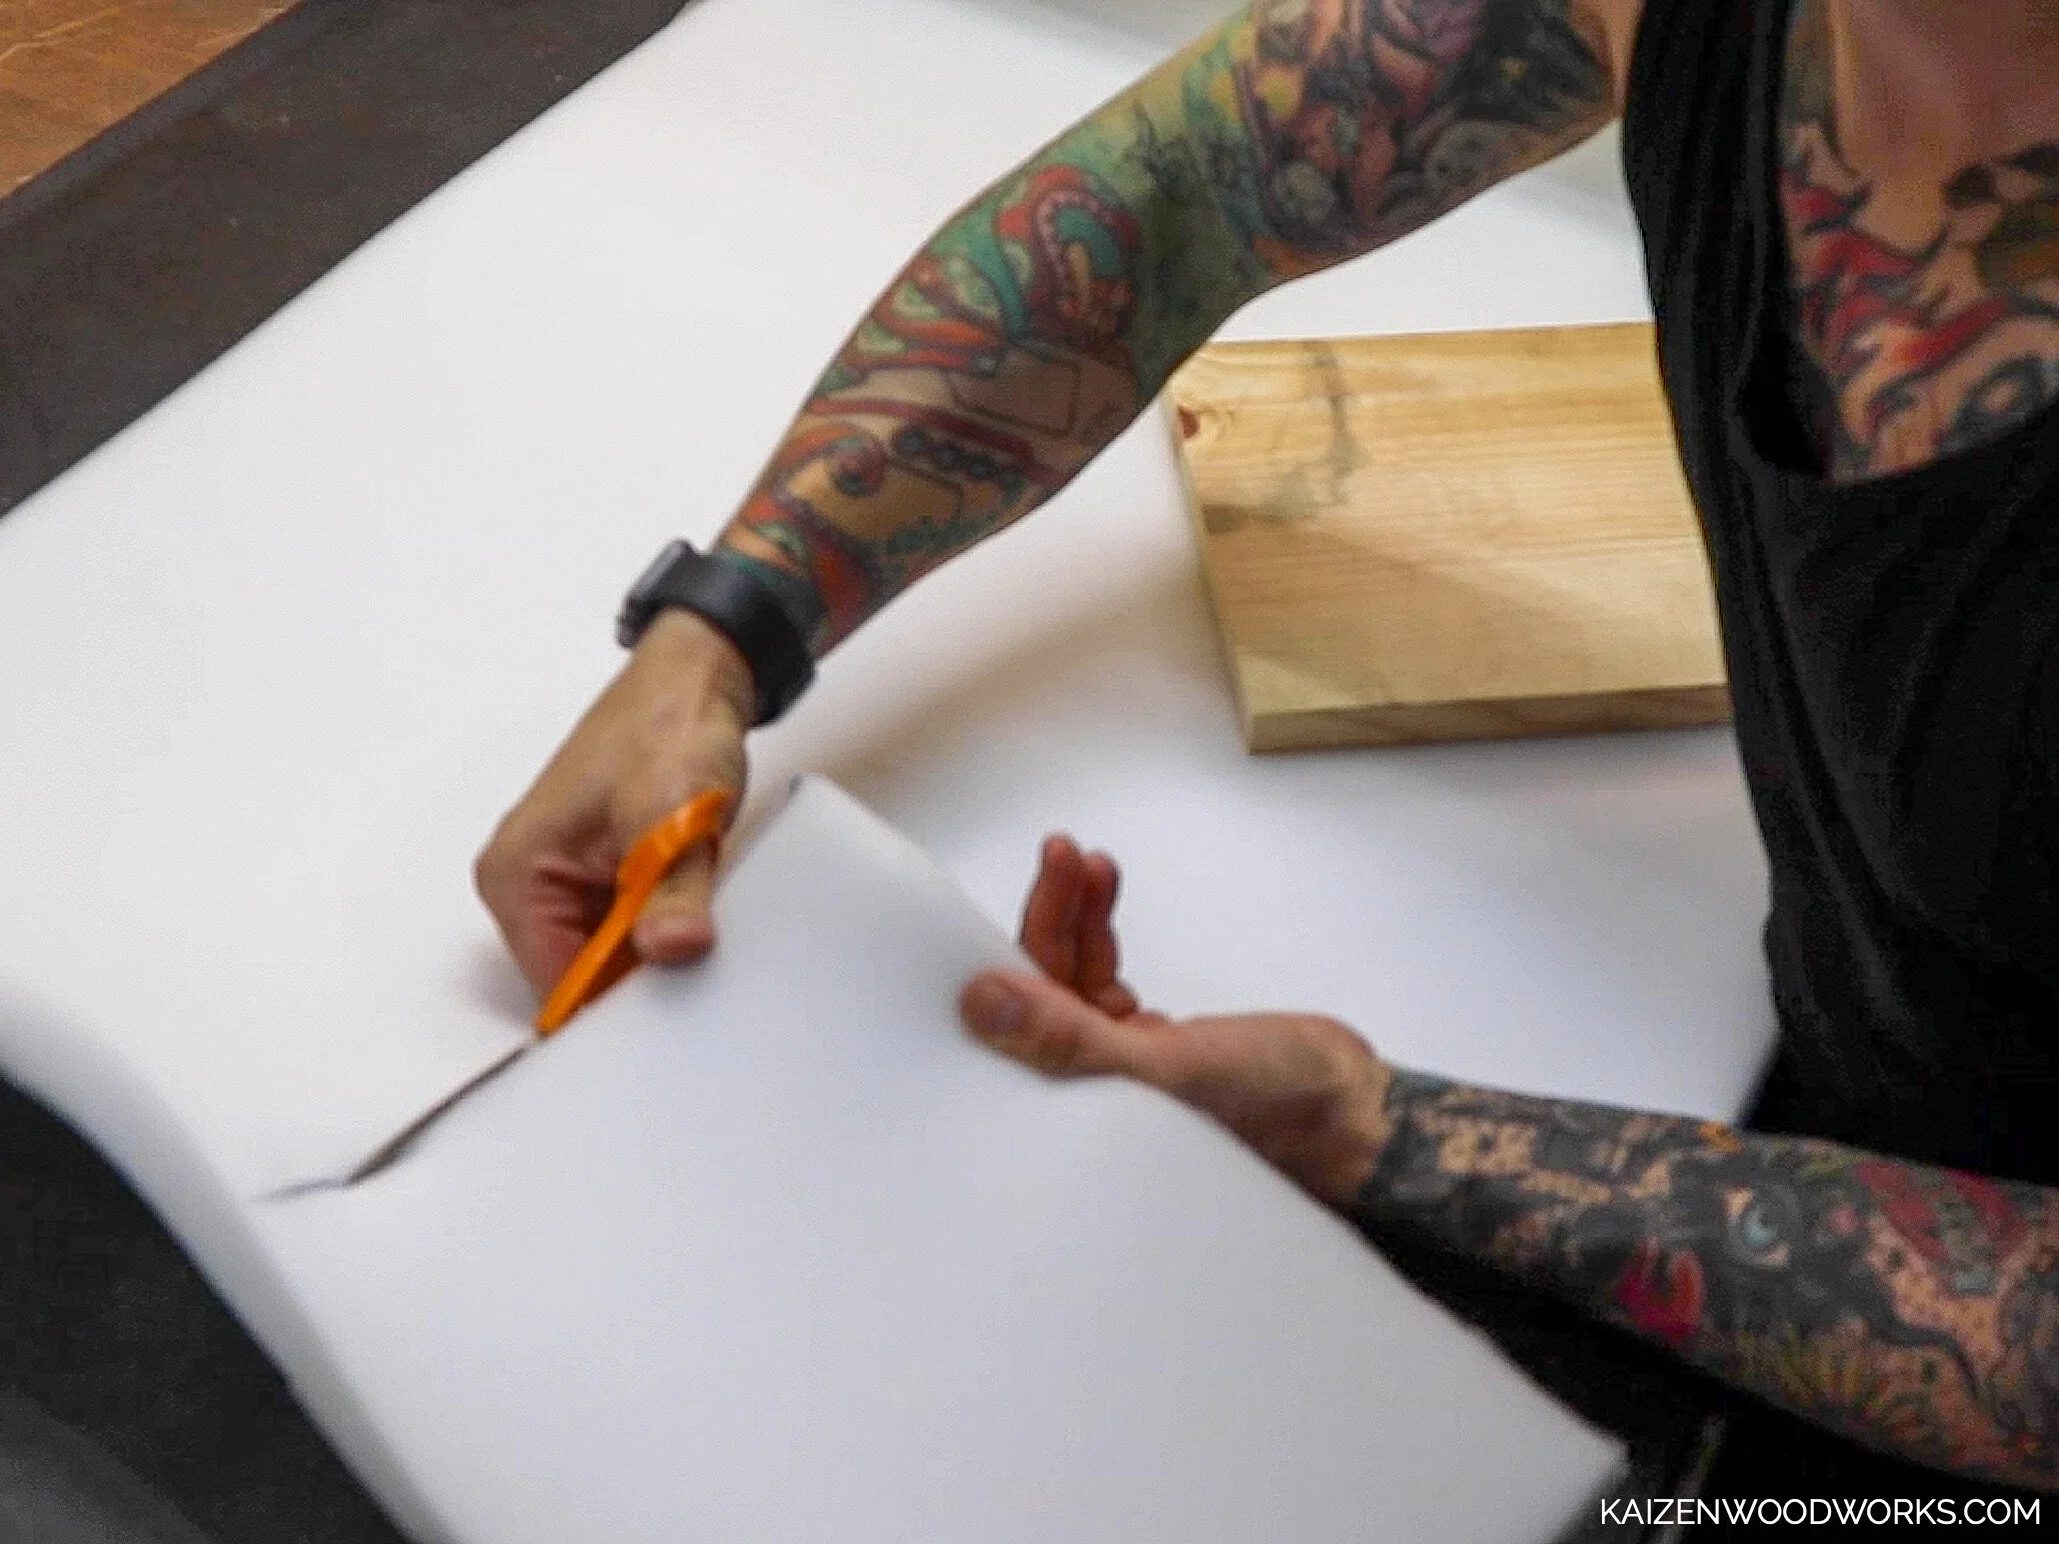

I cut the foam to the same size as the board. I cut the fabric so there is an extra 3 inches on each side to fold over. My fabric piece measures 15x18

Spray adhesive dries quick and helps keep the pad in place. I’m definitely not a pro at doing upholstery. This is my second project where I’ve done my own pad. It gets easier with experience. There are lots of tutorials on how to do this properly.
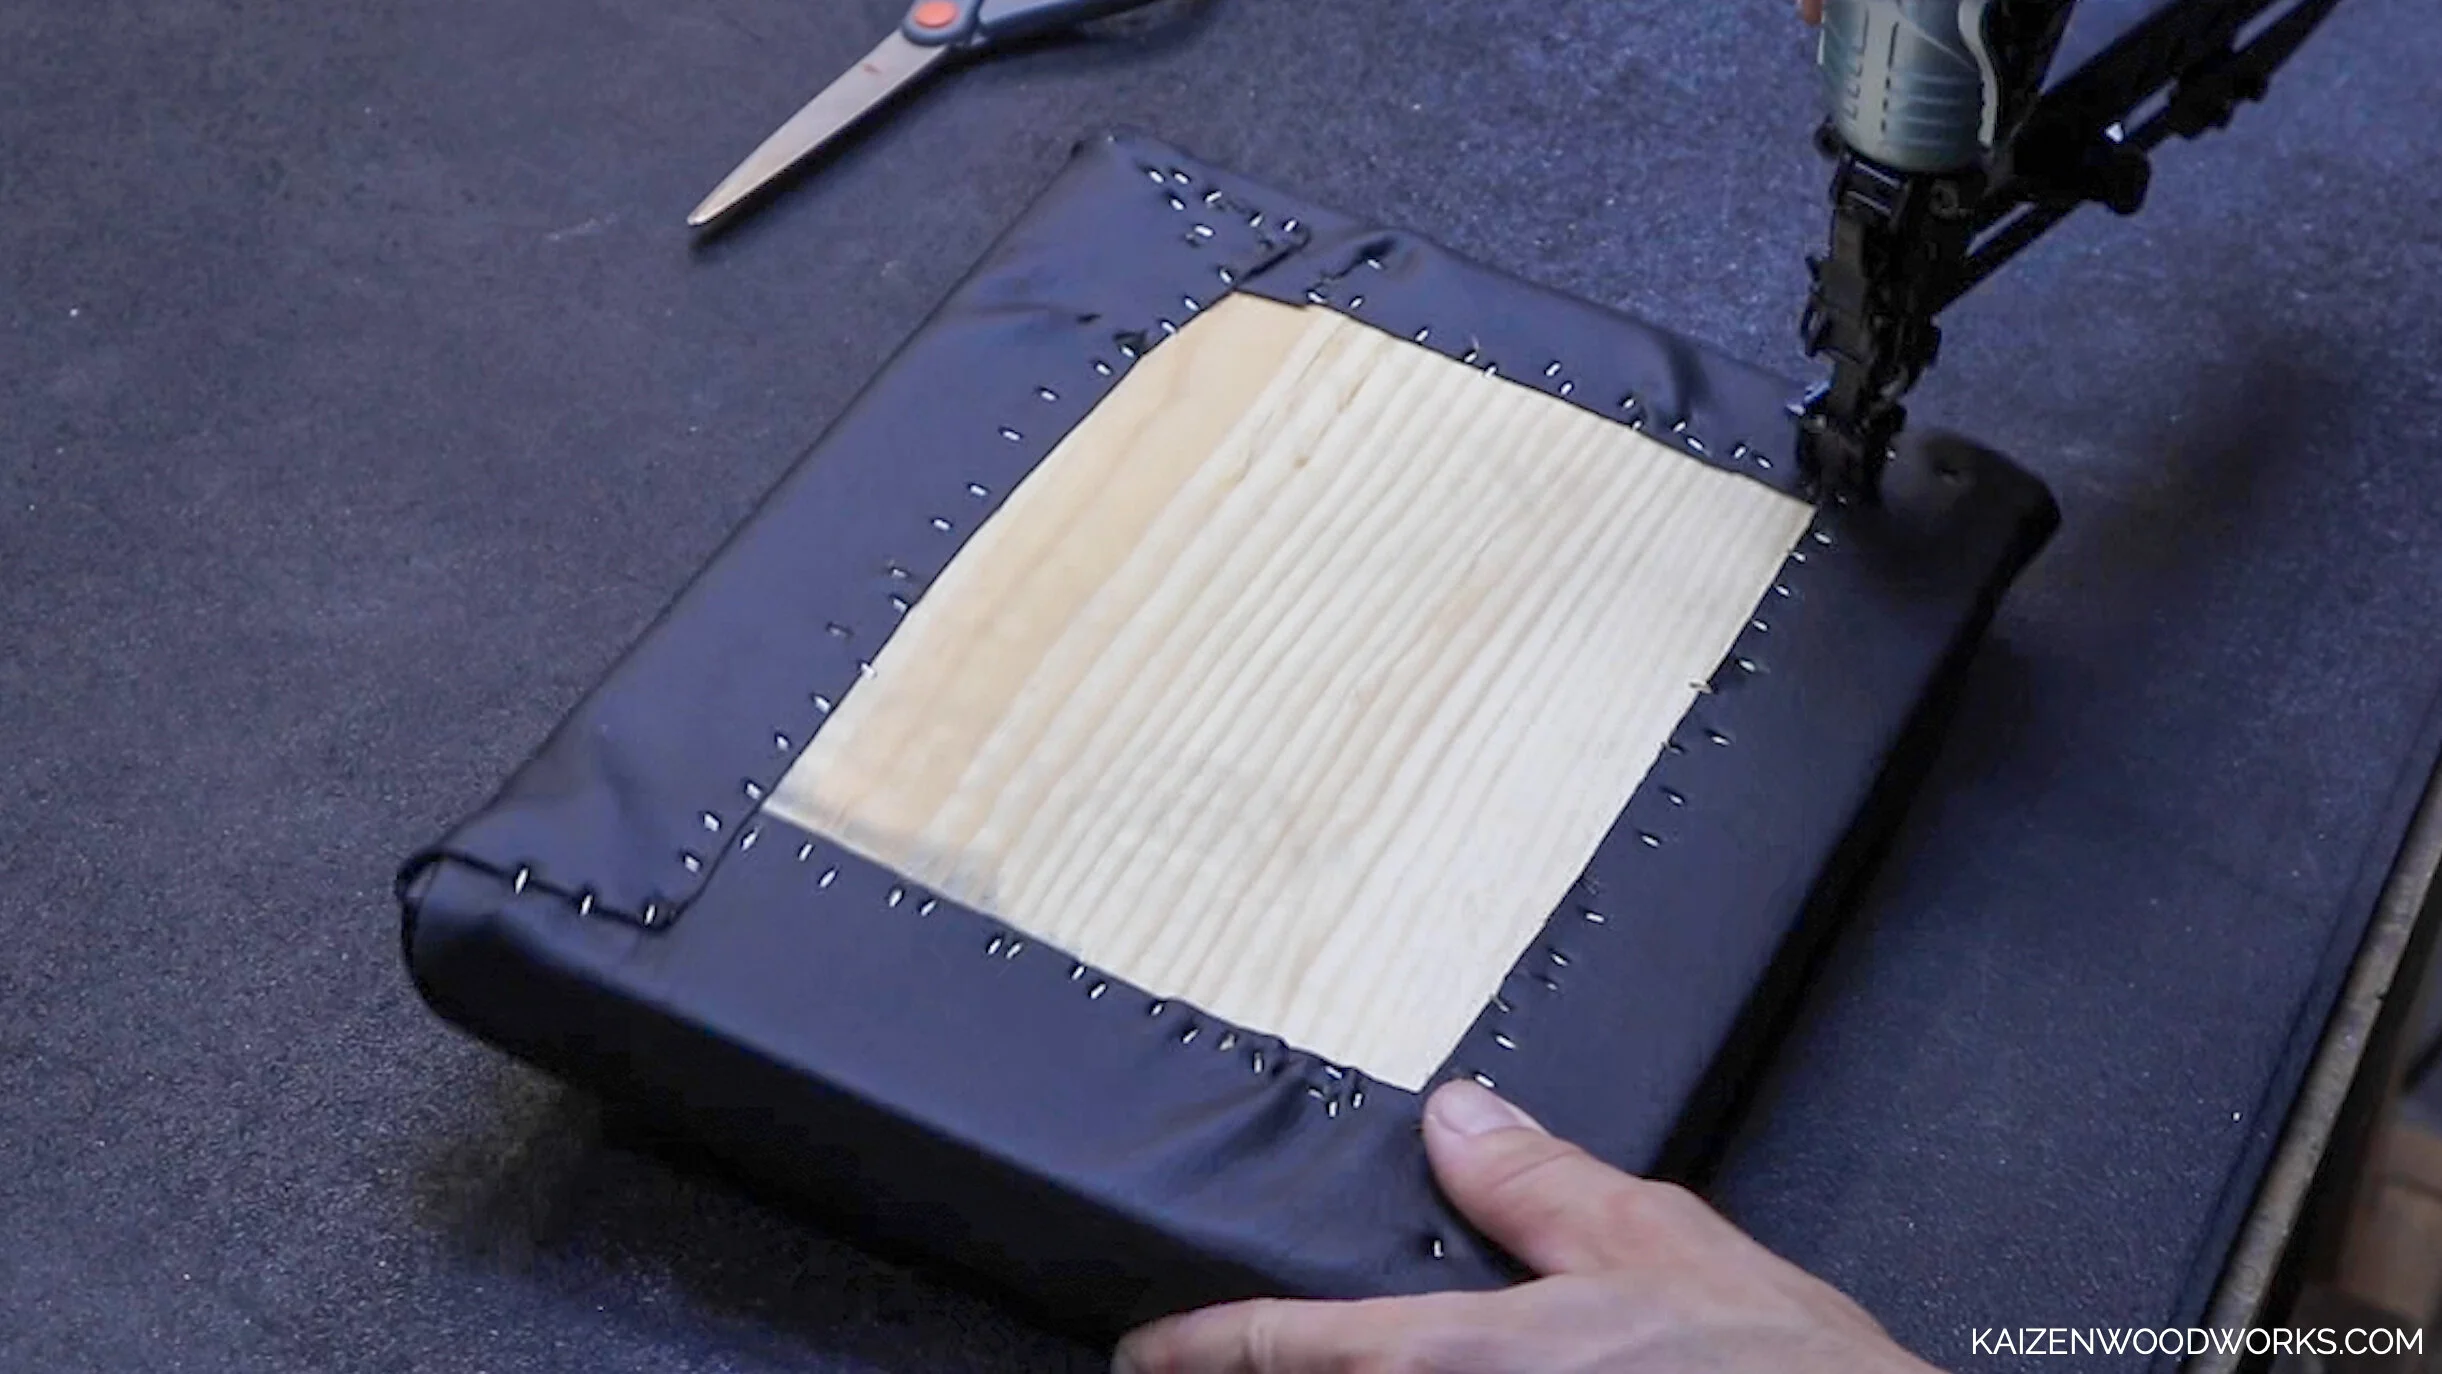
For my purposes, it doesn’t have to be perfect. From the top side, the finished product looks great.

I use L brackets and 1 inch lag screws to attach the pad.
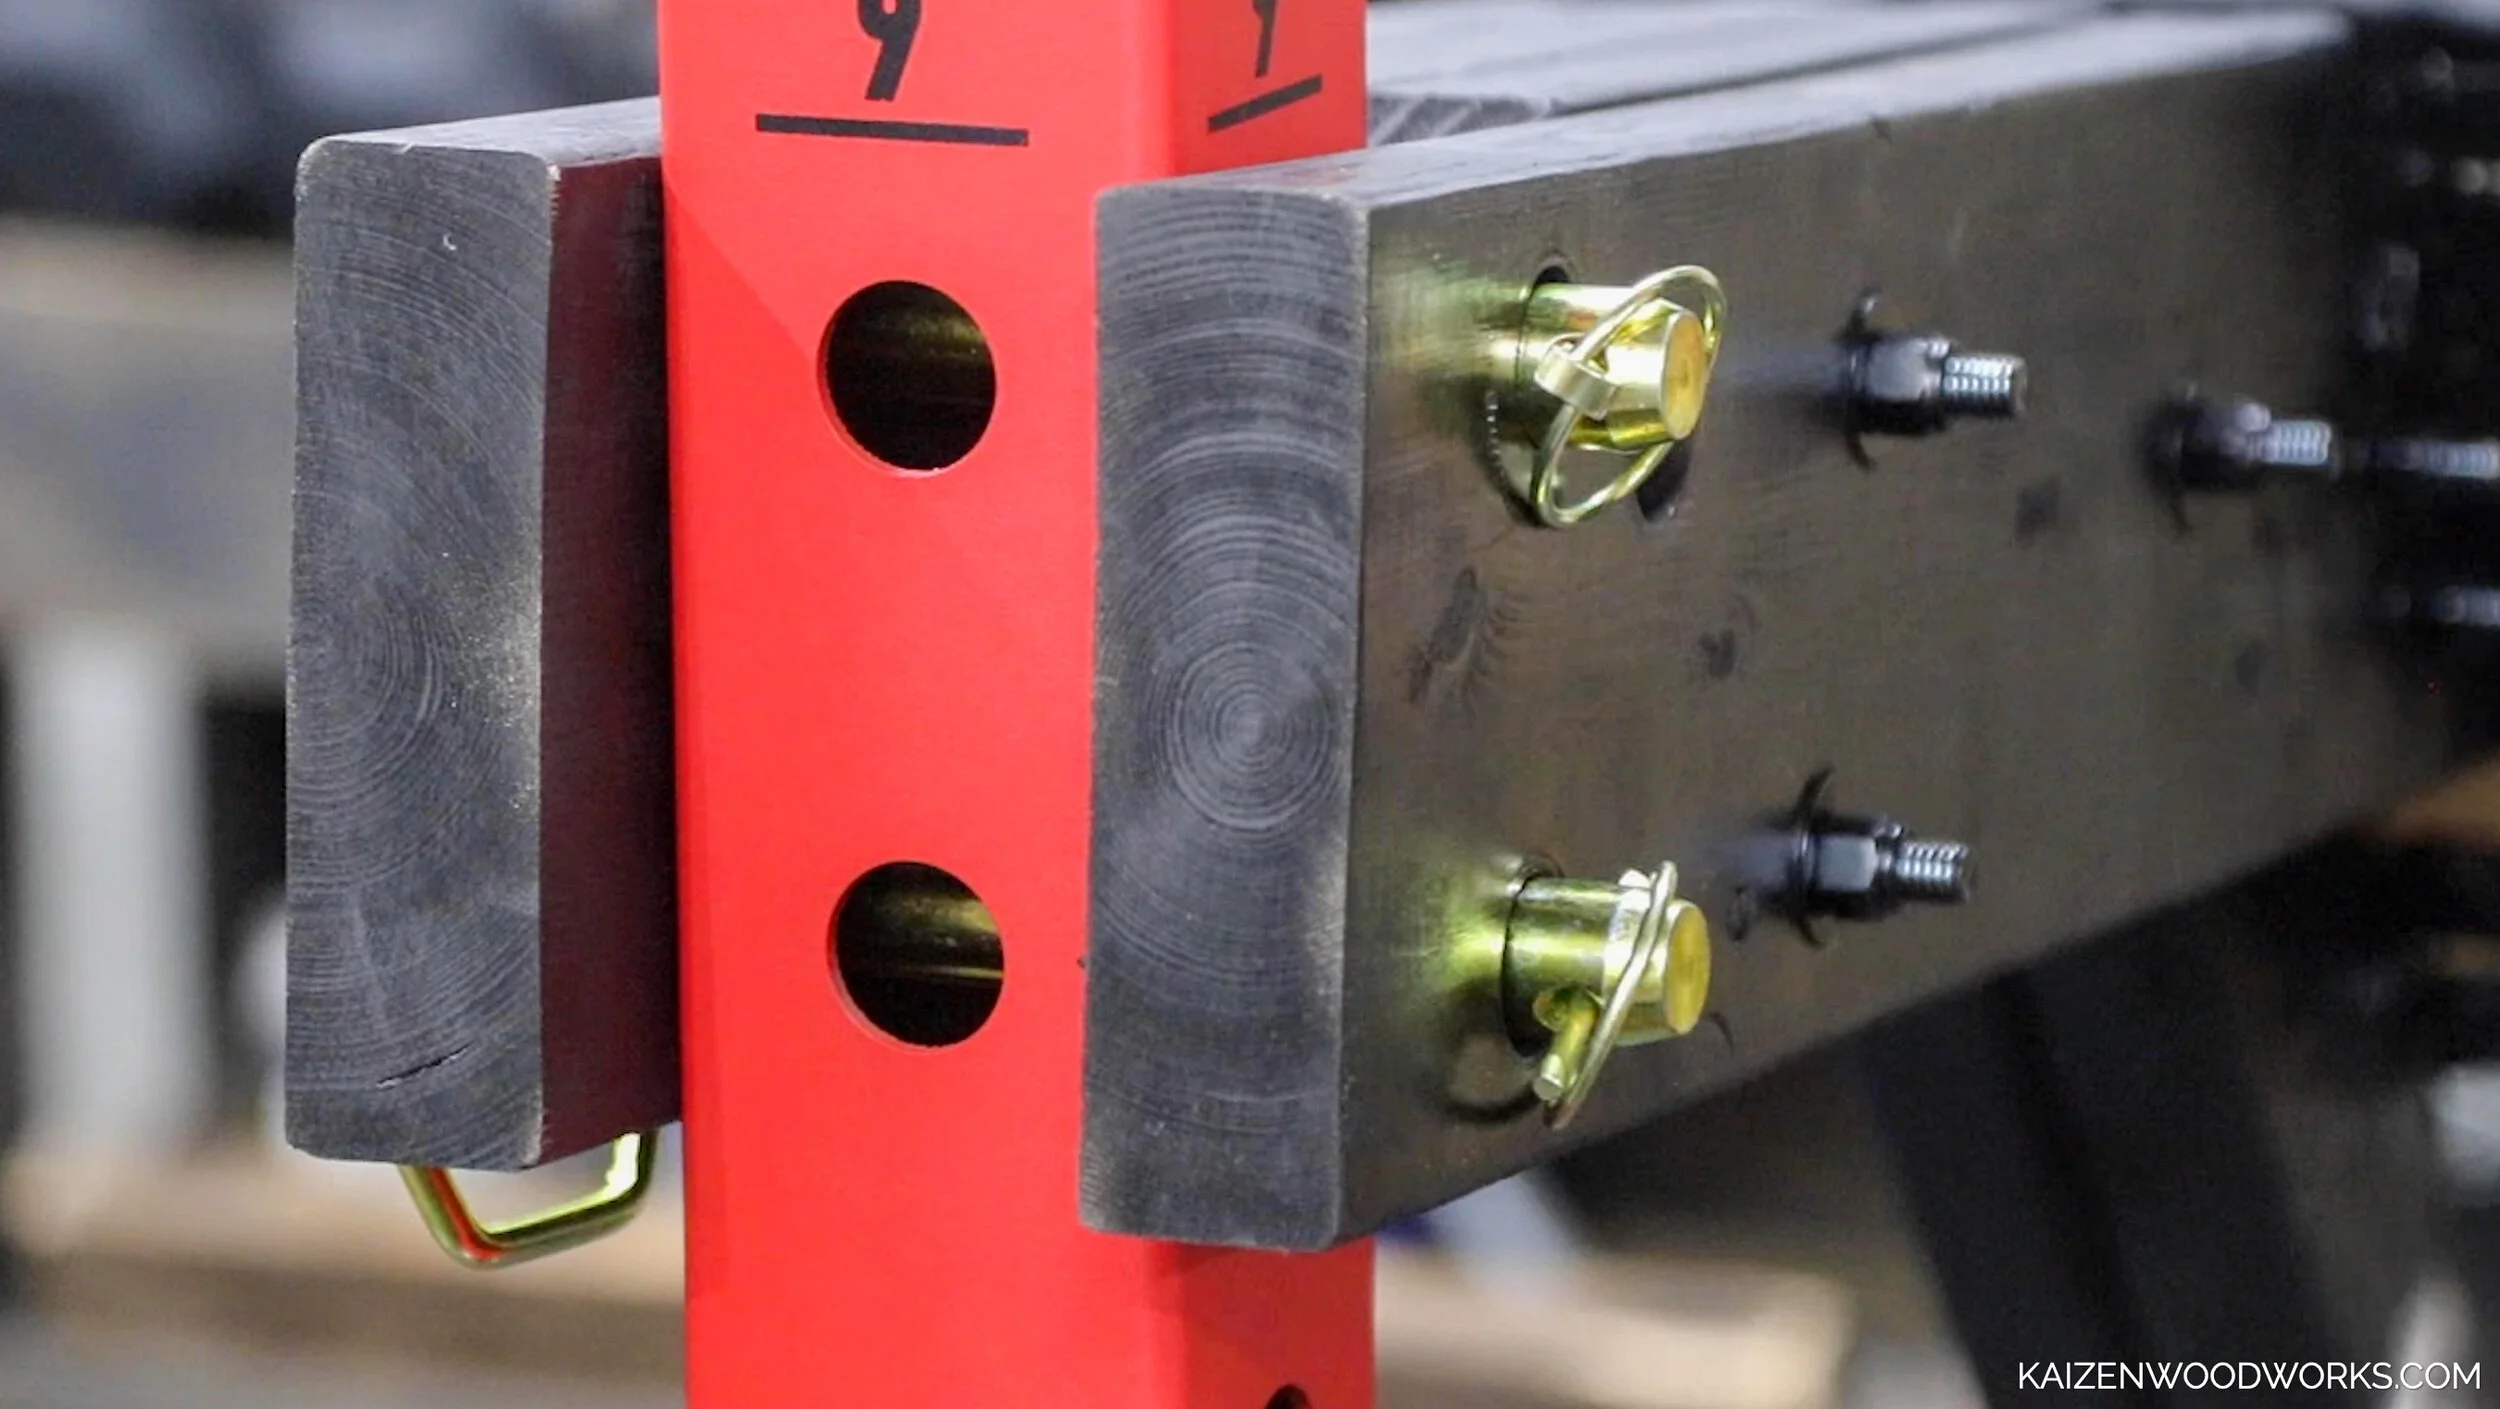
I use 7 inch long hitch pins to lock it in place.
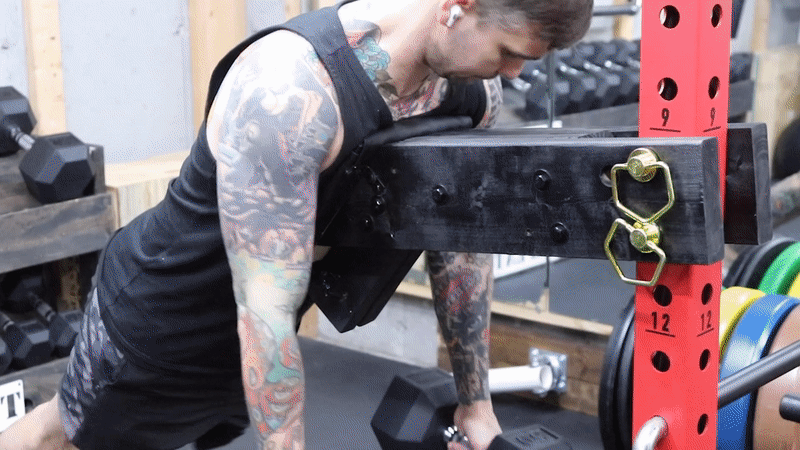
My favorite feature is the ability to use multiple angles.
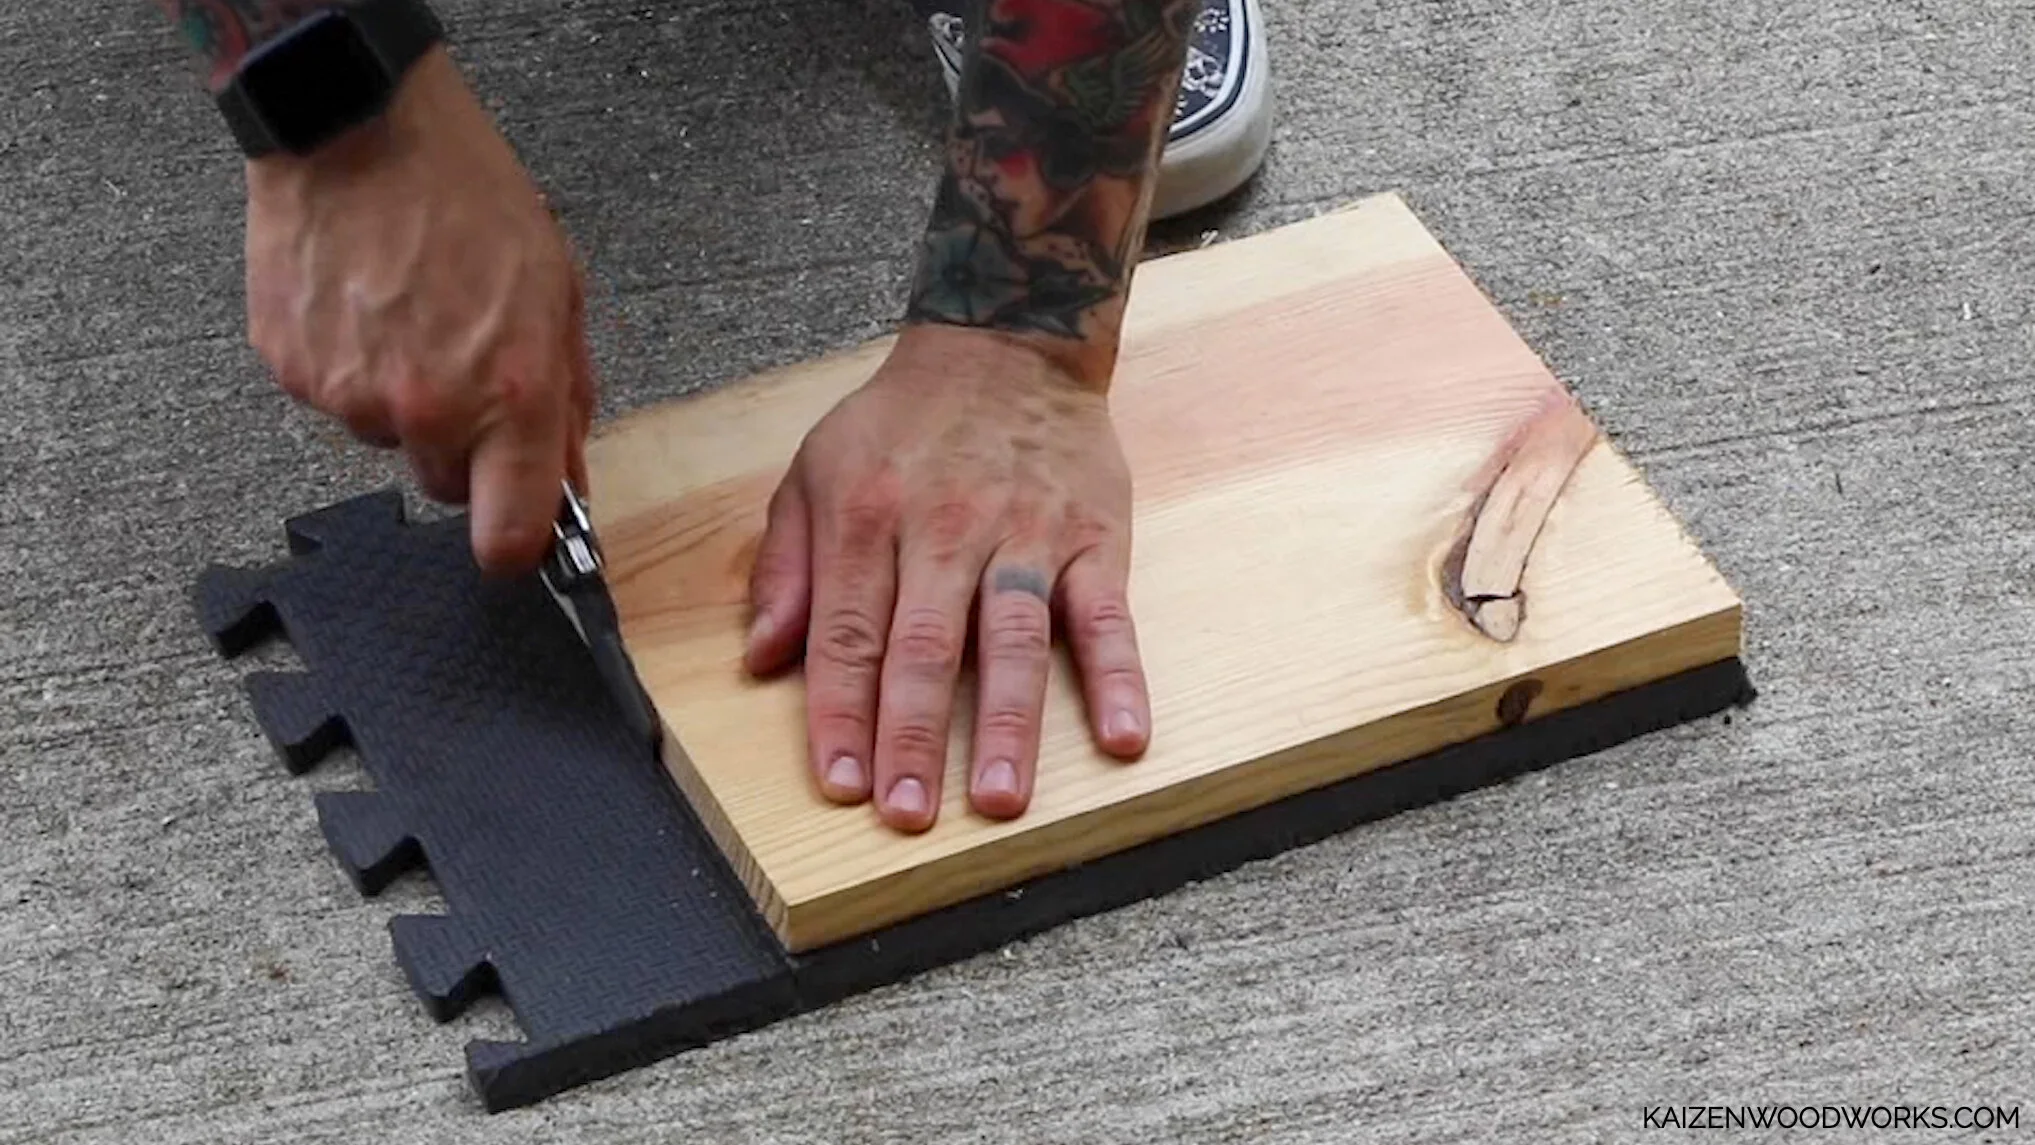
For the simplified version, I use a foam puzzle mat and cut it to size.

Four screws and some finishing washers attach the foam pad to the board.
The simplified version has two holes and only one position but it works just fine.
This post is not sponsored. Some of the links are affiliates which means if you purchase through the link, I’ll receive a small commission.
If you like this, check out my other home gym diy projects.
Do you have an idea for my next build? Leave a comment below!
If you build this, I’d love to see it! Tag #kaizendiygym on Instagram and I’ll feature it on my page!
https://www.instagram.com/kaizendiygym
@kaizendiygym