
DIY deadlift platform
How to Build a DIY Deadlift Platform
A deadlift platform is a great way to protect your floor while lifting heavy. There are two common sizes - 4’x8’ and 8’x8’, and a wide variety of options for modifications and customizations.
Building a Standard 4’x8’ Deadlift Platform
In this article, you’ll see how I built a standard 4’x8’ platform for my buddy. For more inspiration, check out my roundup of the Top 10 DIY deadlift platform designs.
The materials I used:
1 - 3/4-in x 4-ft x 8-ft Maple Plywood
1 - 4’x8’ sheet of 5/8” thick OSB5/8-in x 4-ft x 8-ft OSB
1 - 4 ft. x 6 ft. x 3/4 in. Thick Rubber Stall Mat
24 - #8 1-1/4" Flat Head Phillips Screws
24 - Stainless Steel Finishing Washers
Minwax Polyurethane, 1/2 Pint, Semi-Gloss
Rust-Oleum Spray Paint, Satin Canyon Black (optional)
This post is not sponsored. Some of the links are affiliates which means if you purchase through the link, I’ll receive a small commission.
Deadlift Platform: Cutting Plywood Tips
Overall, I’d say it was a fairly simple project. The hardest part for me was cutting the very large piece of 3/4” thick plywood. My table saw fence does not go wide enough for it, so a circular saw seemed like the best option.
Choosing the Right Blade for Cutting Plywood
I don’t use my circular saw very often and had never changed the blade before, so getting a new blade seemed like a good idea. What I didn’t realize is that having the right blade makes a huge difference. The plywood I bought for the project was maple, so naturally, I bought a circular saw blade that was made for cutting hardwood. WRONG. As it turns out, you’ll need a blade specifically made for plywood. Using the wrong blade makes the cut a lot more difficult and is potentially dangerous.
Pro Tip: Let the Store Cut Your Plywood
Side note: I’ve heard that depending on where you purchase the wood, the store may be able to cut it for you. This might be the easiest option as long as the cut is accurate.

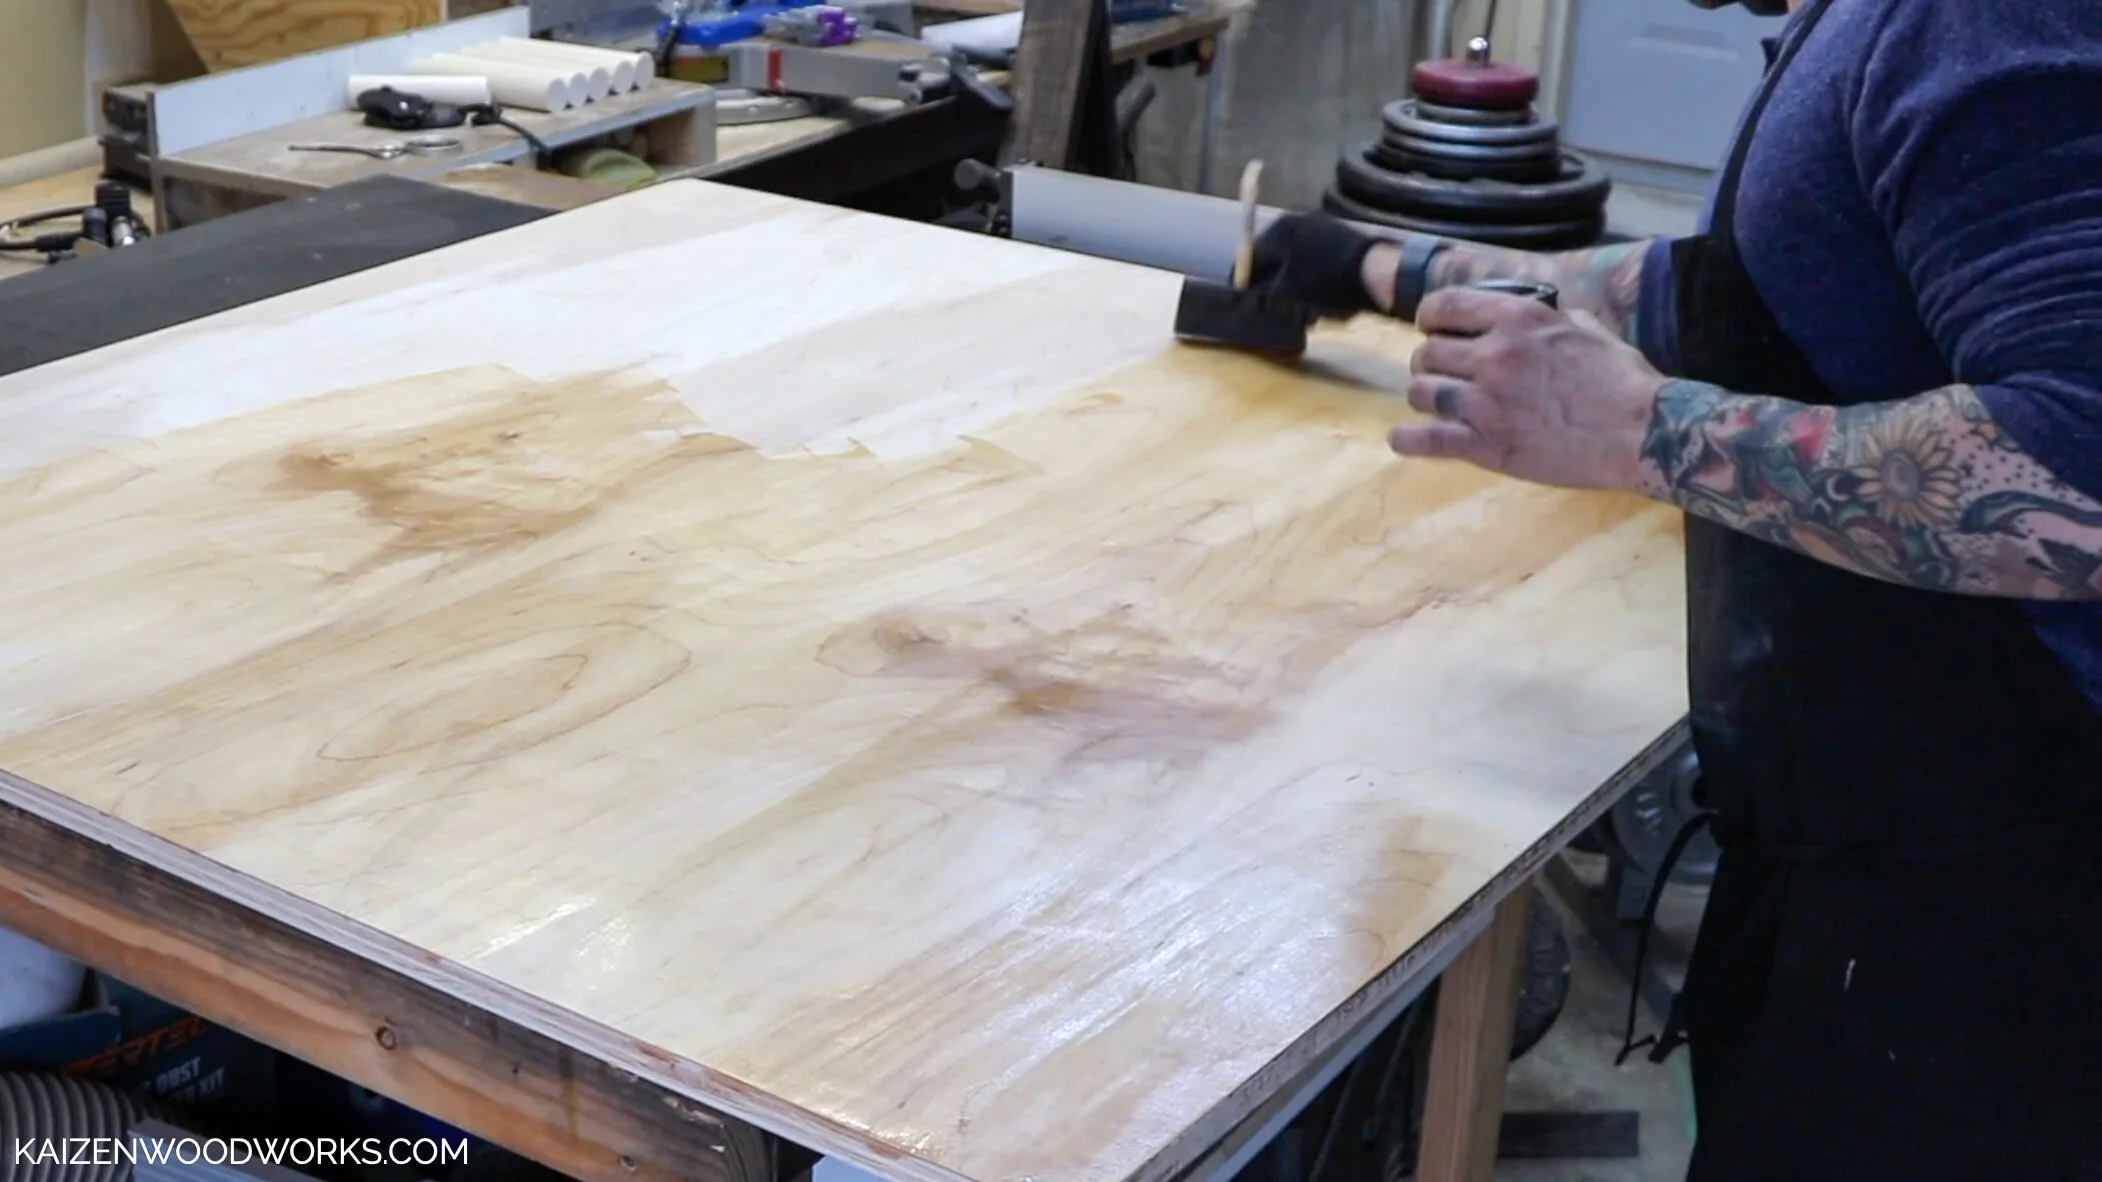
DIY Deadlift Platform: Sanding and Finishing Maple Plywood
After finally cutting my maple plywood in half, I sanded out the scuffs, softened the edges, and applied a coat of polyurethane to the top. I let that first coat dry overnight before applying the second coat of polyurethane.

You can’t deadlift without a barbell and some plates! Check out my affiliates to see current pricing!

Save $.68 per lb with local pick up


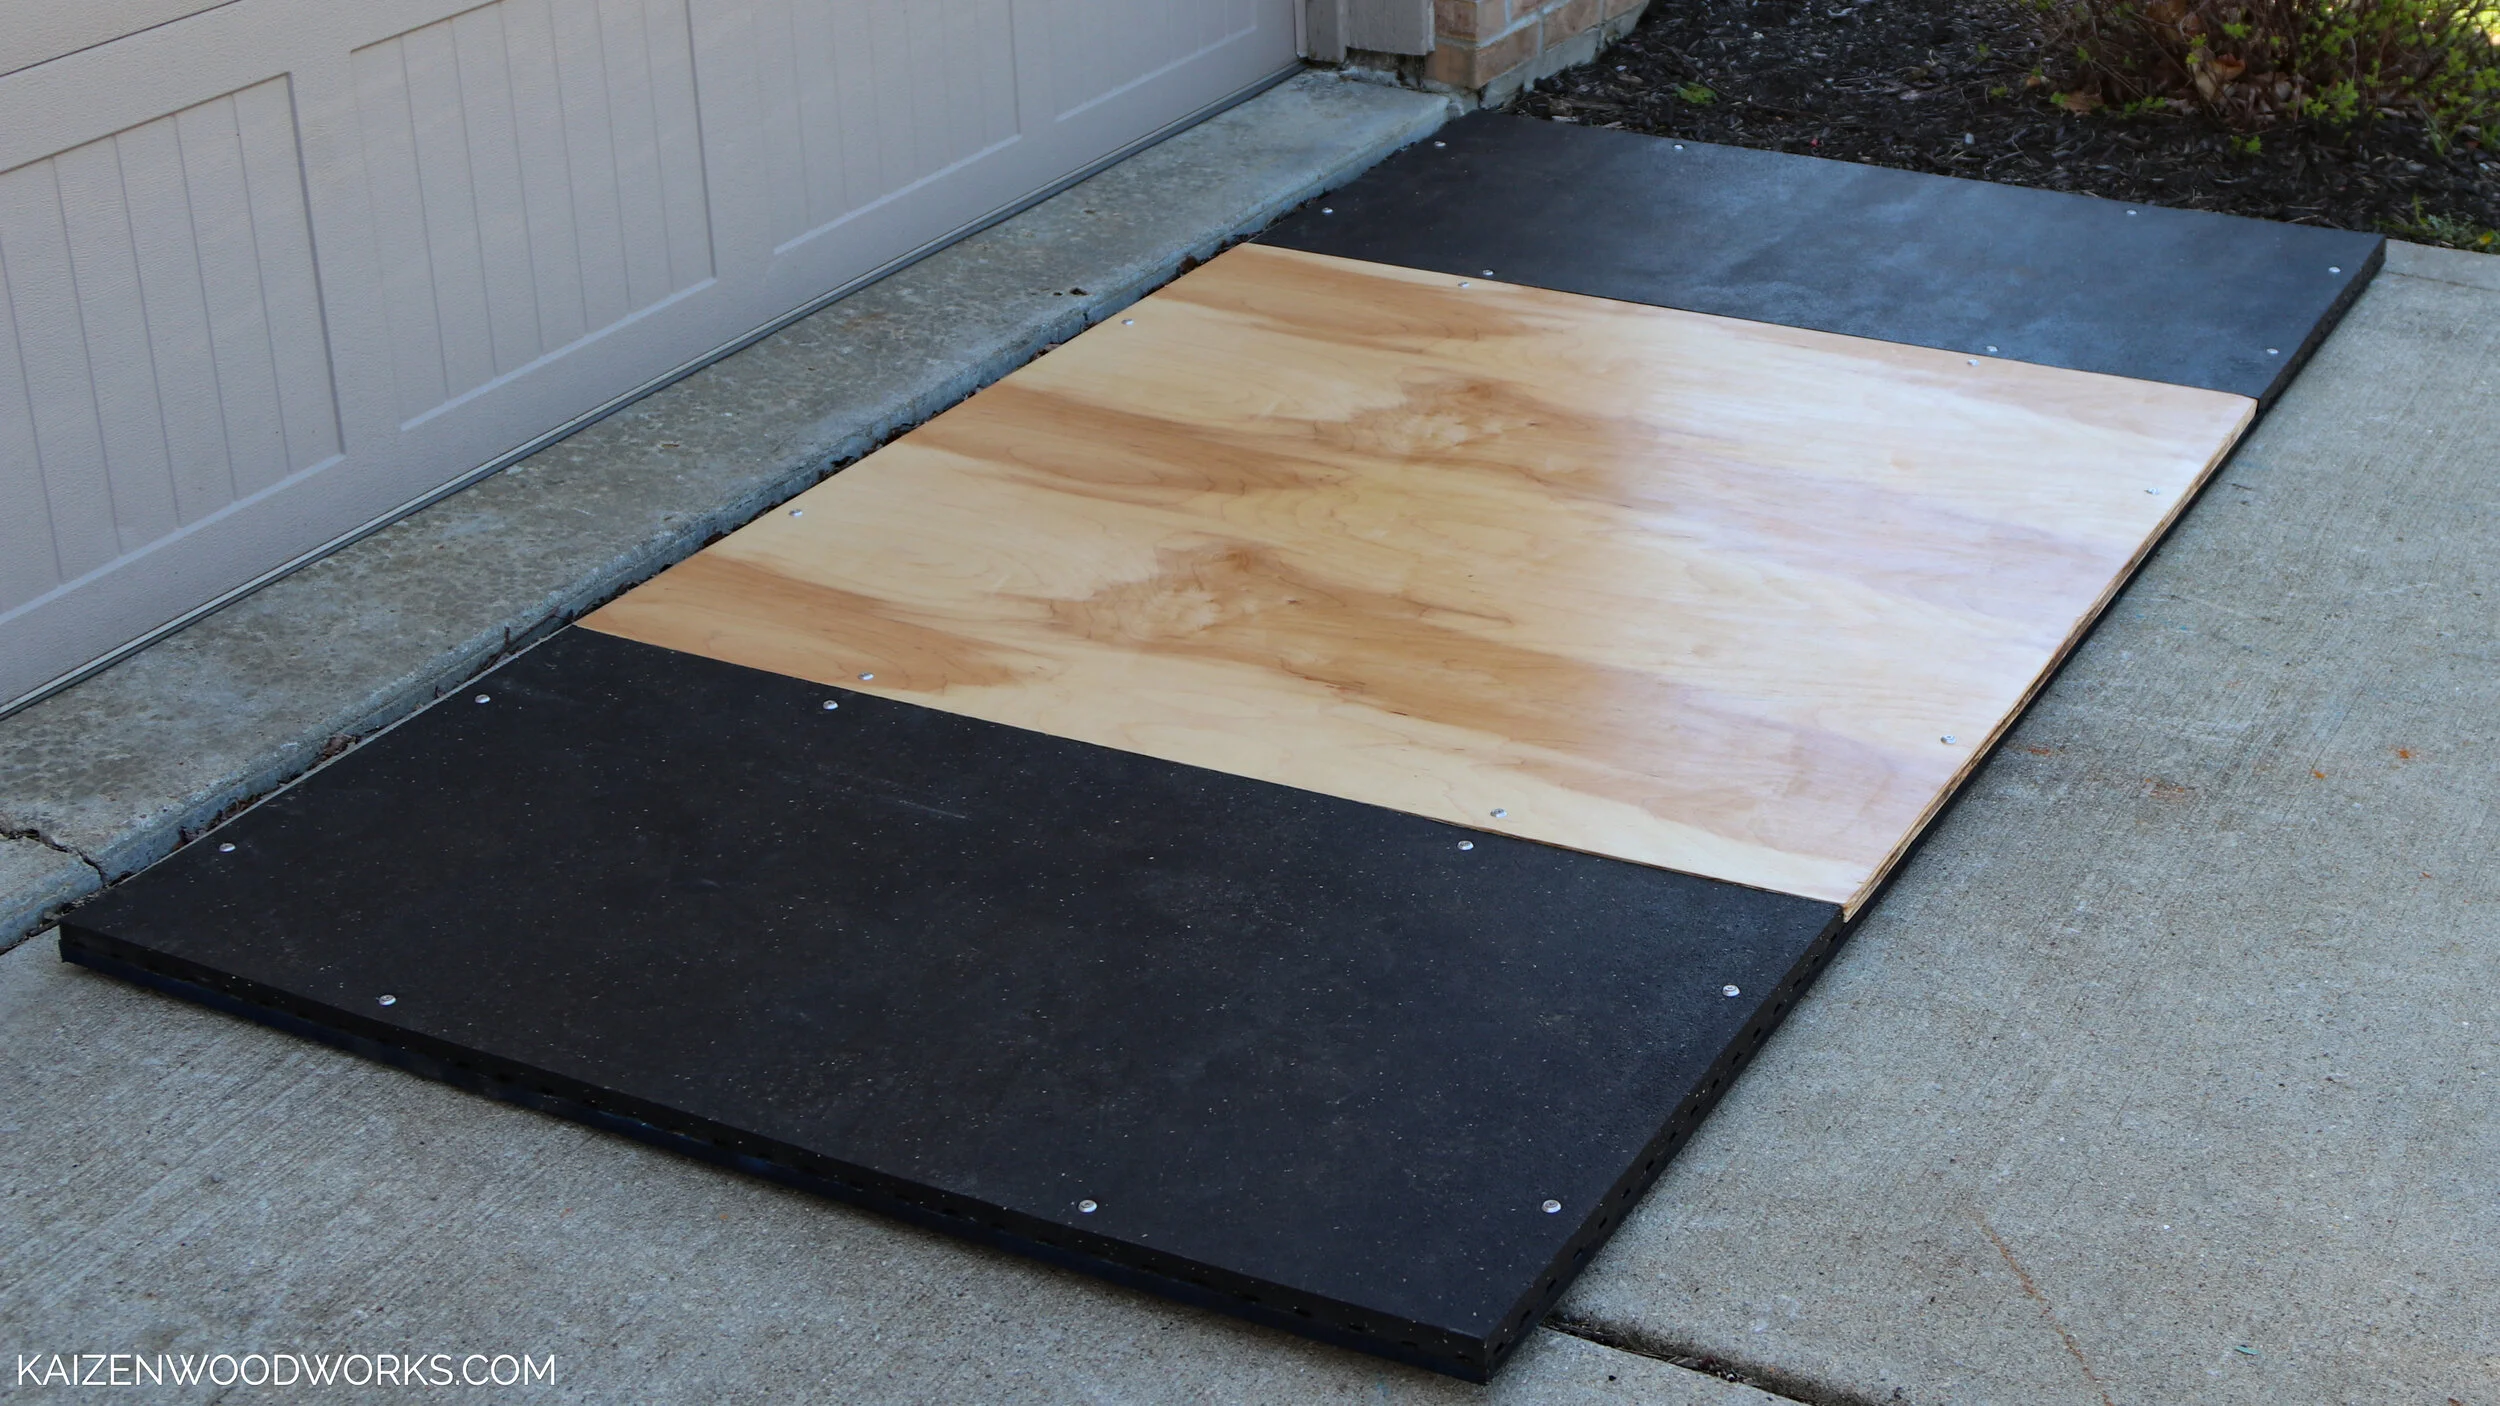
How to Cut Stall Mats for a DIY Deadlift Platform
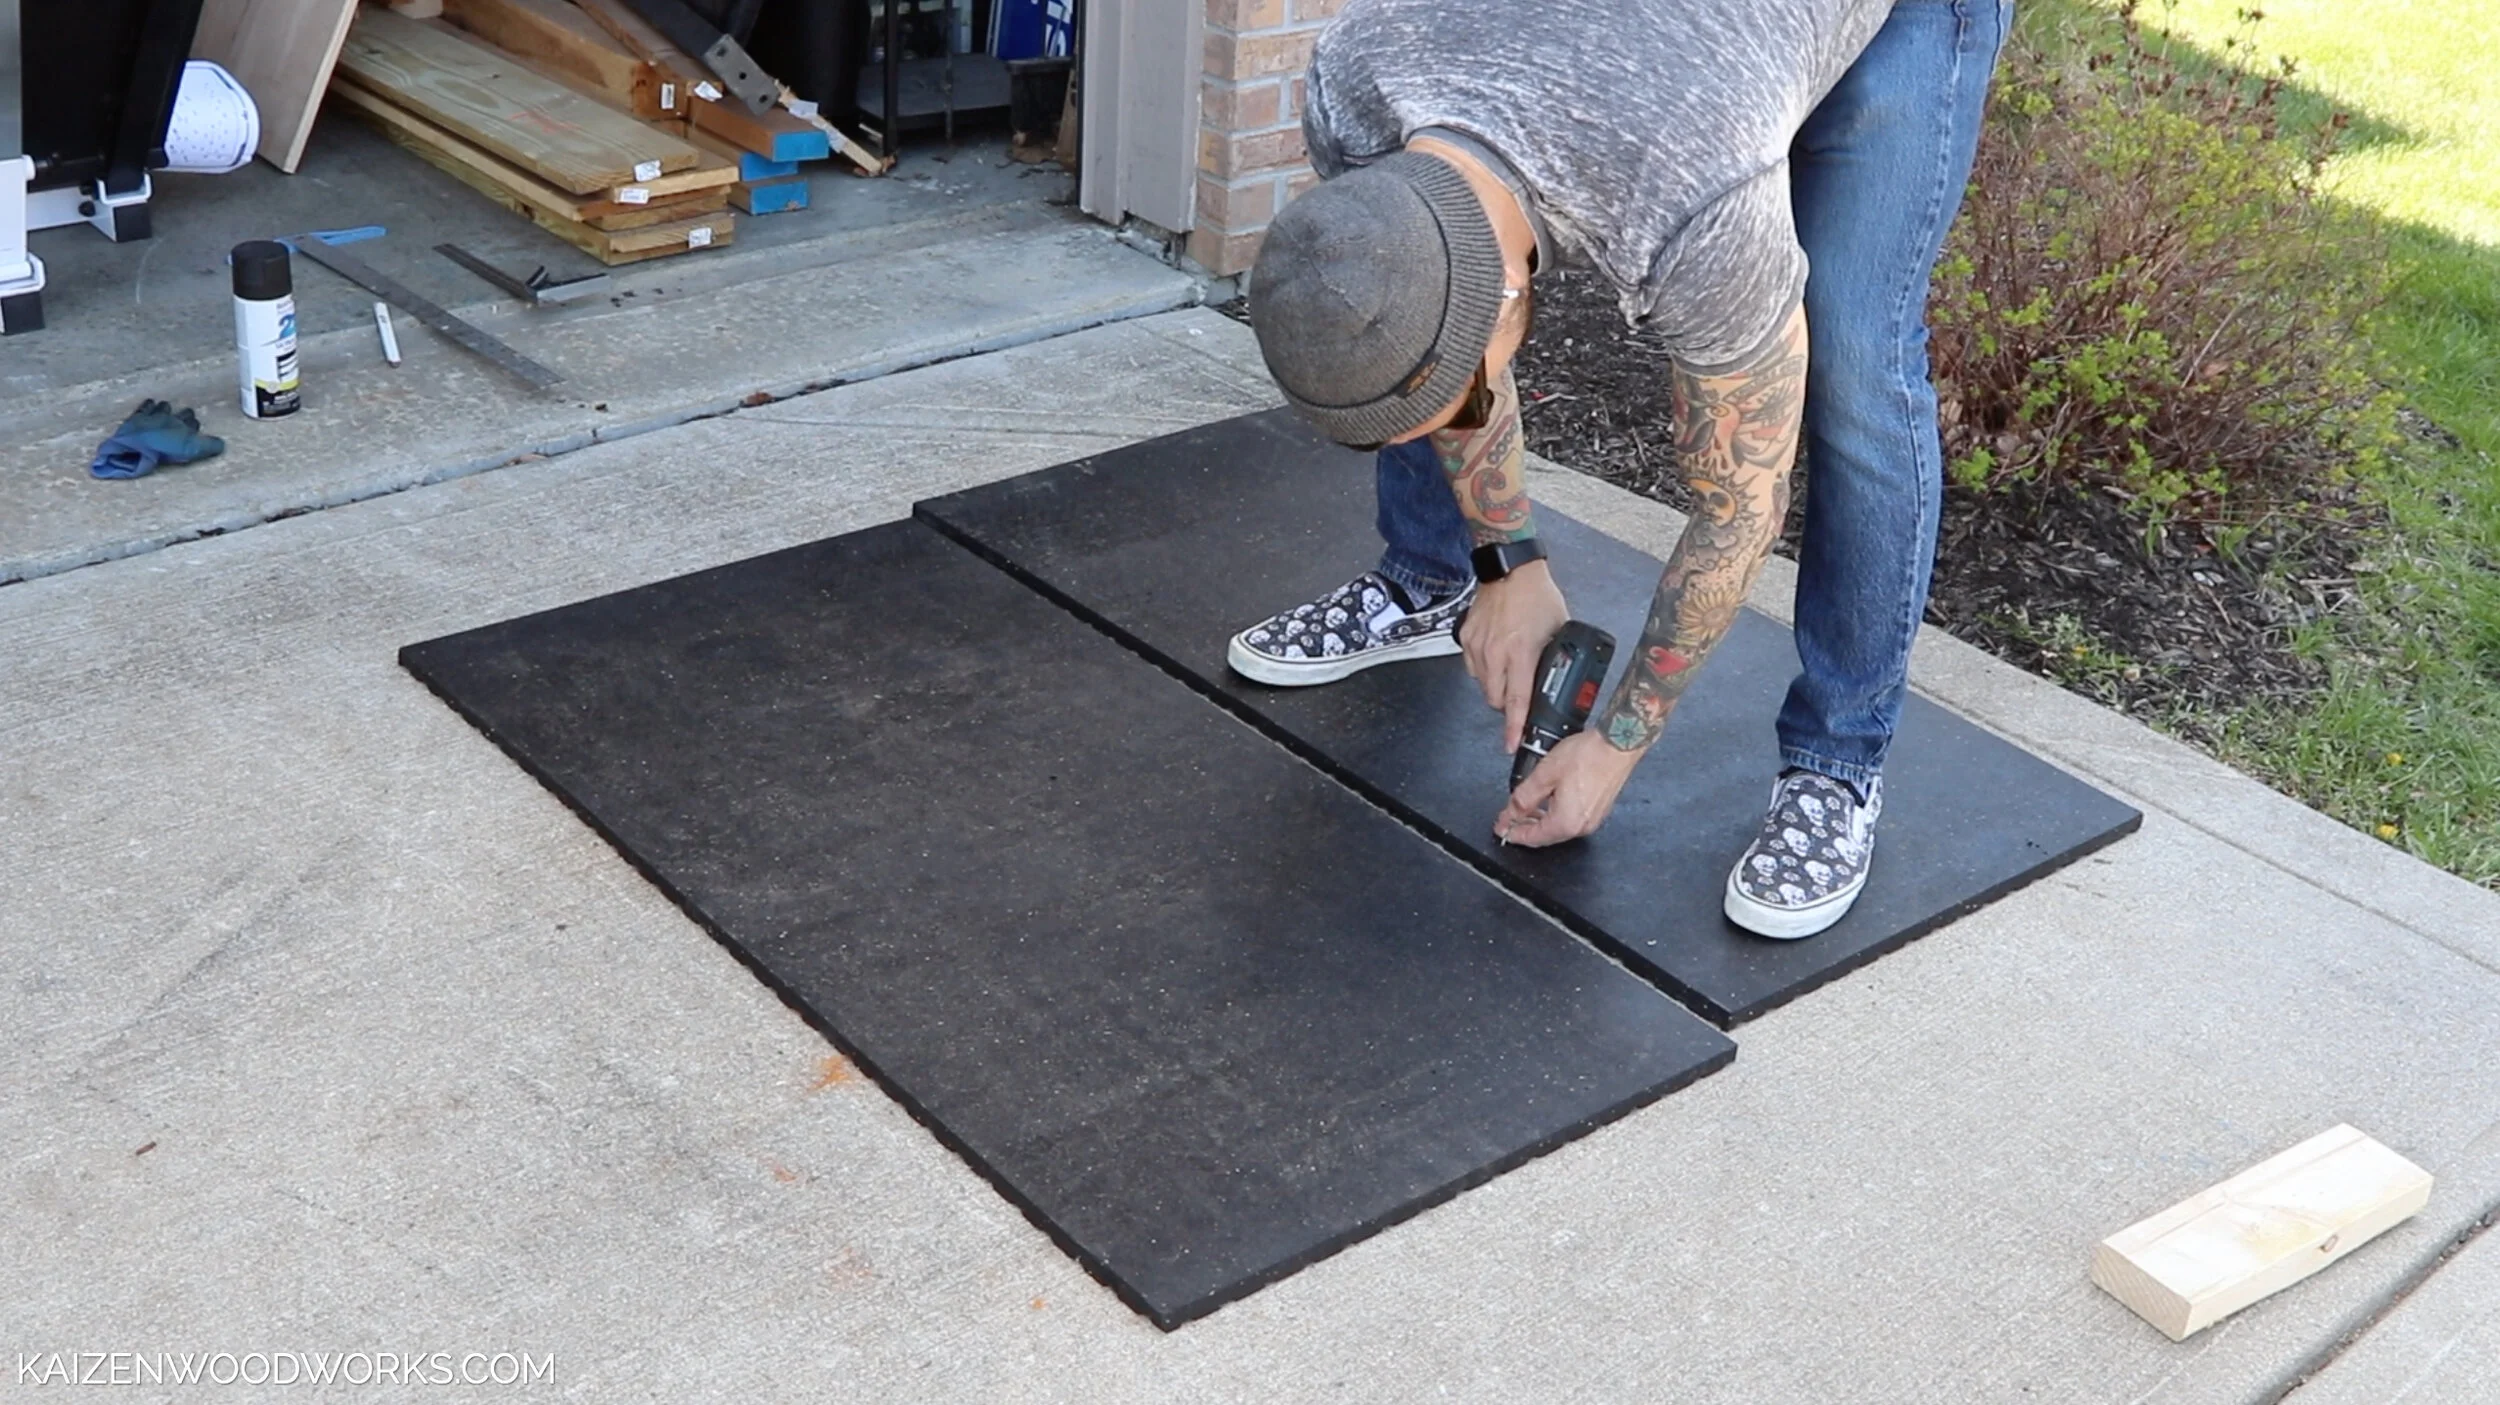
Cutting the stall mats was actually way easier than I thought it would be. I needed each piece to be 2’ wide, so I marked 2’ for the cut. The method I chose for cutting was to use a utility knife with a fresh blade and 2x4s as a guide. I used clamps to hold the 2x4s together with the stall mat squeezed in between. 3–4 passes with the knife cut right through. To my surprise, the cuts were pretty straight.


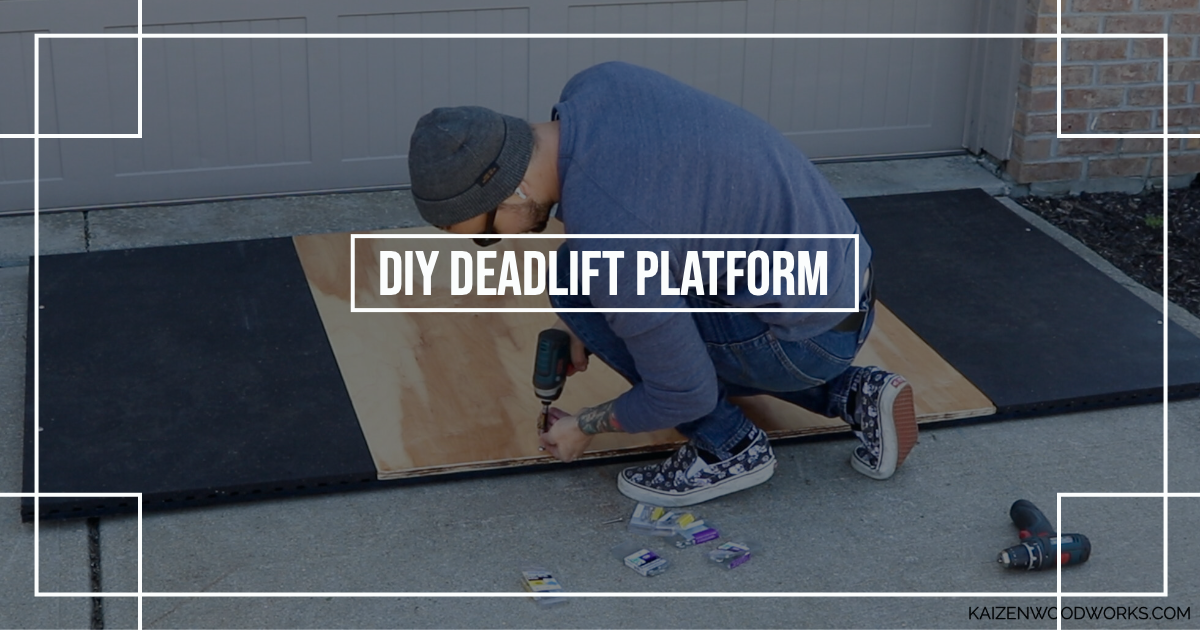
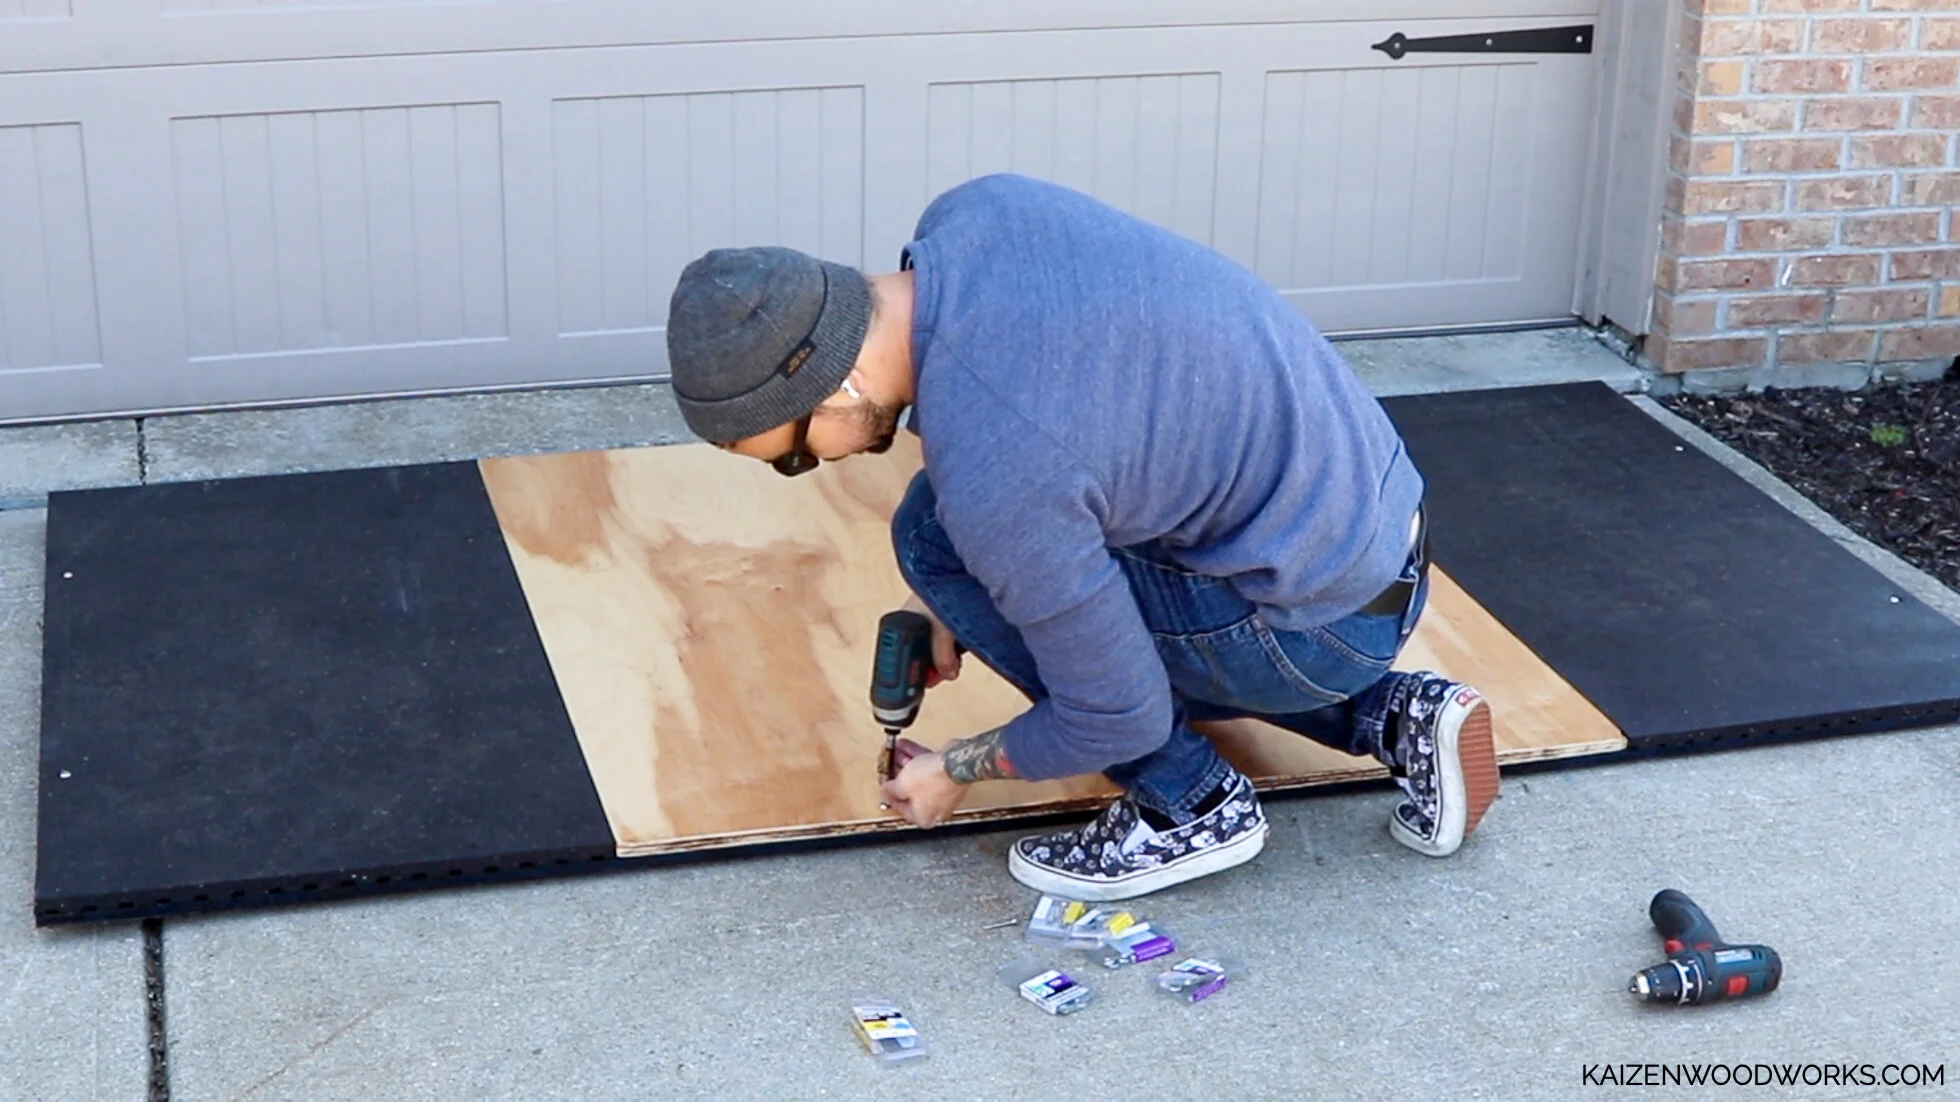
I drilled holes into the maple plywood and stall mats where I wanted my screws to go. I put eight screws in each of the pieces.
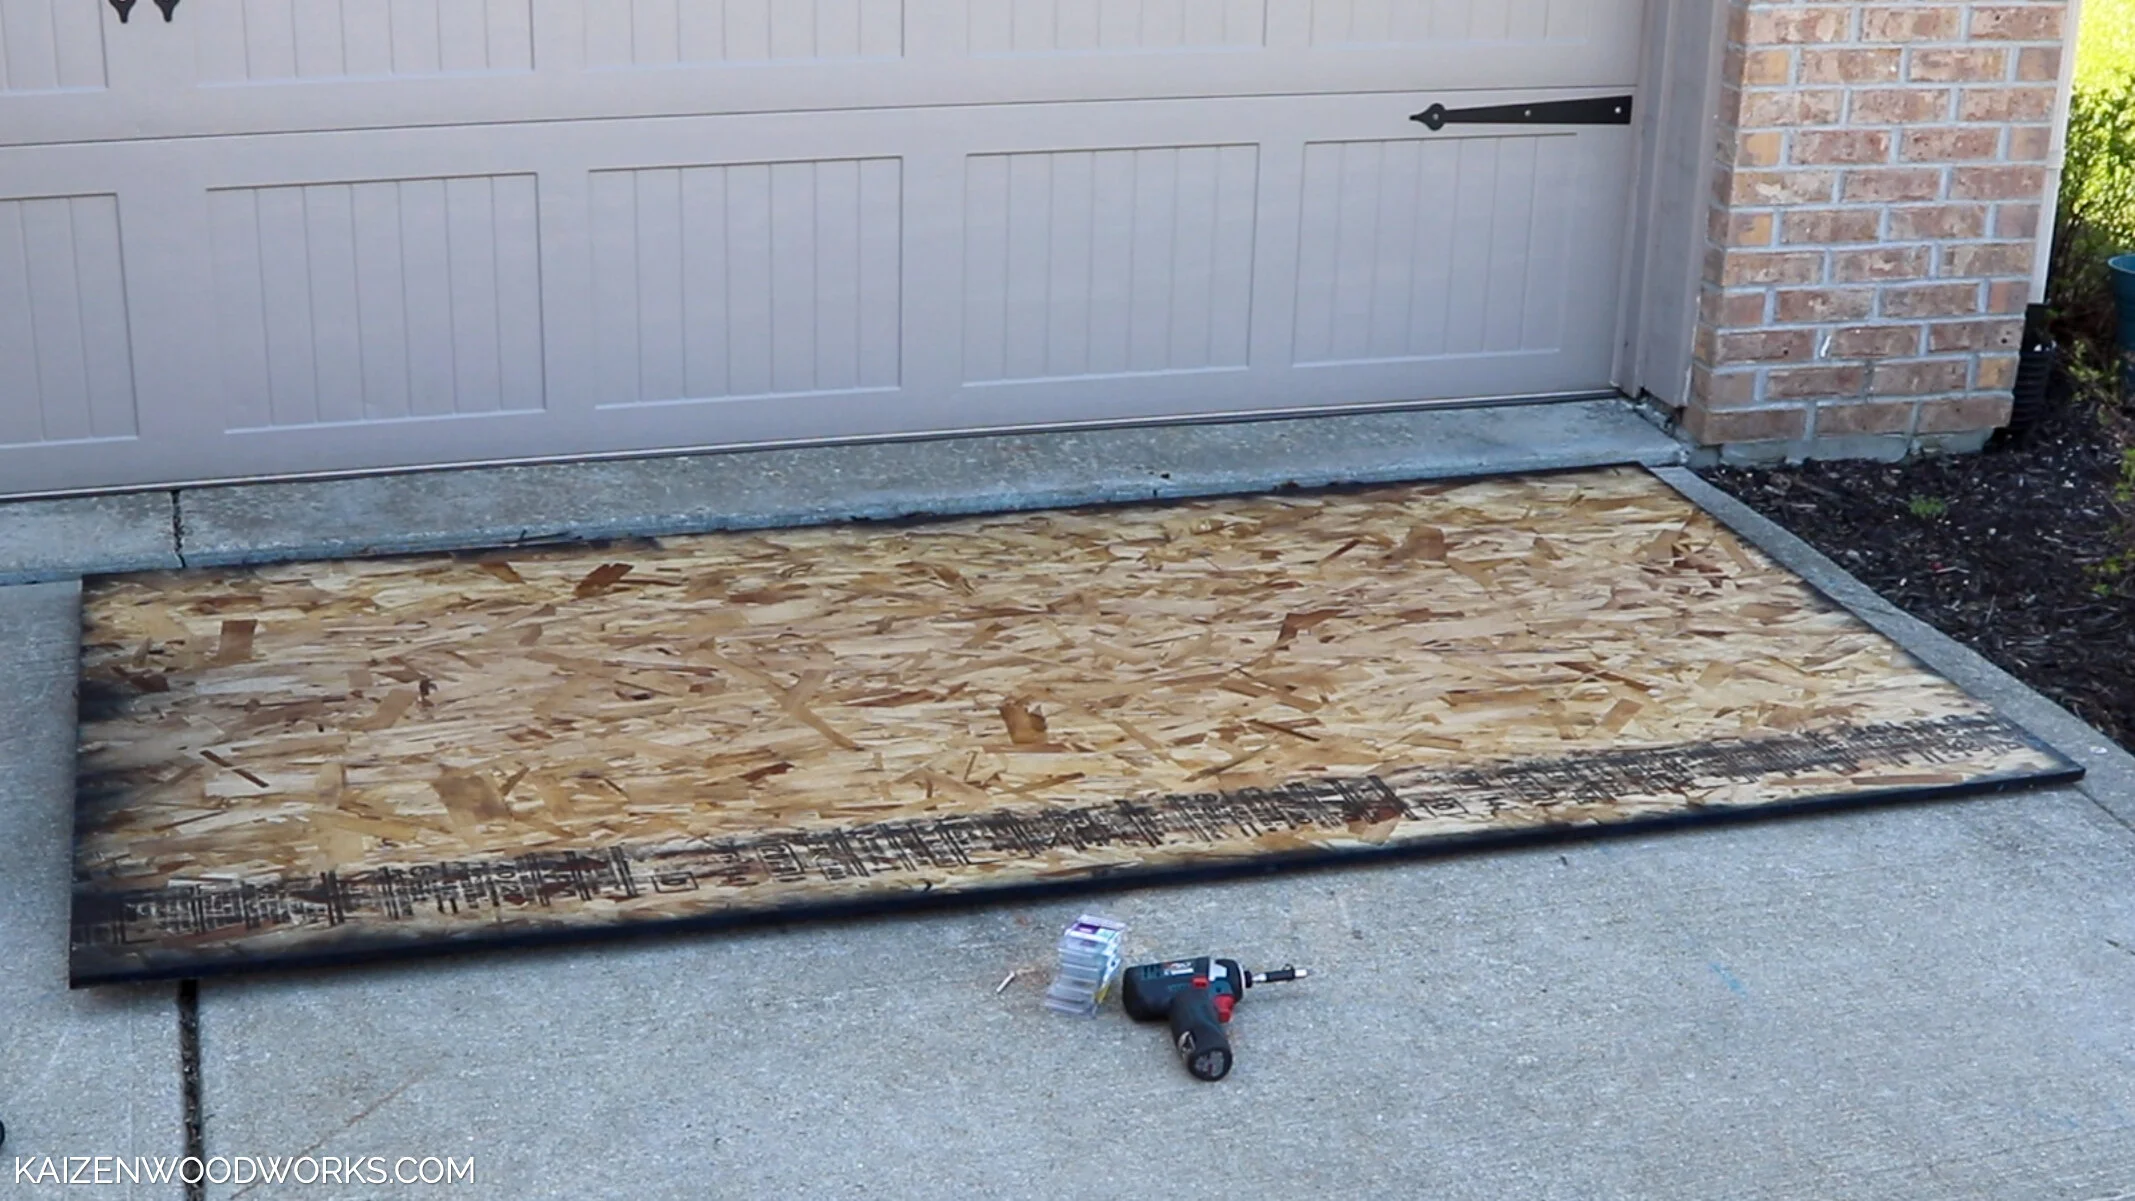
The sides of my OSB were blue when I got it from the store, so I spray painted the sides black to match everything else.

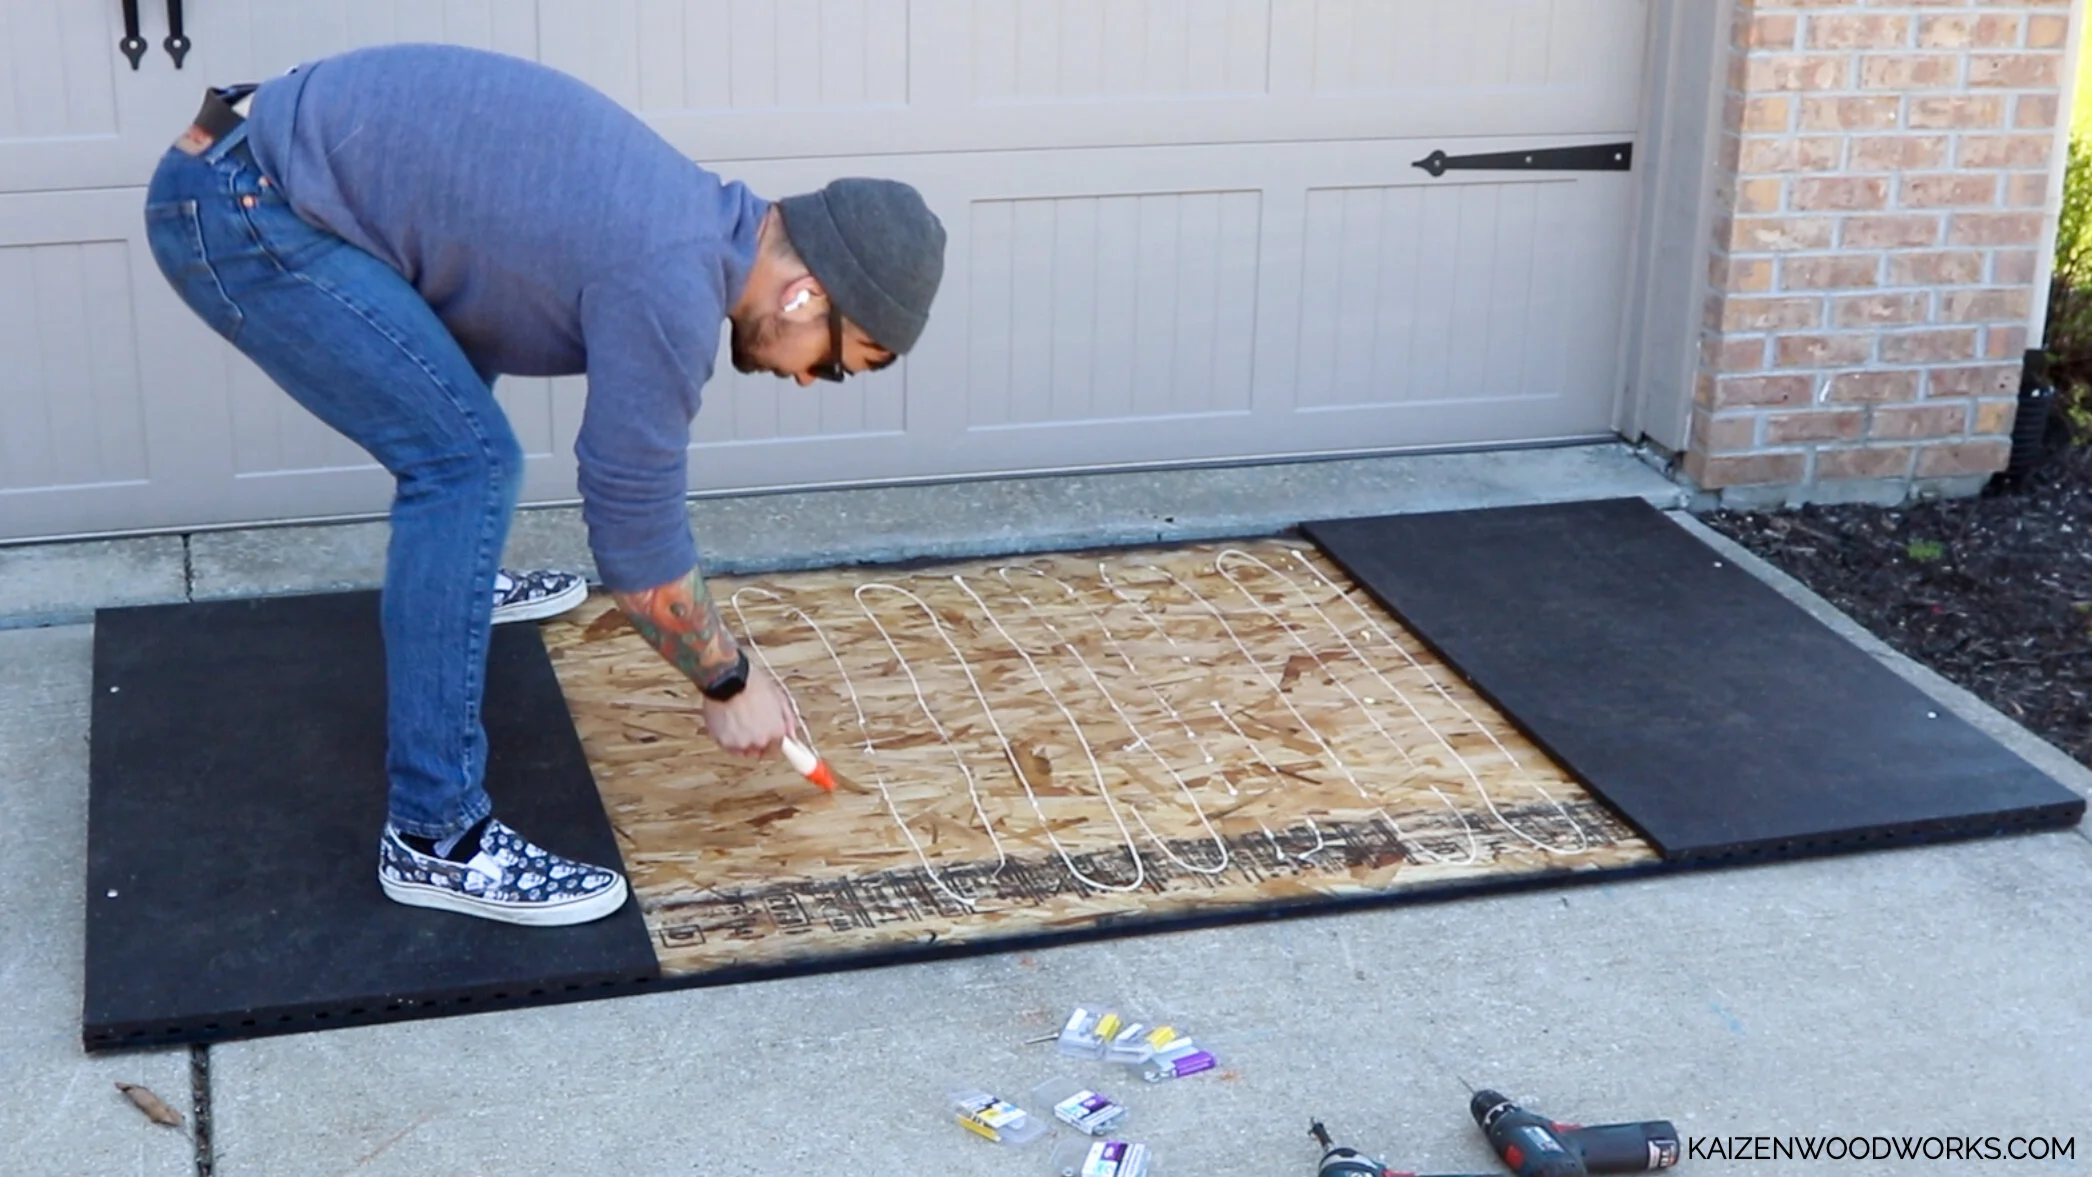
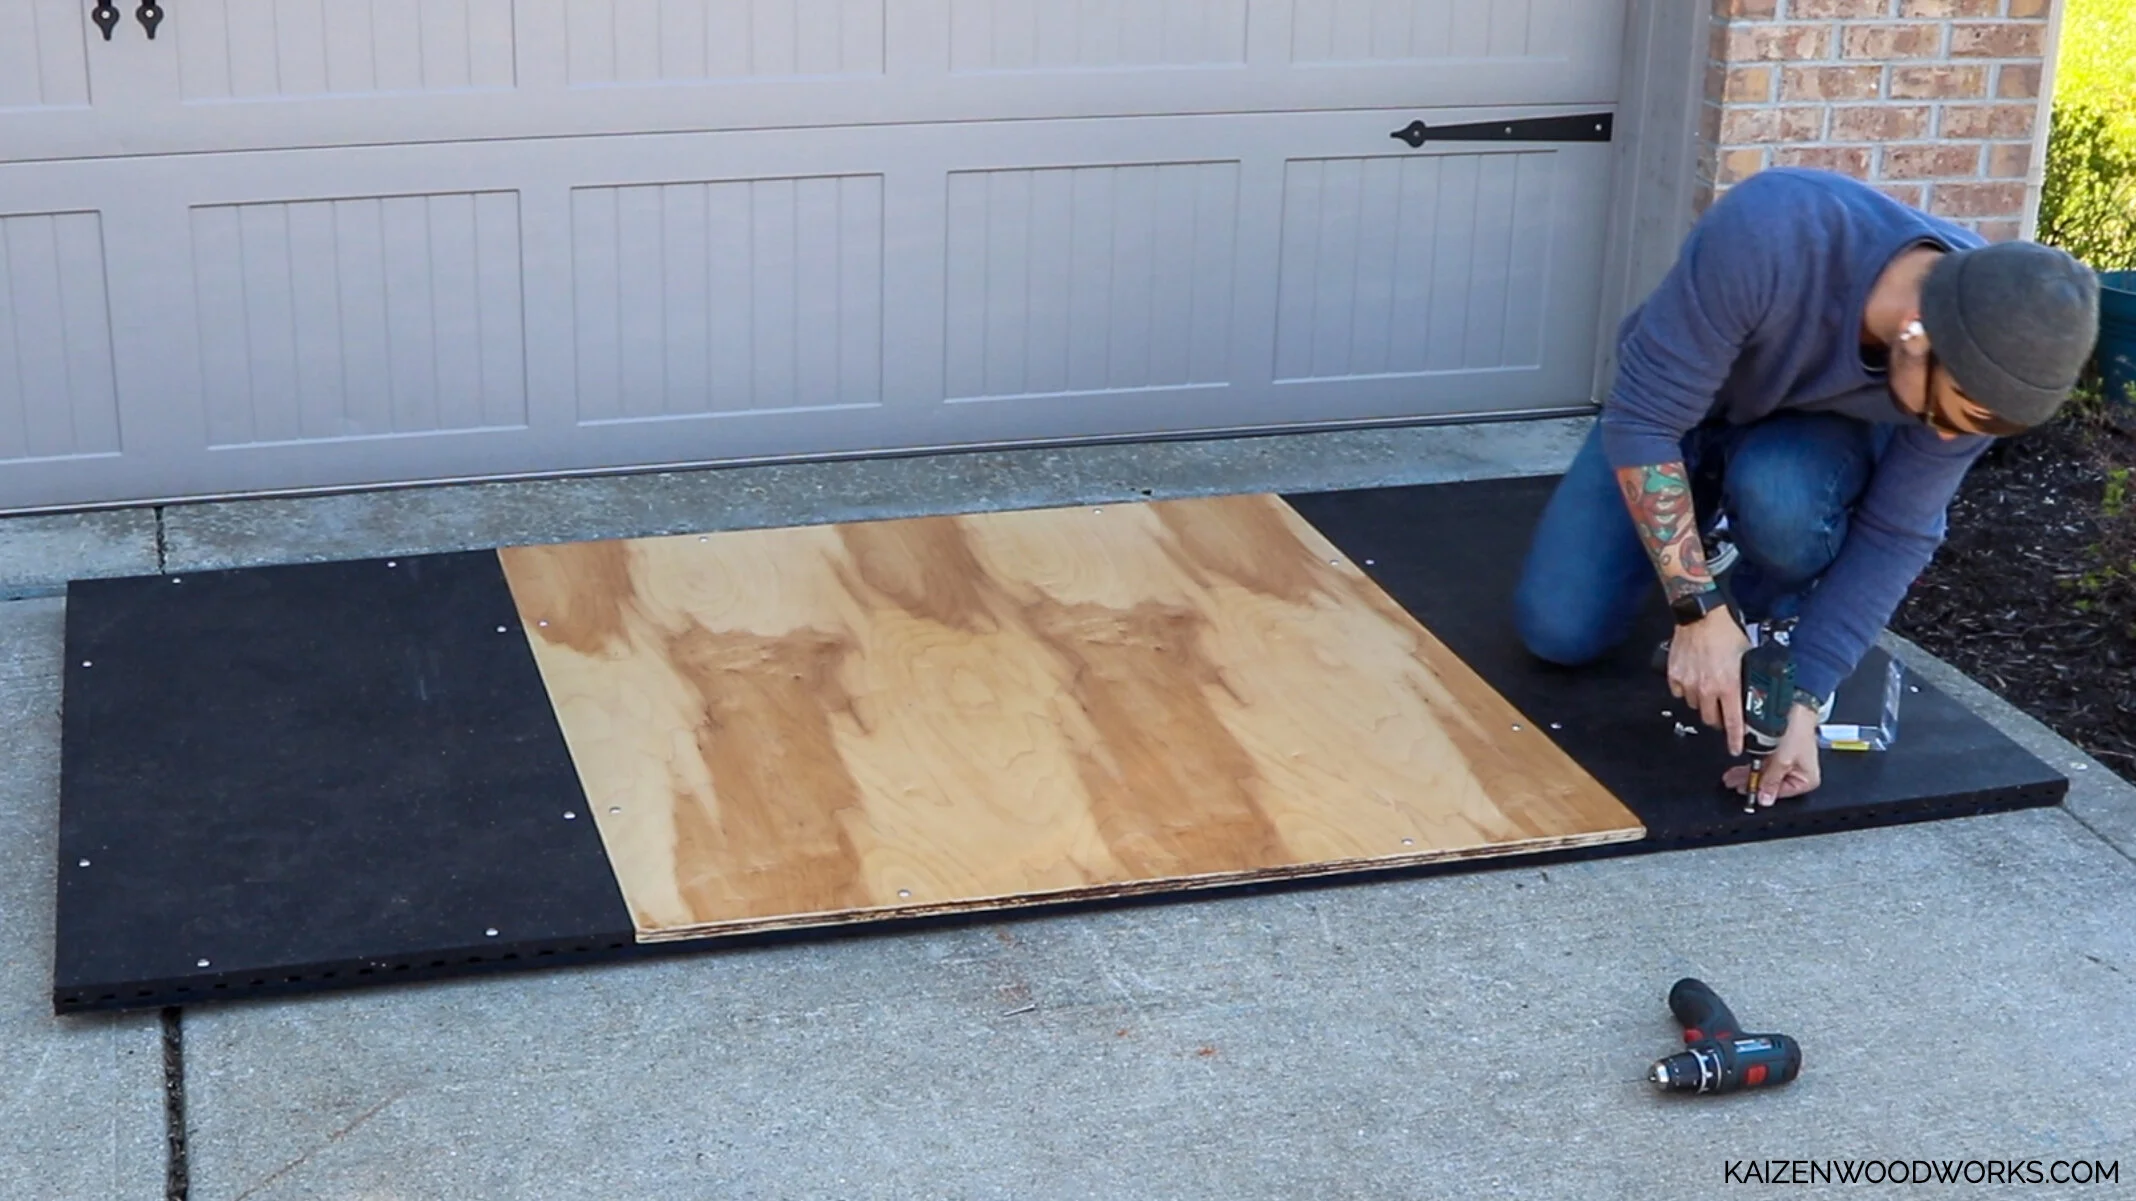
First, I placed everything, then I put a couple of screws into each stall mat. Once they are secured, I removed the maple so I could add some glue before screwing it down.
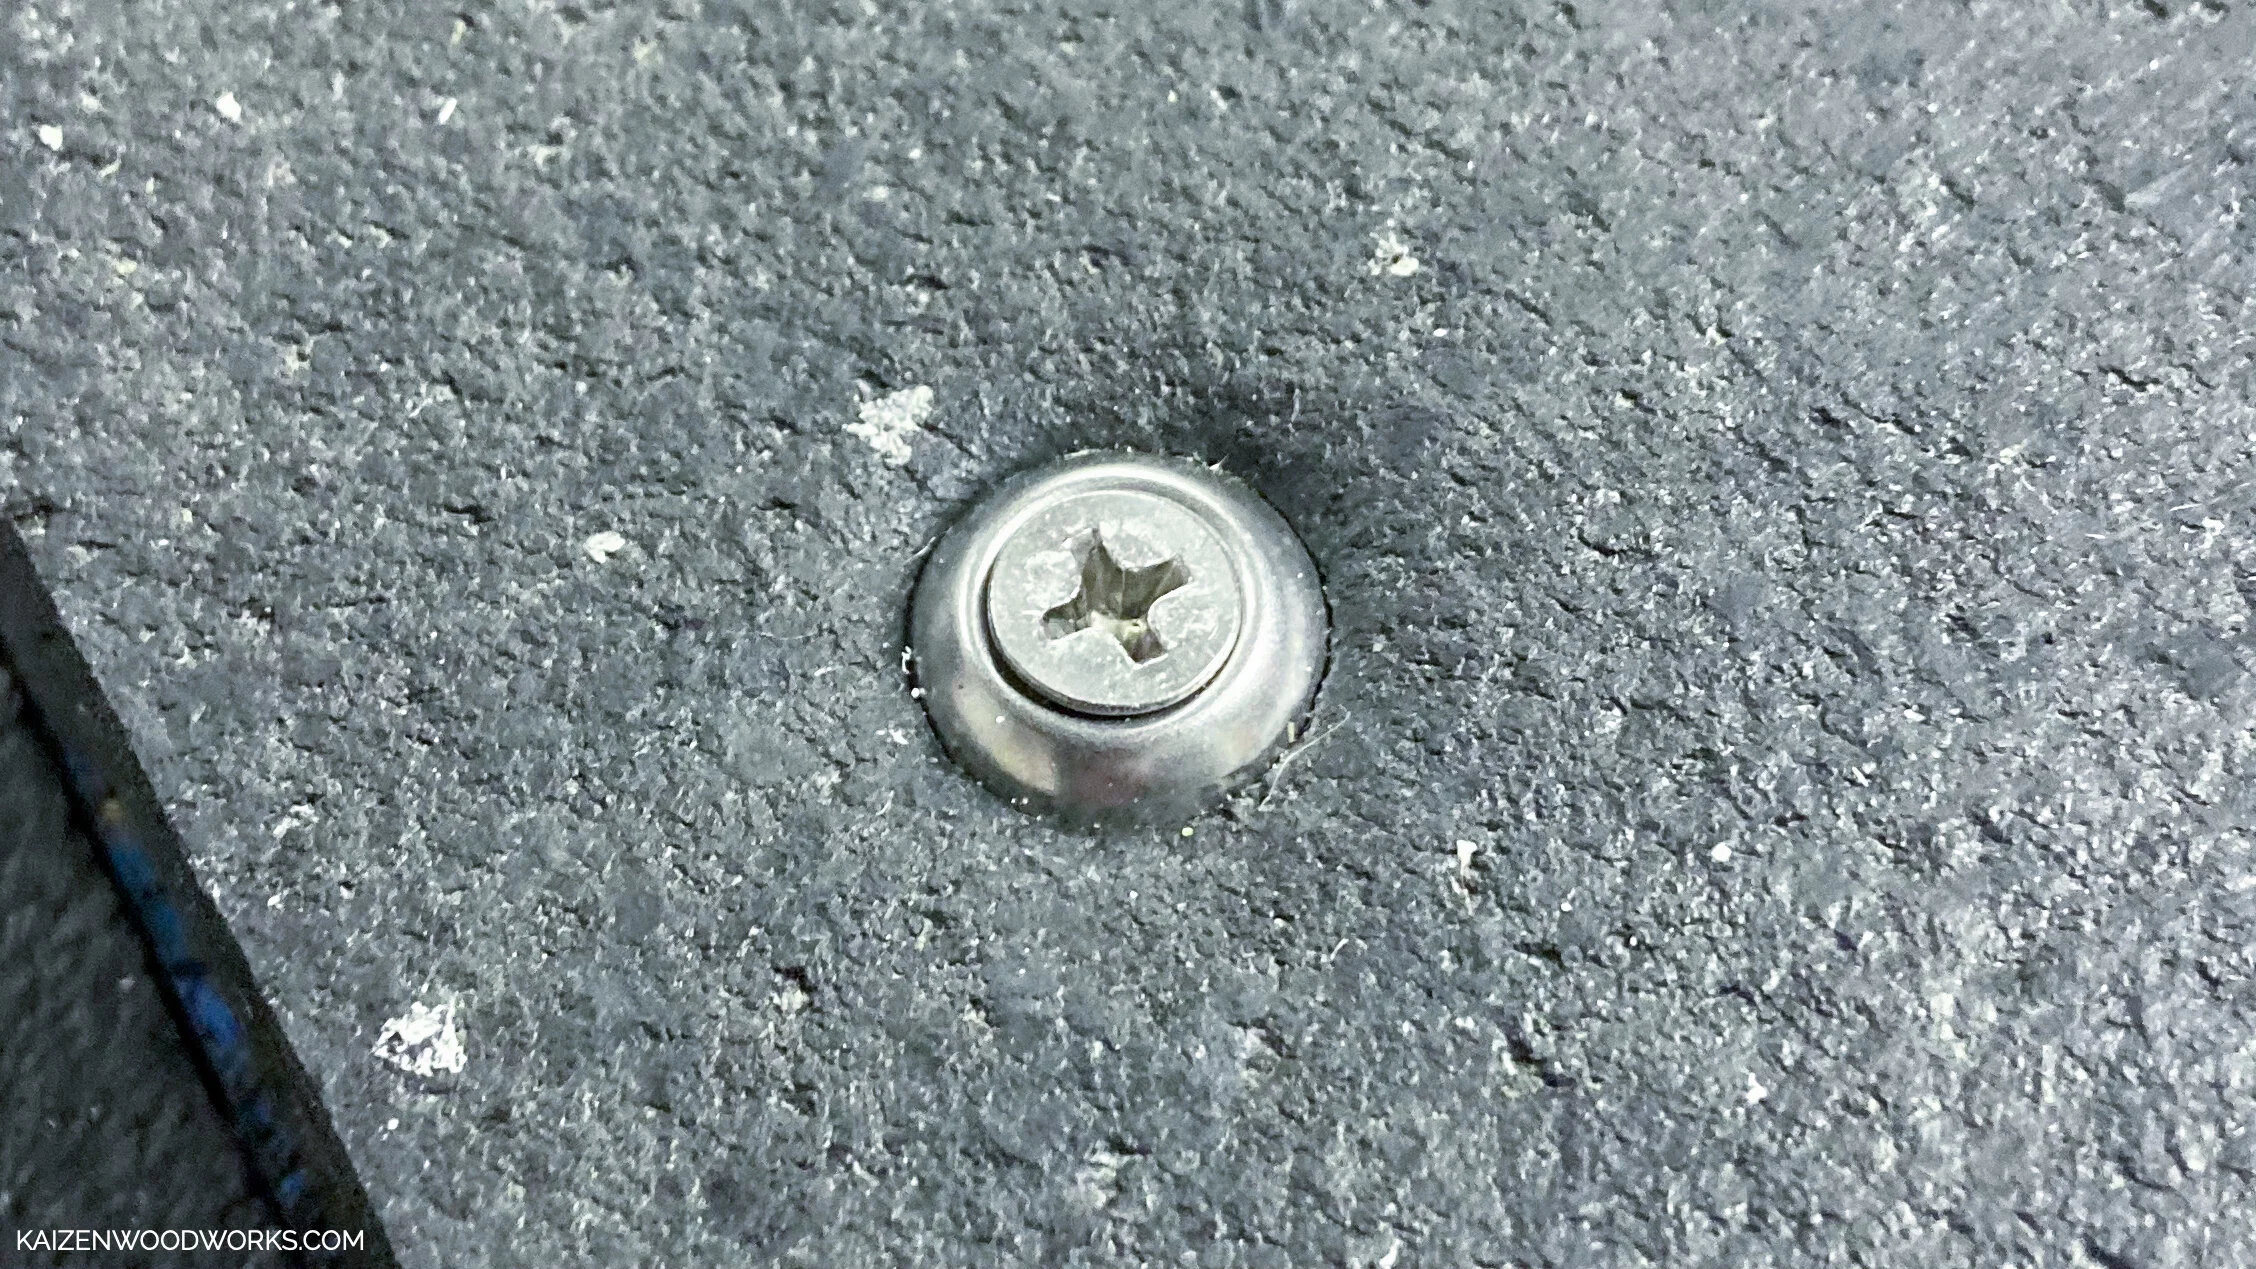
Adding a finishing washer to each screw gives it a more polished look.
Last step is putting all of the screws and finishing washers in.
Check out this article to see examples of soundproofing, adding a custom logo, leveling on an uneven surface, or making the platform modular.
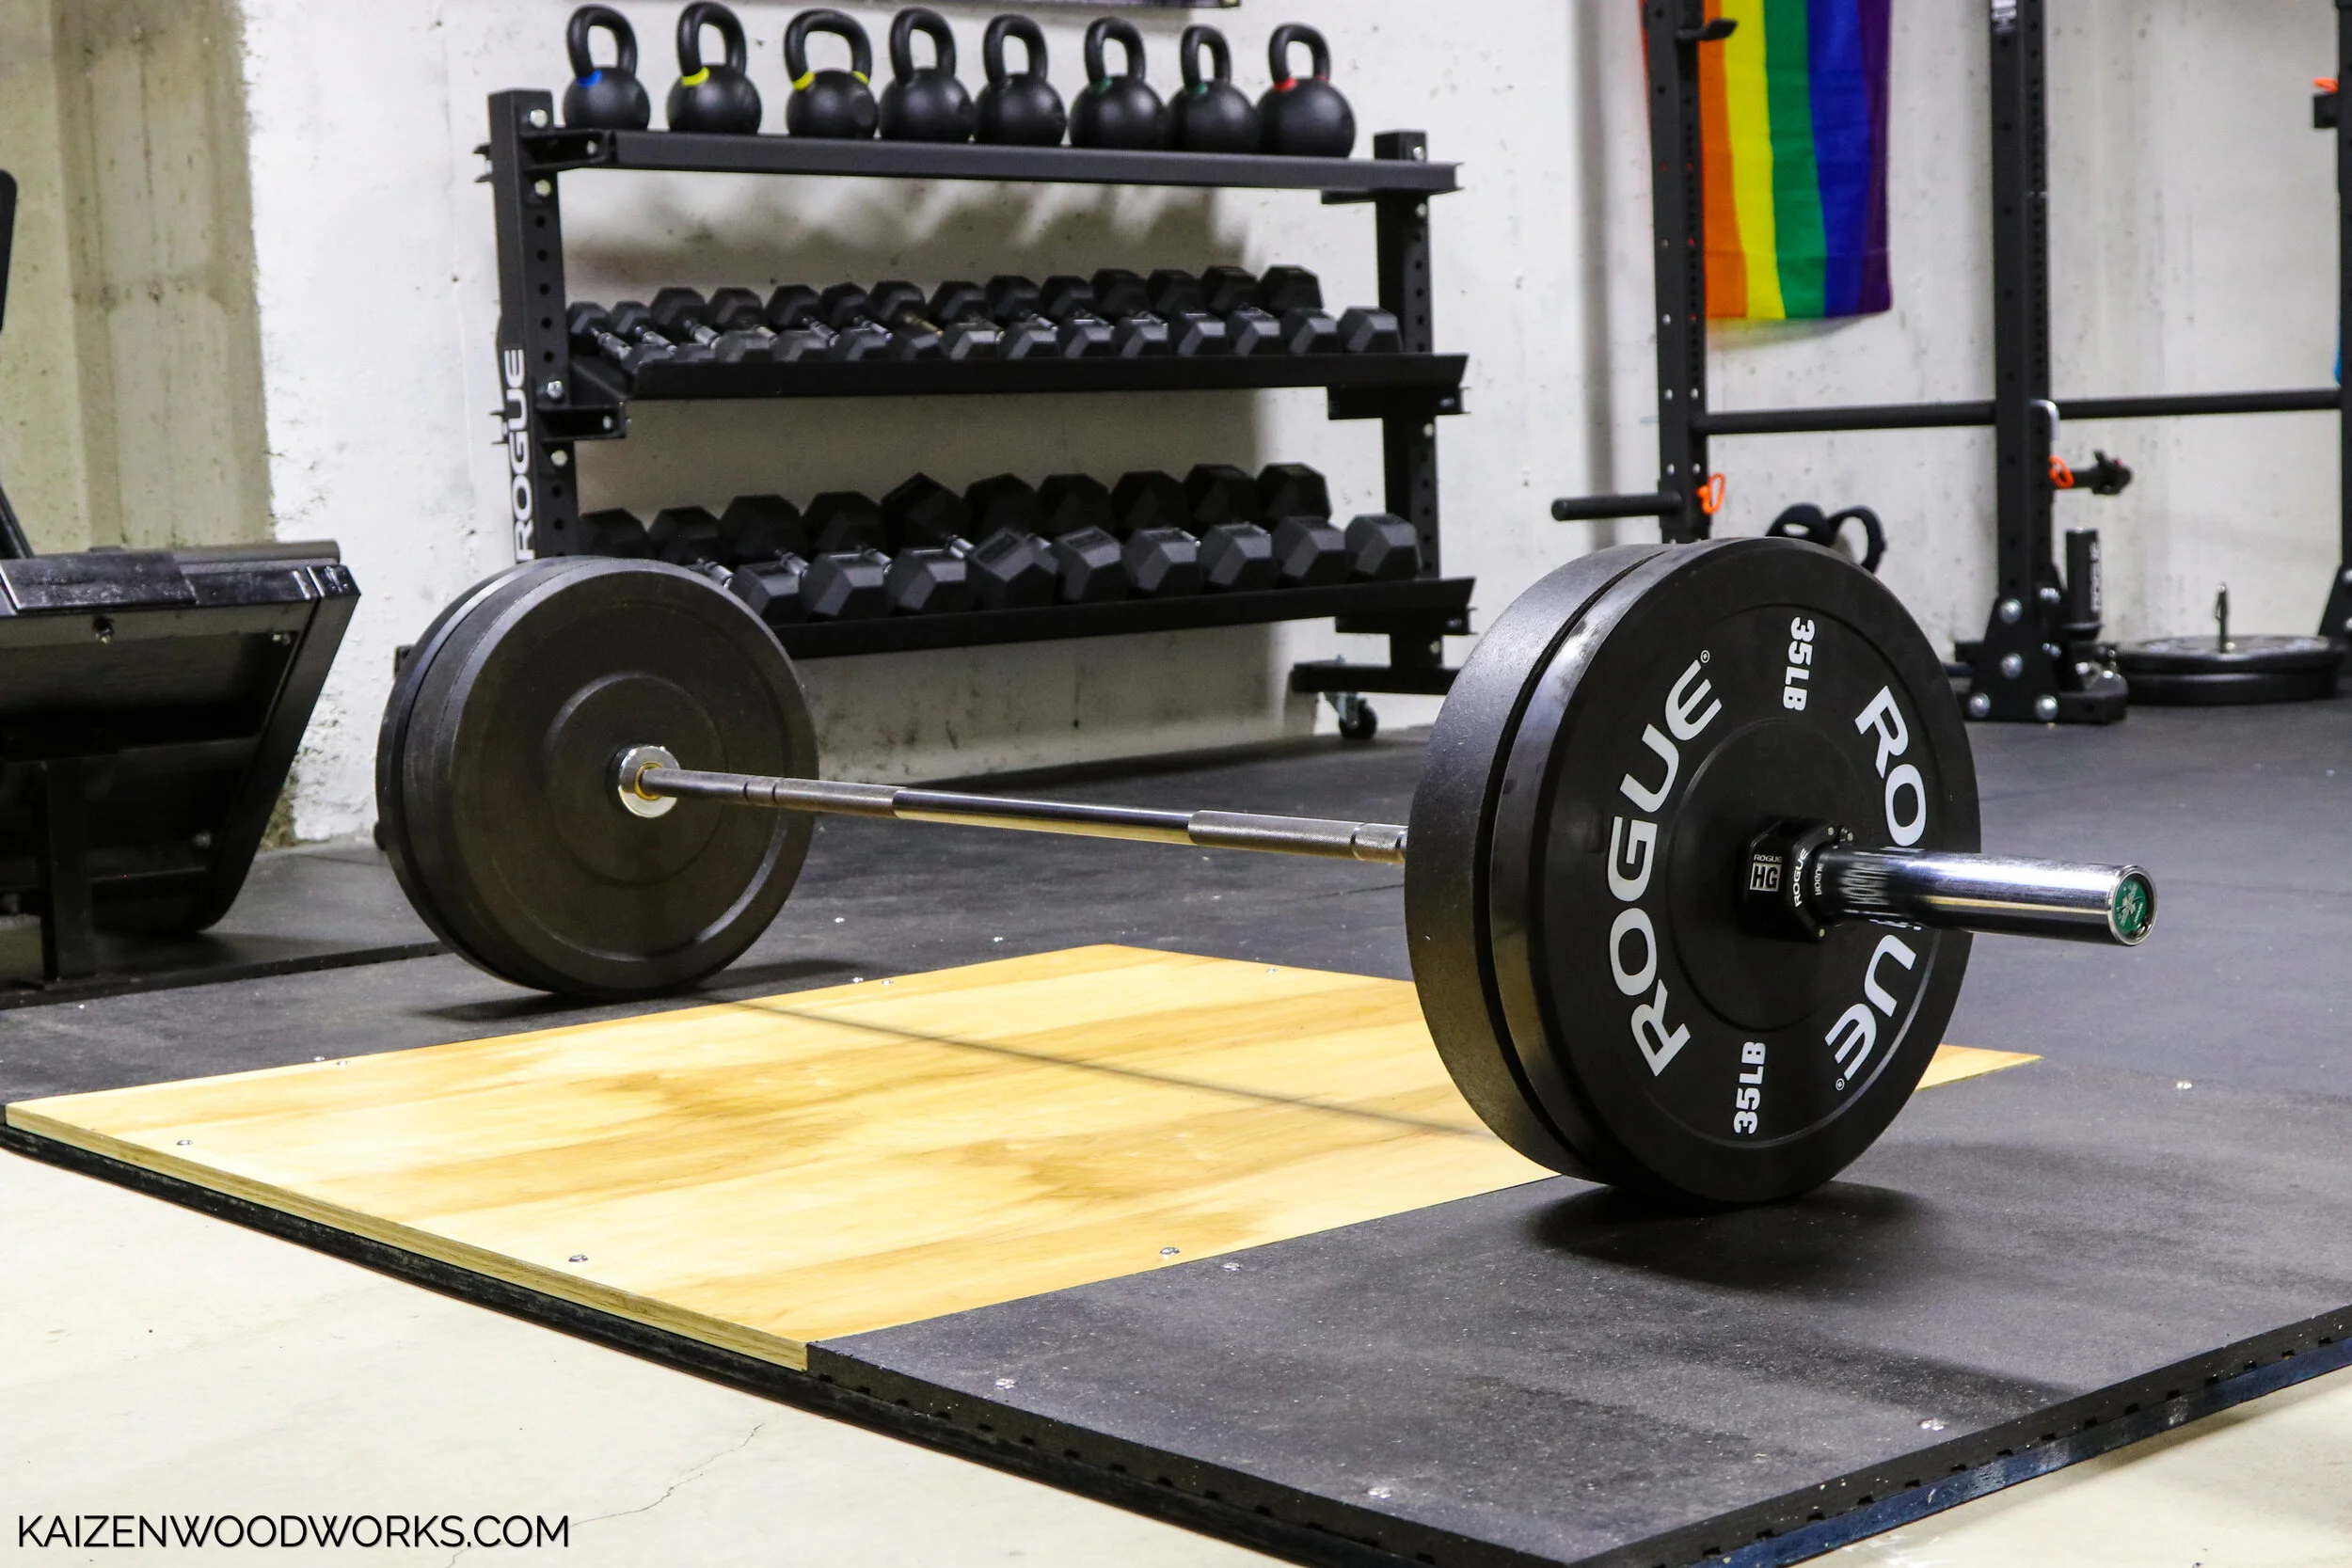
DIY Deadlift Platform for a Basement Gym: Tips and Advice
The final destination for this deadlift platform is a basement. The 4’x8’ size was really perfect. Had we gone with the larger size, it wouldn’t have fit down the stairs.
My suggestion to anyone who wants to build the larger 8’x8’ platform for their basement gym: bring all the pieces down after doing the cuts and assemble it in the basement. This approach saves you the headache of trying to maneuver a fully assembled platform through tight spaces.
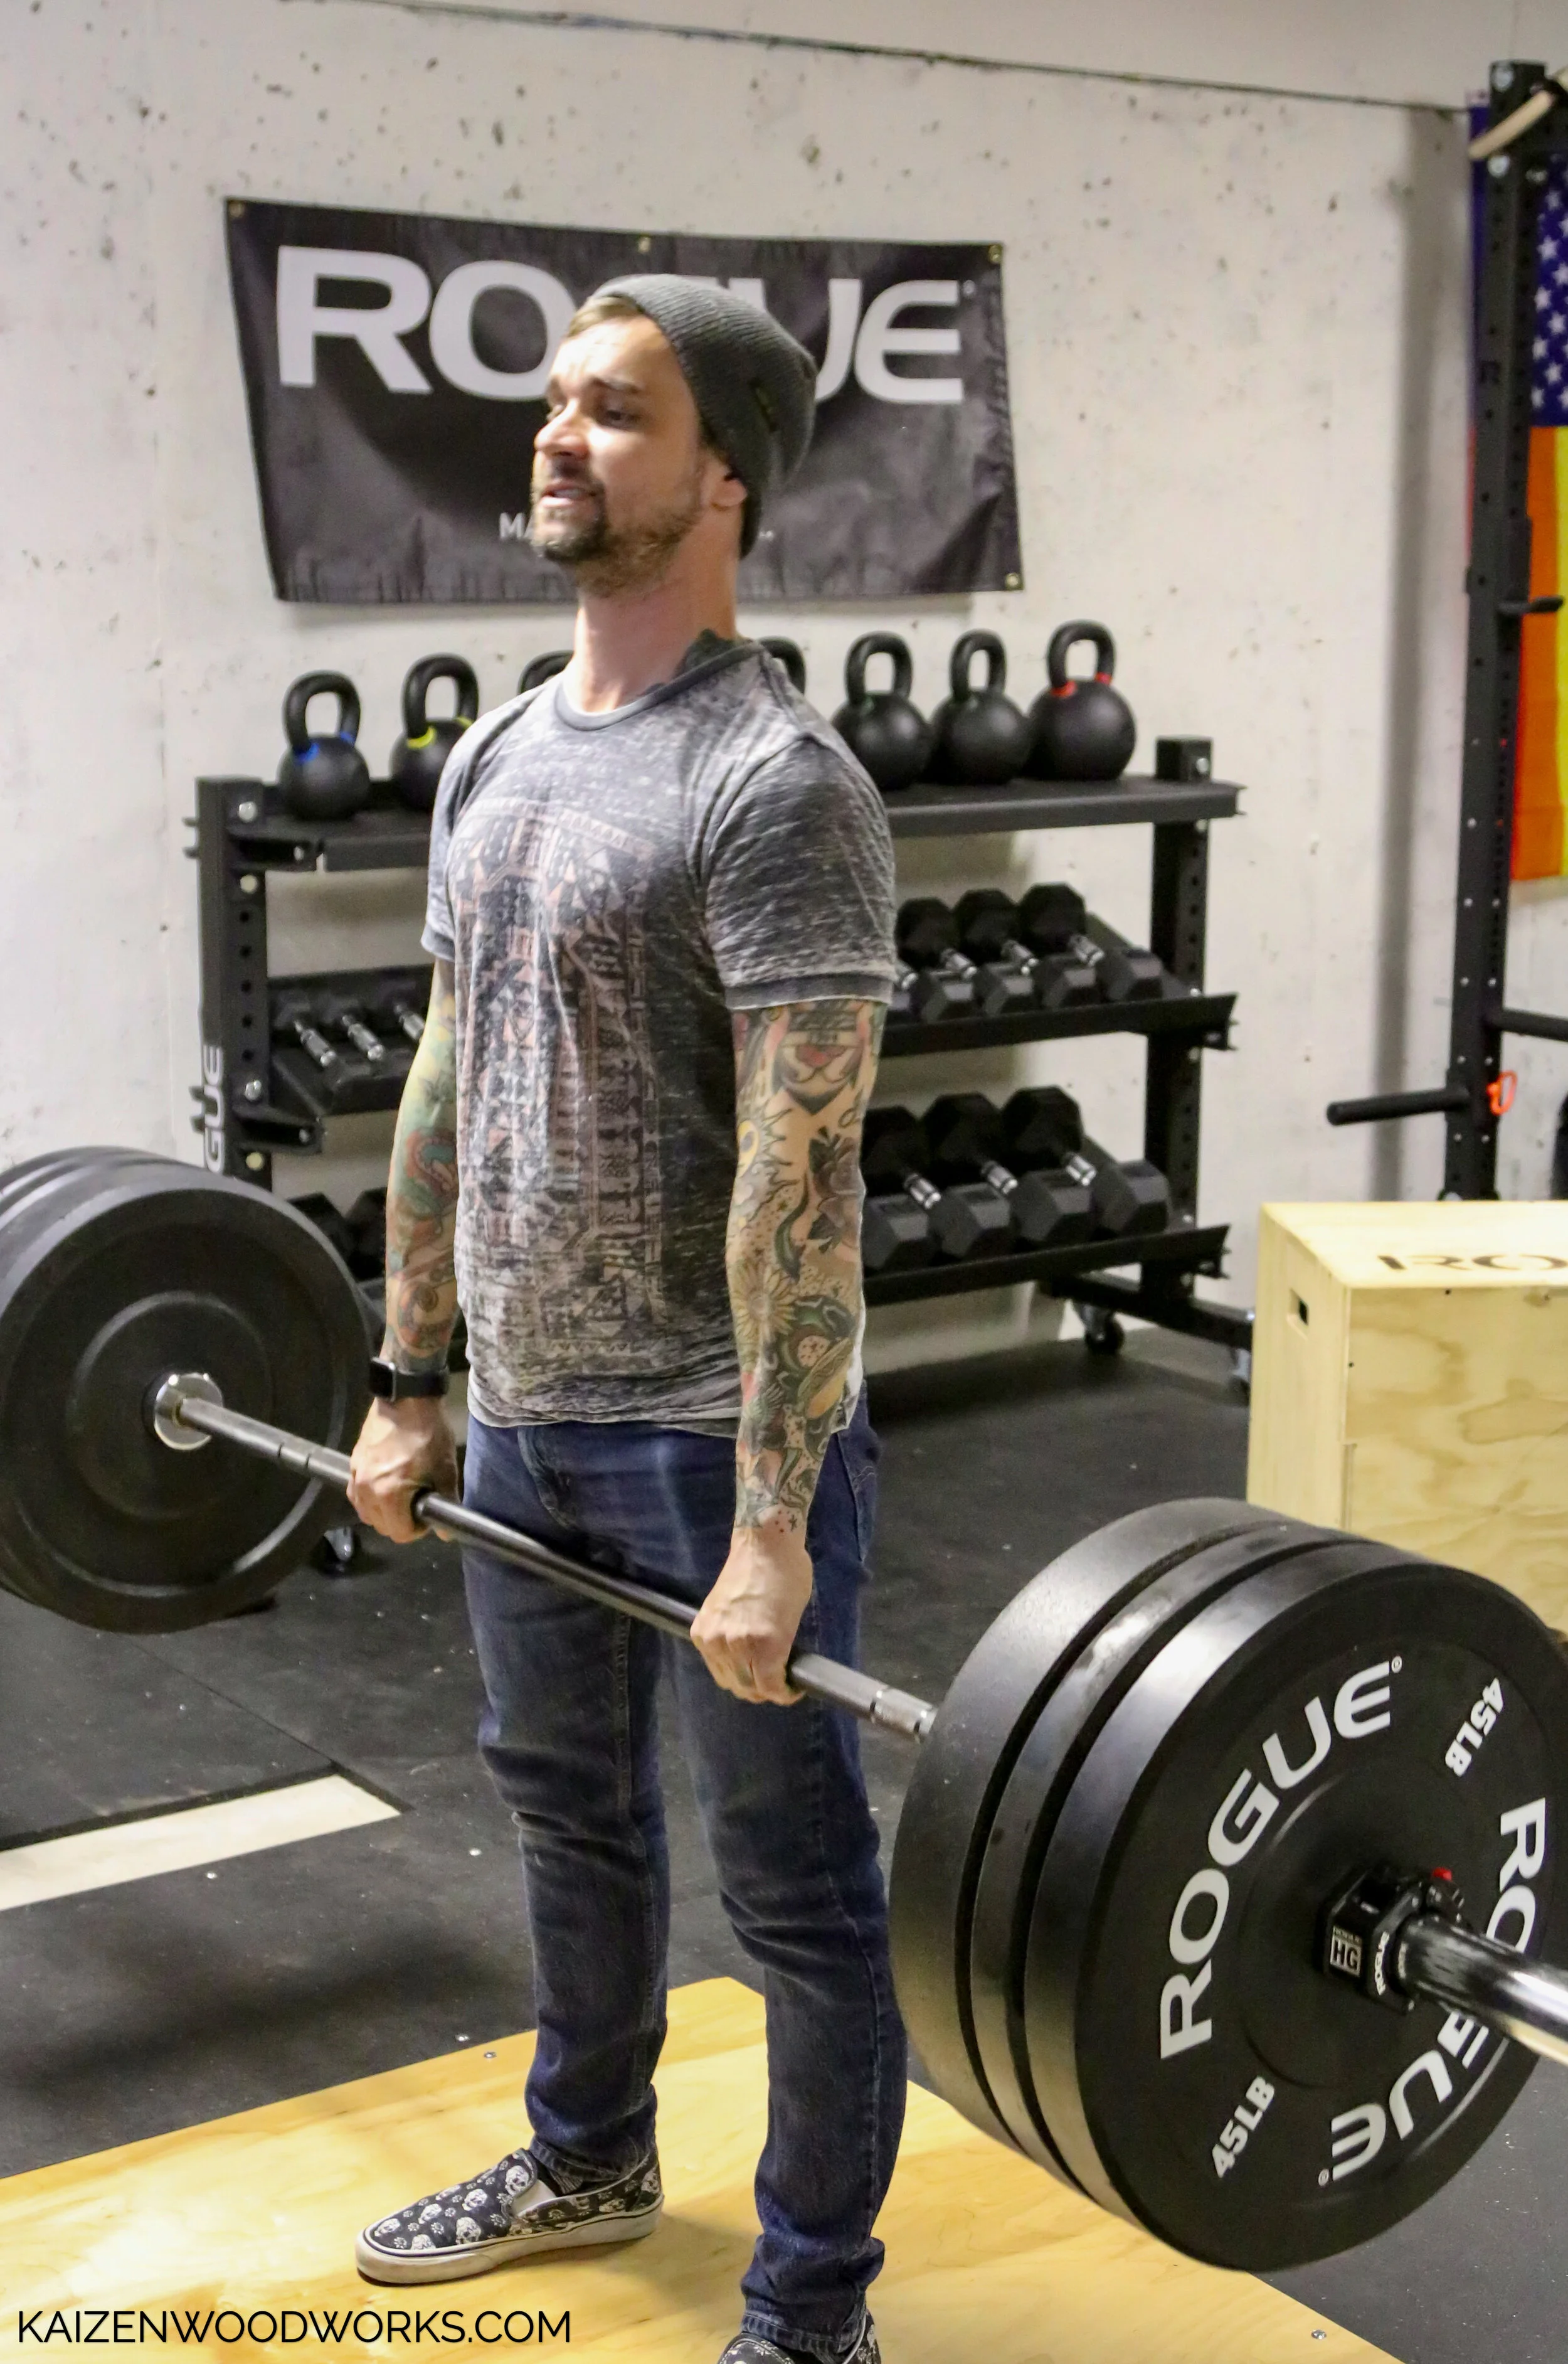
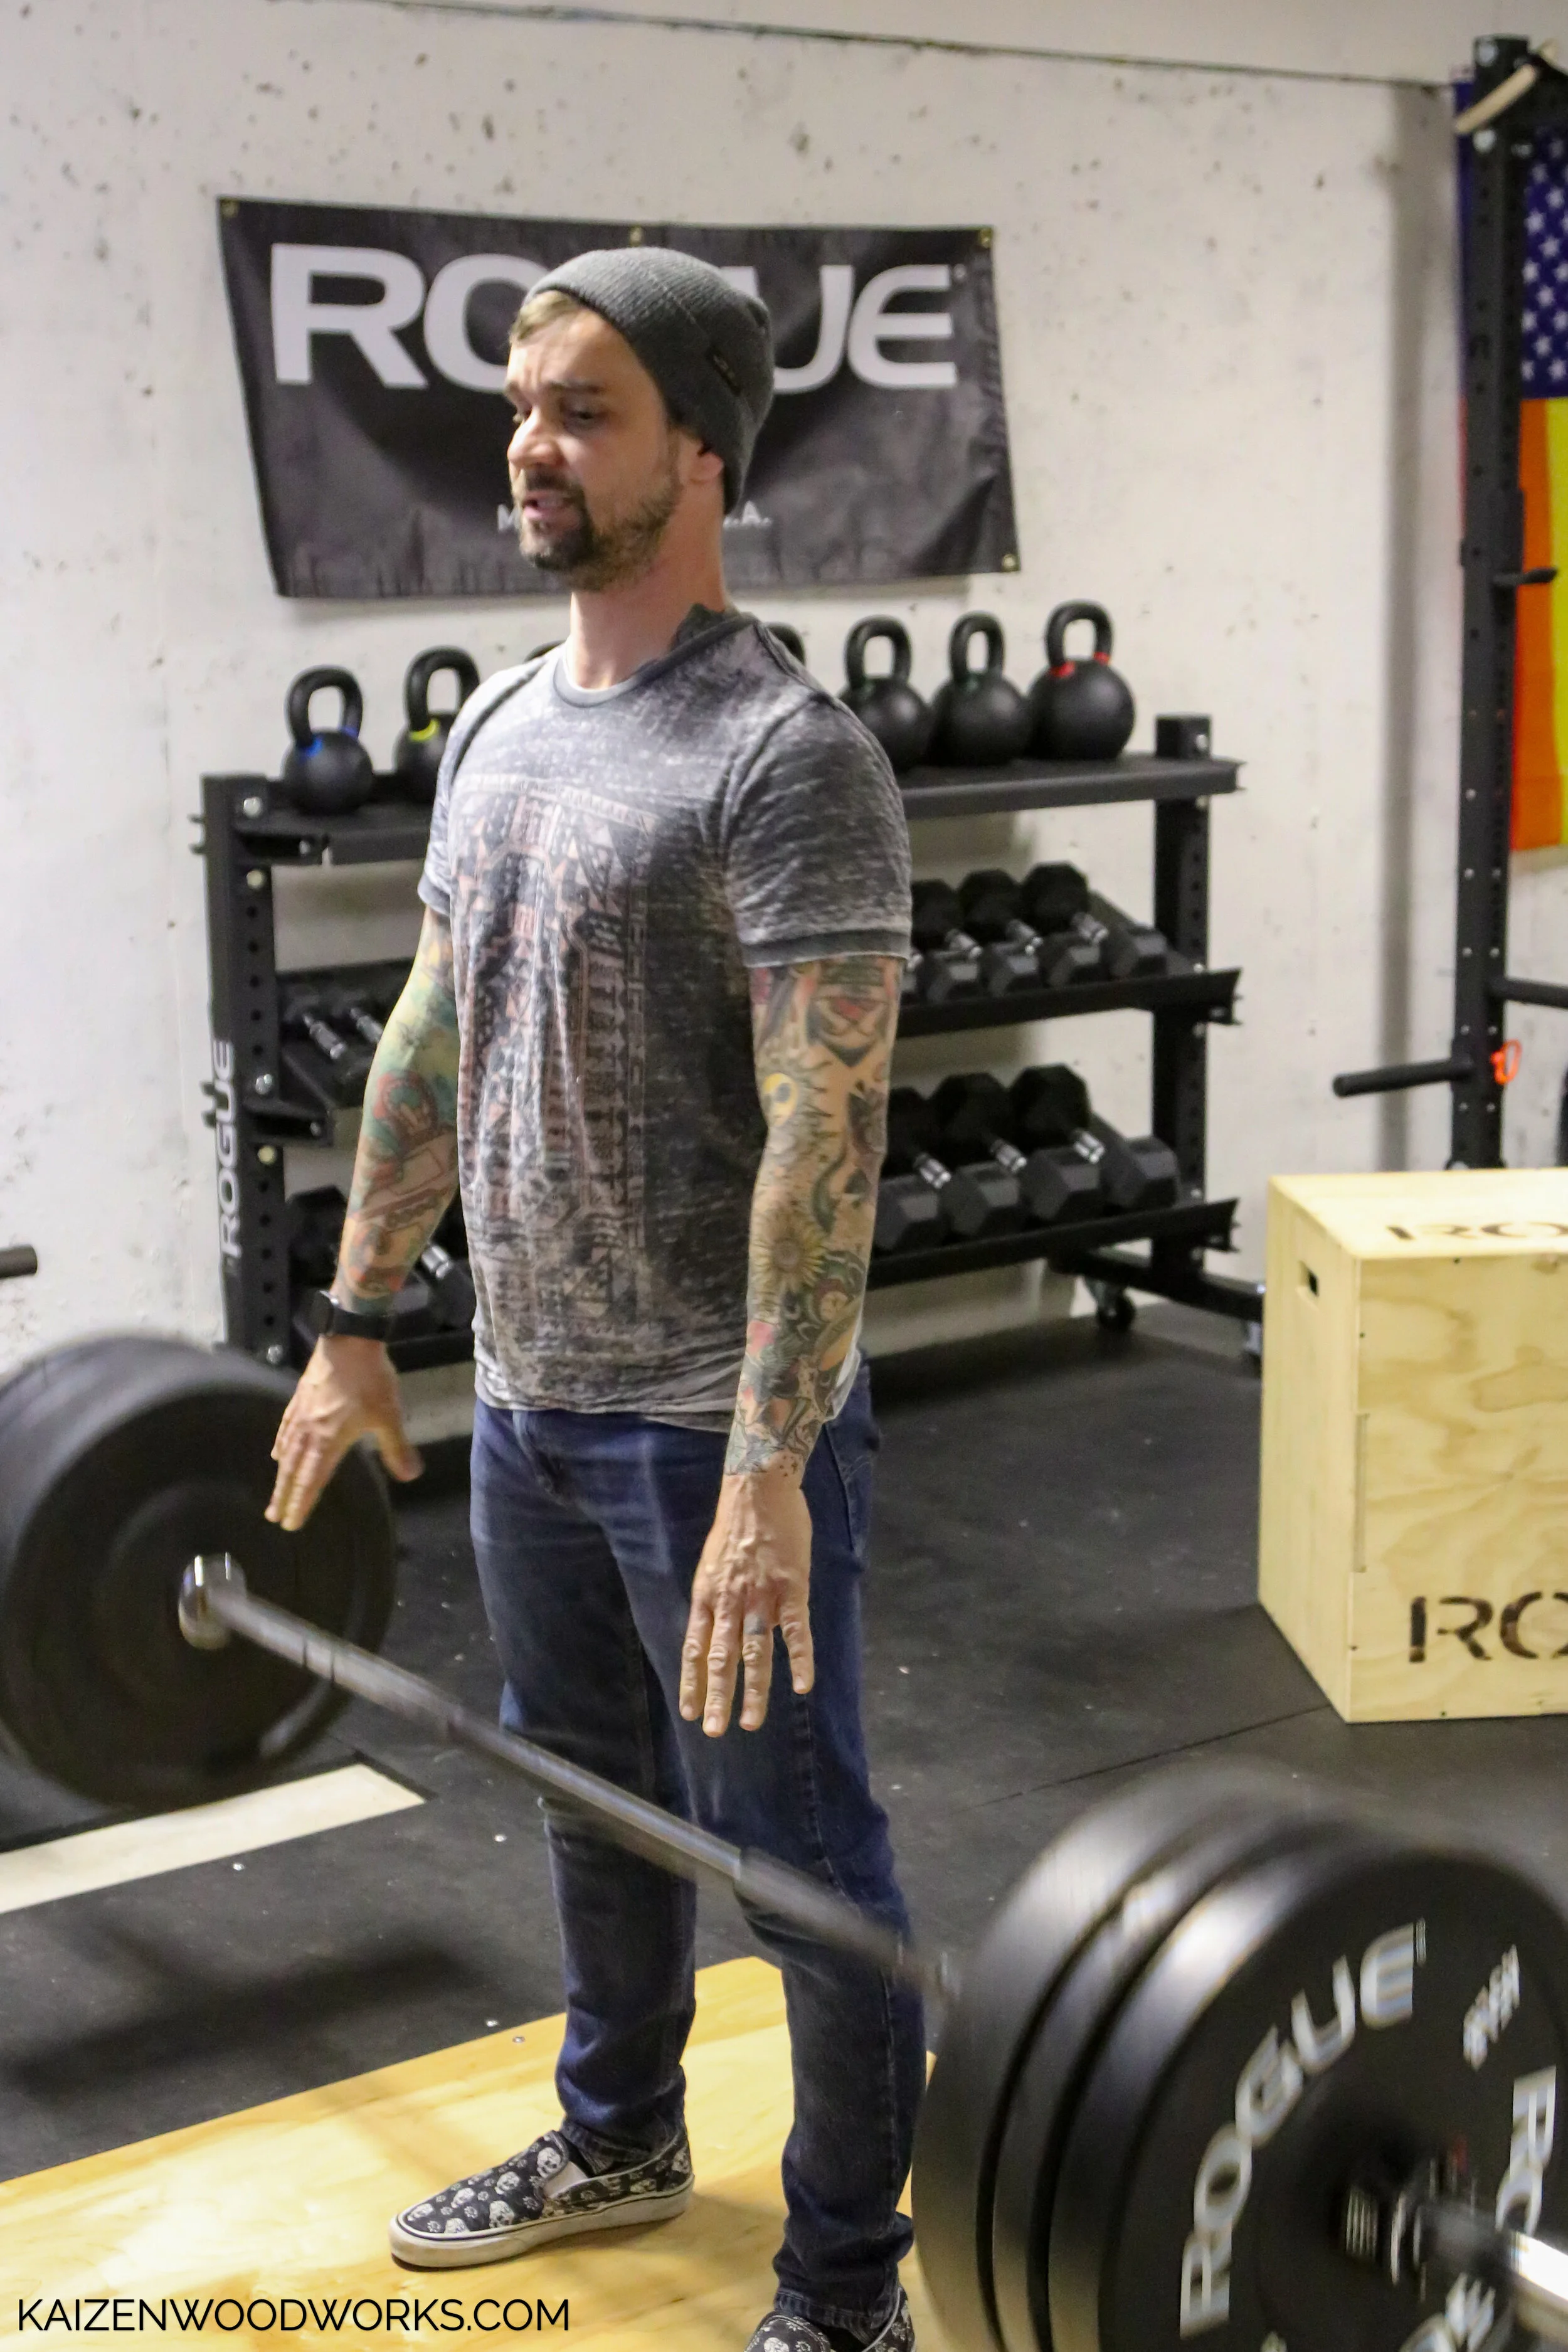
I was even given the opportunity to be the first to test it out. I don’t normally deadlift in jeans, but I couldn’t pass up the chance.
If this looks like too much work, or you don’t have the tools, there are some great purchasable options:

Rogue Fitness deadlift platform

Titan Fitness deadlift platform