
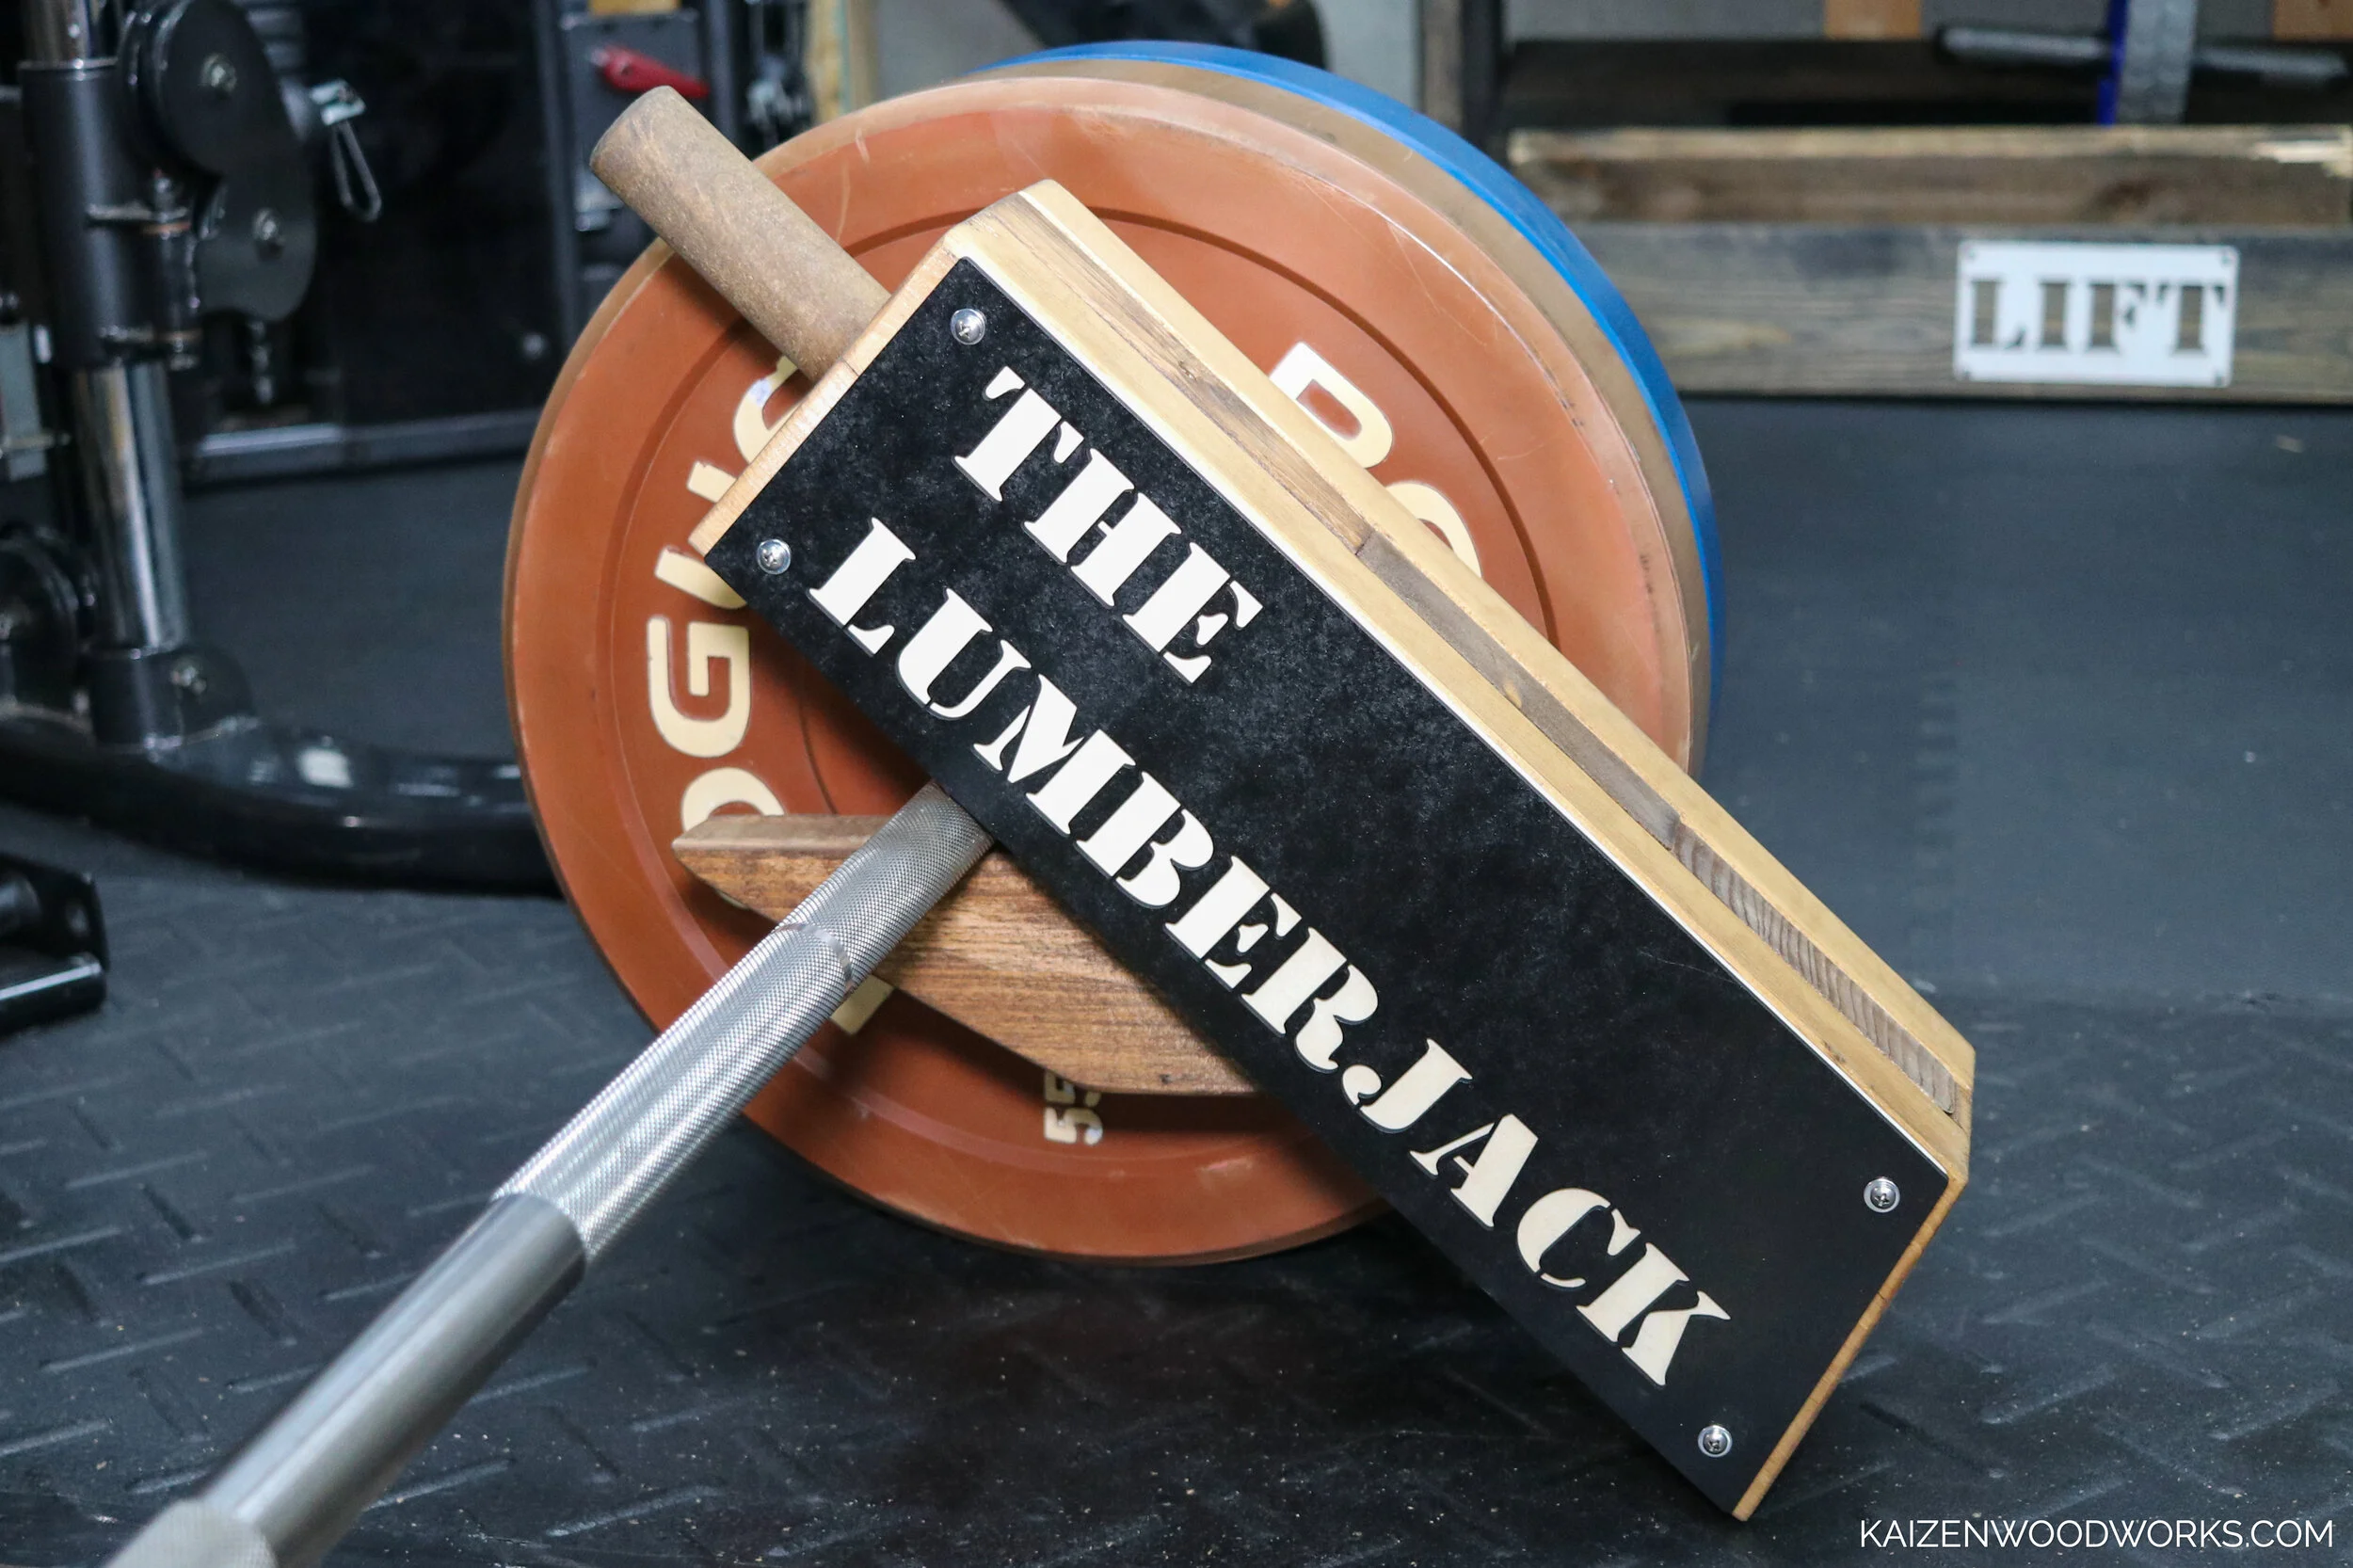
The Lumberjack - a deadlift jack made from lumber
I made a deadlift jack out of lumber. It’s called The Lumberjack. I wanted to design a deadlift jack made from wood that didn’t require using a jigsaw to make. This is what I came up with. If you like the idea of having a deadlift jack but don’t want to make one, Rogue Fitness and Titan Fitness both have inventory available to purchase.
Cost of materials will vary based on fluctuating lumber prices and your location. This project only took a couple of hours and the materials were relatively inexpensive. There are lots of options on what tools and materials can be used to make this, here’s what I used:
Tools:
Dewalt sliding mitre saw - Amazon link (https://amzn.to/3pdqFe3), Home Depot link (https://homedepot.sjv.io/3P7GRB)
Dewalt table saw - Amazon link (https://amzn.to/3d5kLqt), Home Depot link (https://homedepot.sjv.io/15bmom)
Dewalt cordless drill - Amazon link (https://amzn.to/3g2VM7L), Home Depot link (https://homedepot.sjv.io/doRm3K)
Bosch cordless drill set - Amazon link (https://amzn.to/2TGLLpz)
Drill press - Amazon link (https://amzn.to/3wh8beK), Home Depot link (https://homedepot.sjv.io/doRm3K) - alternatively, the holes can also be drilled using a cordless drill
Glowforge 3D laser printer (https://glowforge.com/?kid=YZPNDIUF)
Dewalt random orbit sander - Amazon link (https://amzn.to/3vUK2Ku), Home Depot link (https://homedepot.sjv.io/gbo2L9)
Countersink drill bit - Amazon link (https://amzn.to/35Qwq8k), Home Depot link (https://homedepot.sjv.io/9WeXx3)
Wood clamps - Amazon link (https://amzn.to/3xfySB8), Home Depot link (https://homedepot.sjv.io/jW1vD5)
12 inch long 3/8 drill bit - Amazon link (https://amzn.to/3pNU4vA), Home Depot link (https://homedepot.sjv.io/qng7kL)
Materials:
1 - 8ft 2x6 - Home Depot link (https://homedepot.sjv.io/Eaq3VK)
1 - 4ft 2x4 - Home Depot link (https://homedepot.sjv.io/OR1j5n)
1 - 1.5" dowel rod - Home Depot link (https://homedepot.sjv.io/n1nGPM)
5 inch long 3/8 bolts - Home Depot link (https://homedepot.sjv.io/WDYnon)
3/8 lock nuts - Home Depot link (https://homedepot.sjv.io/EaqmDn)
3/8 Washers - Home Depot link (https://homedepot.sjv.io/b37xd6)
Titebond III wood glue - Amazon link (https://amzn.to/3gPf16z), Home Depot link (https://homedepot.sjv.io/yRr0jG)
Early American wood stain - Home Depot link (https://homedepot.sjv.io/MXQJRn)
Glowforge 1/4" draftboard 12" x 20" 1/8" baltic birch plywood
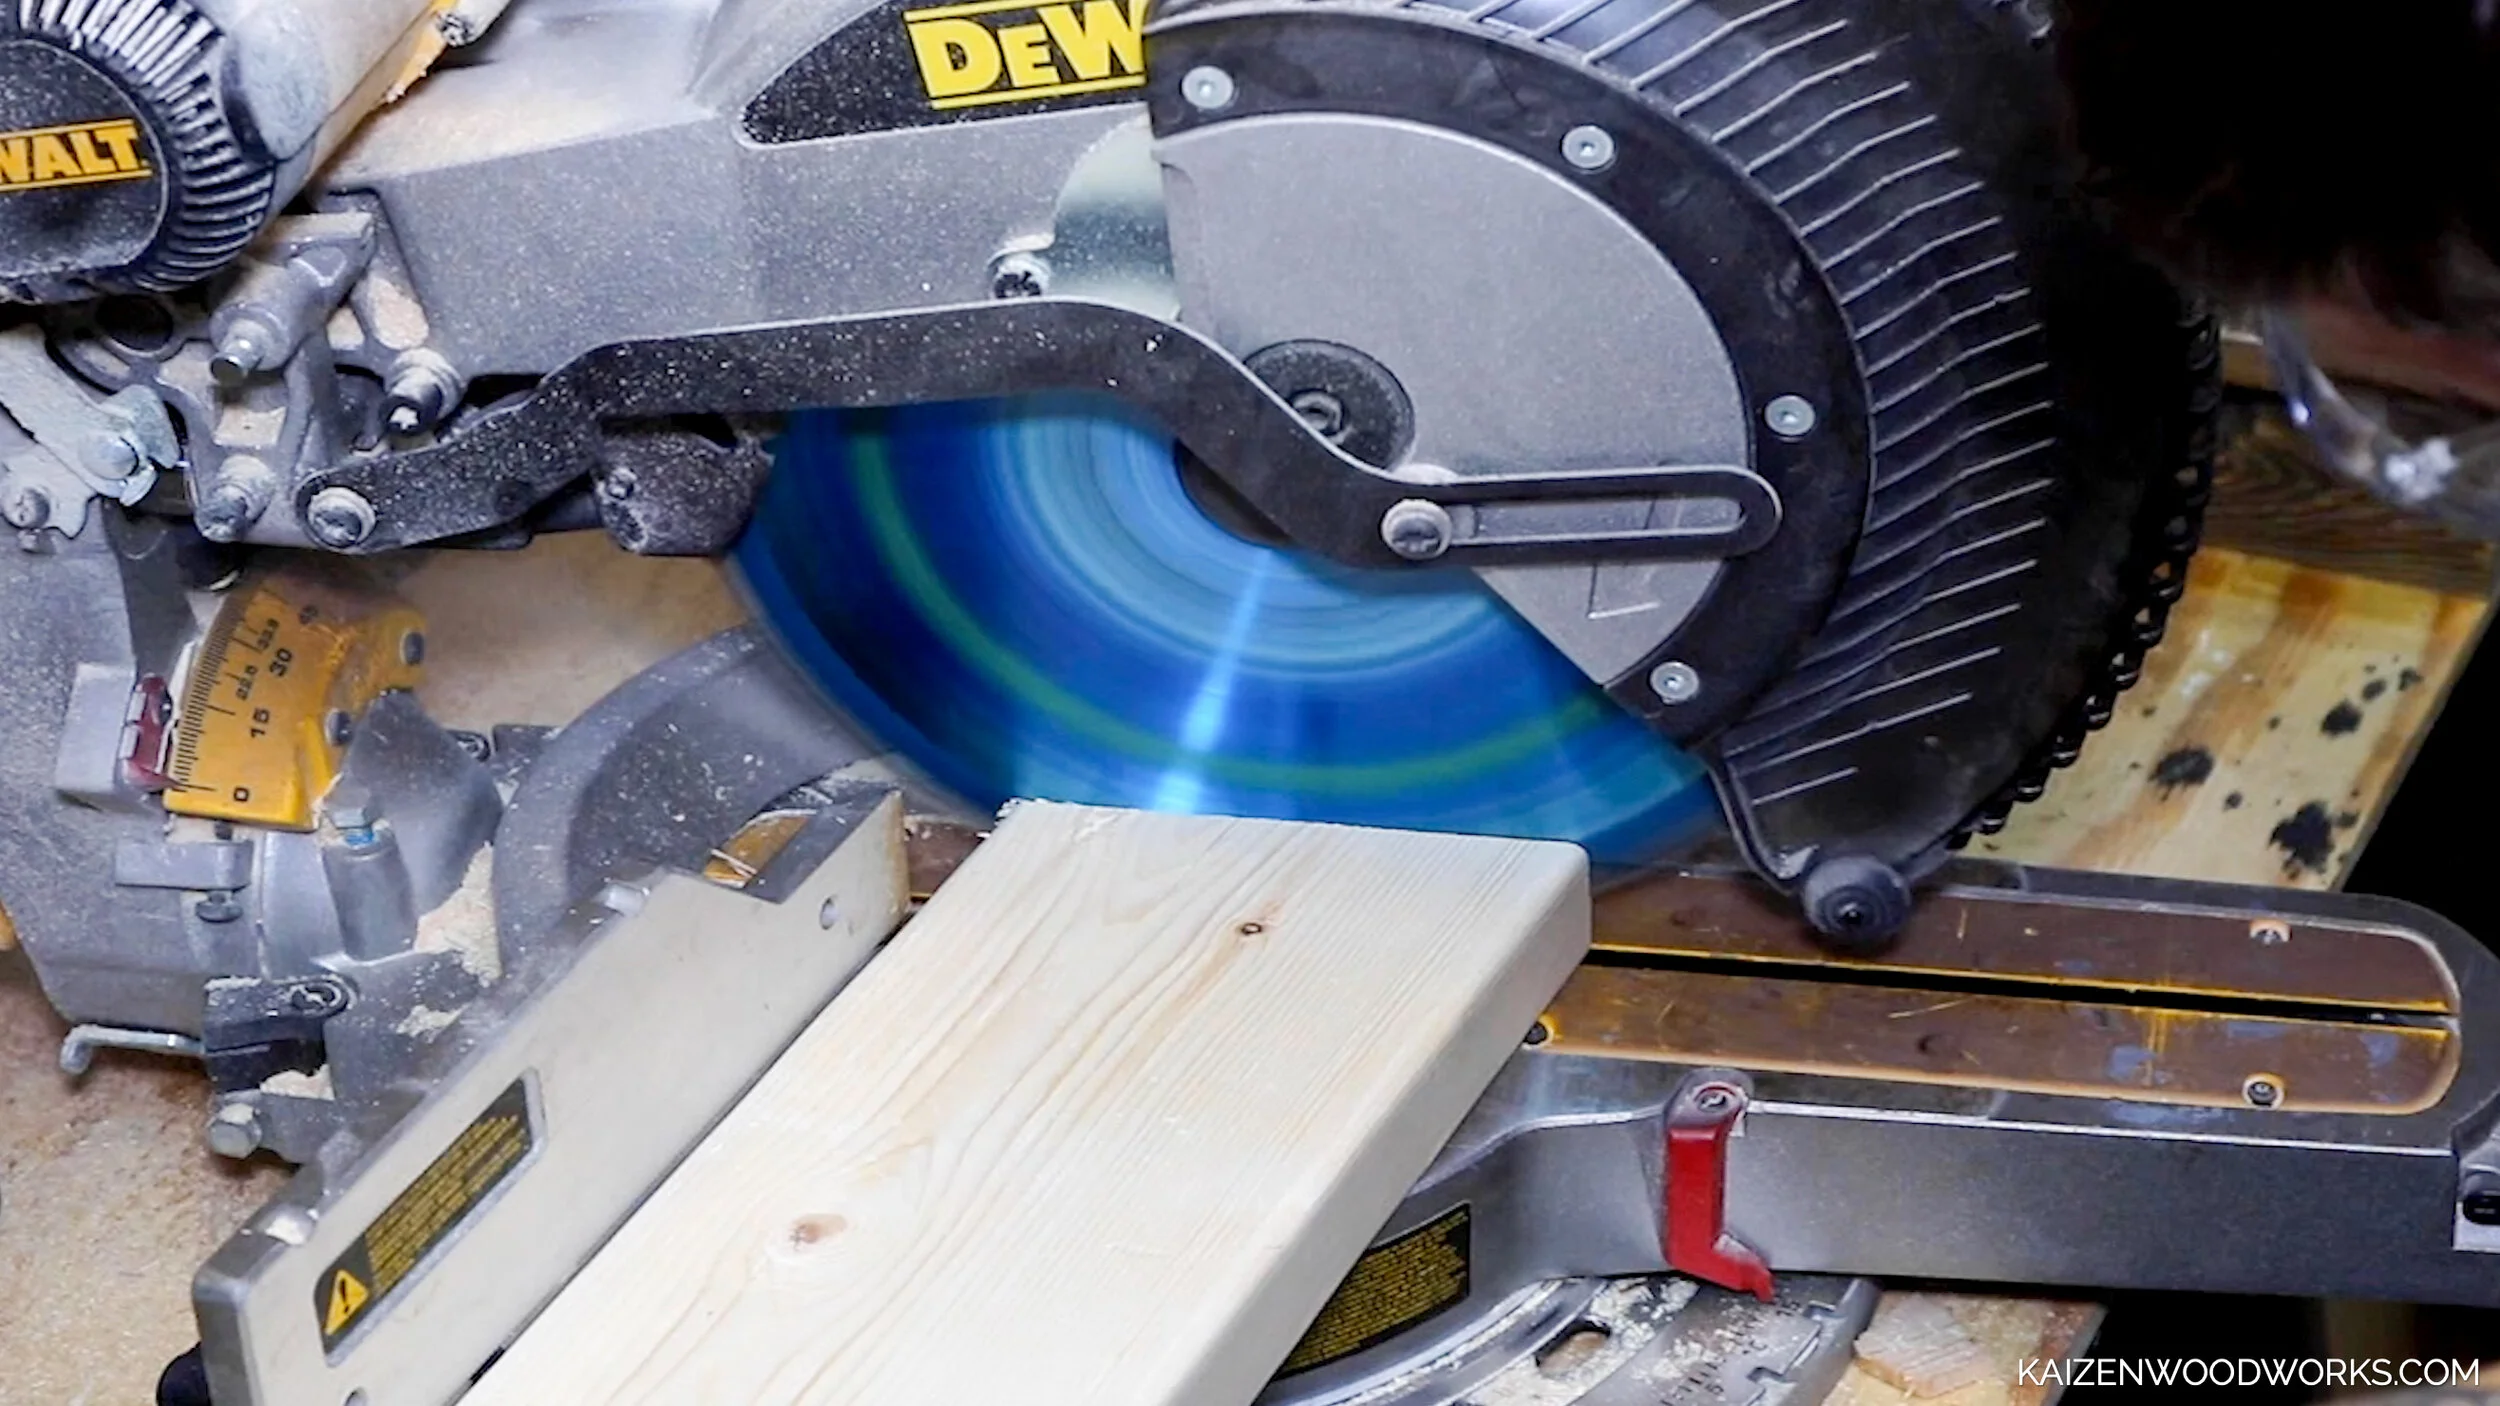
Almost everything was cut with my mitre saw and all the angles are pretty basic.
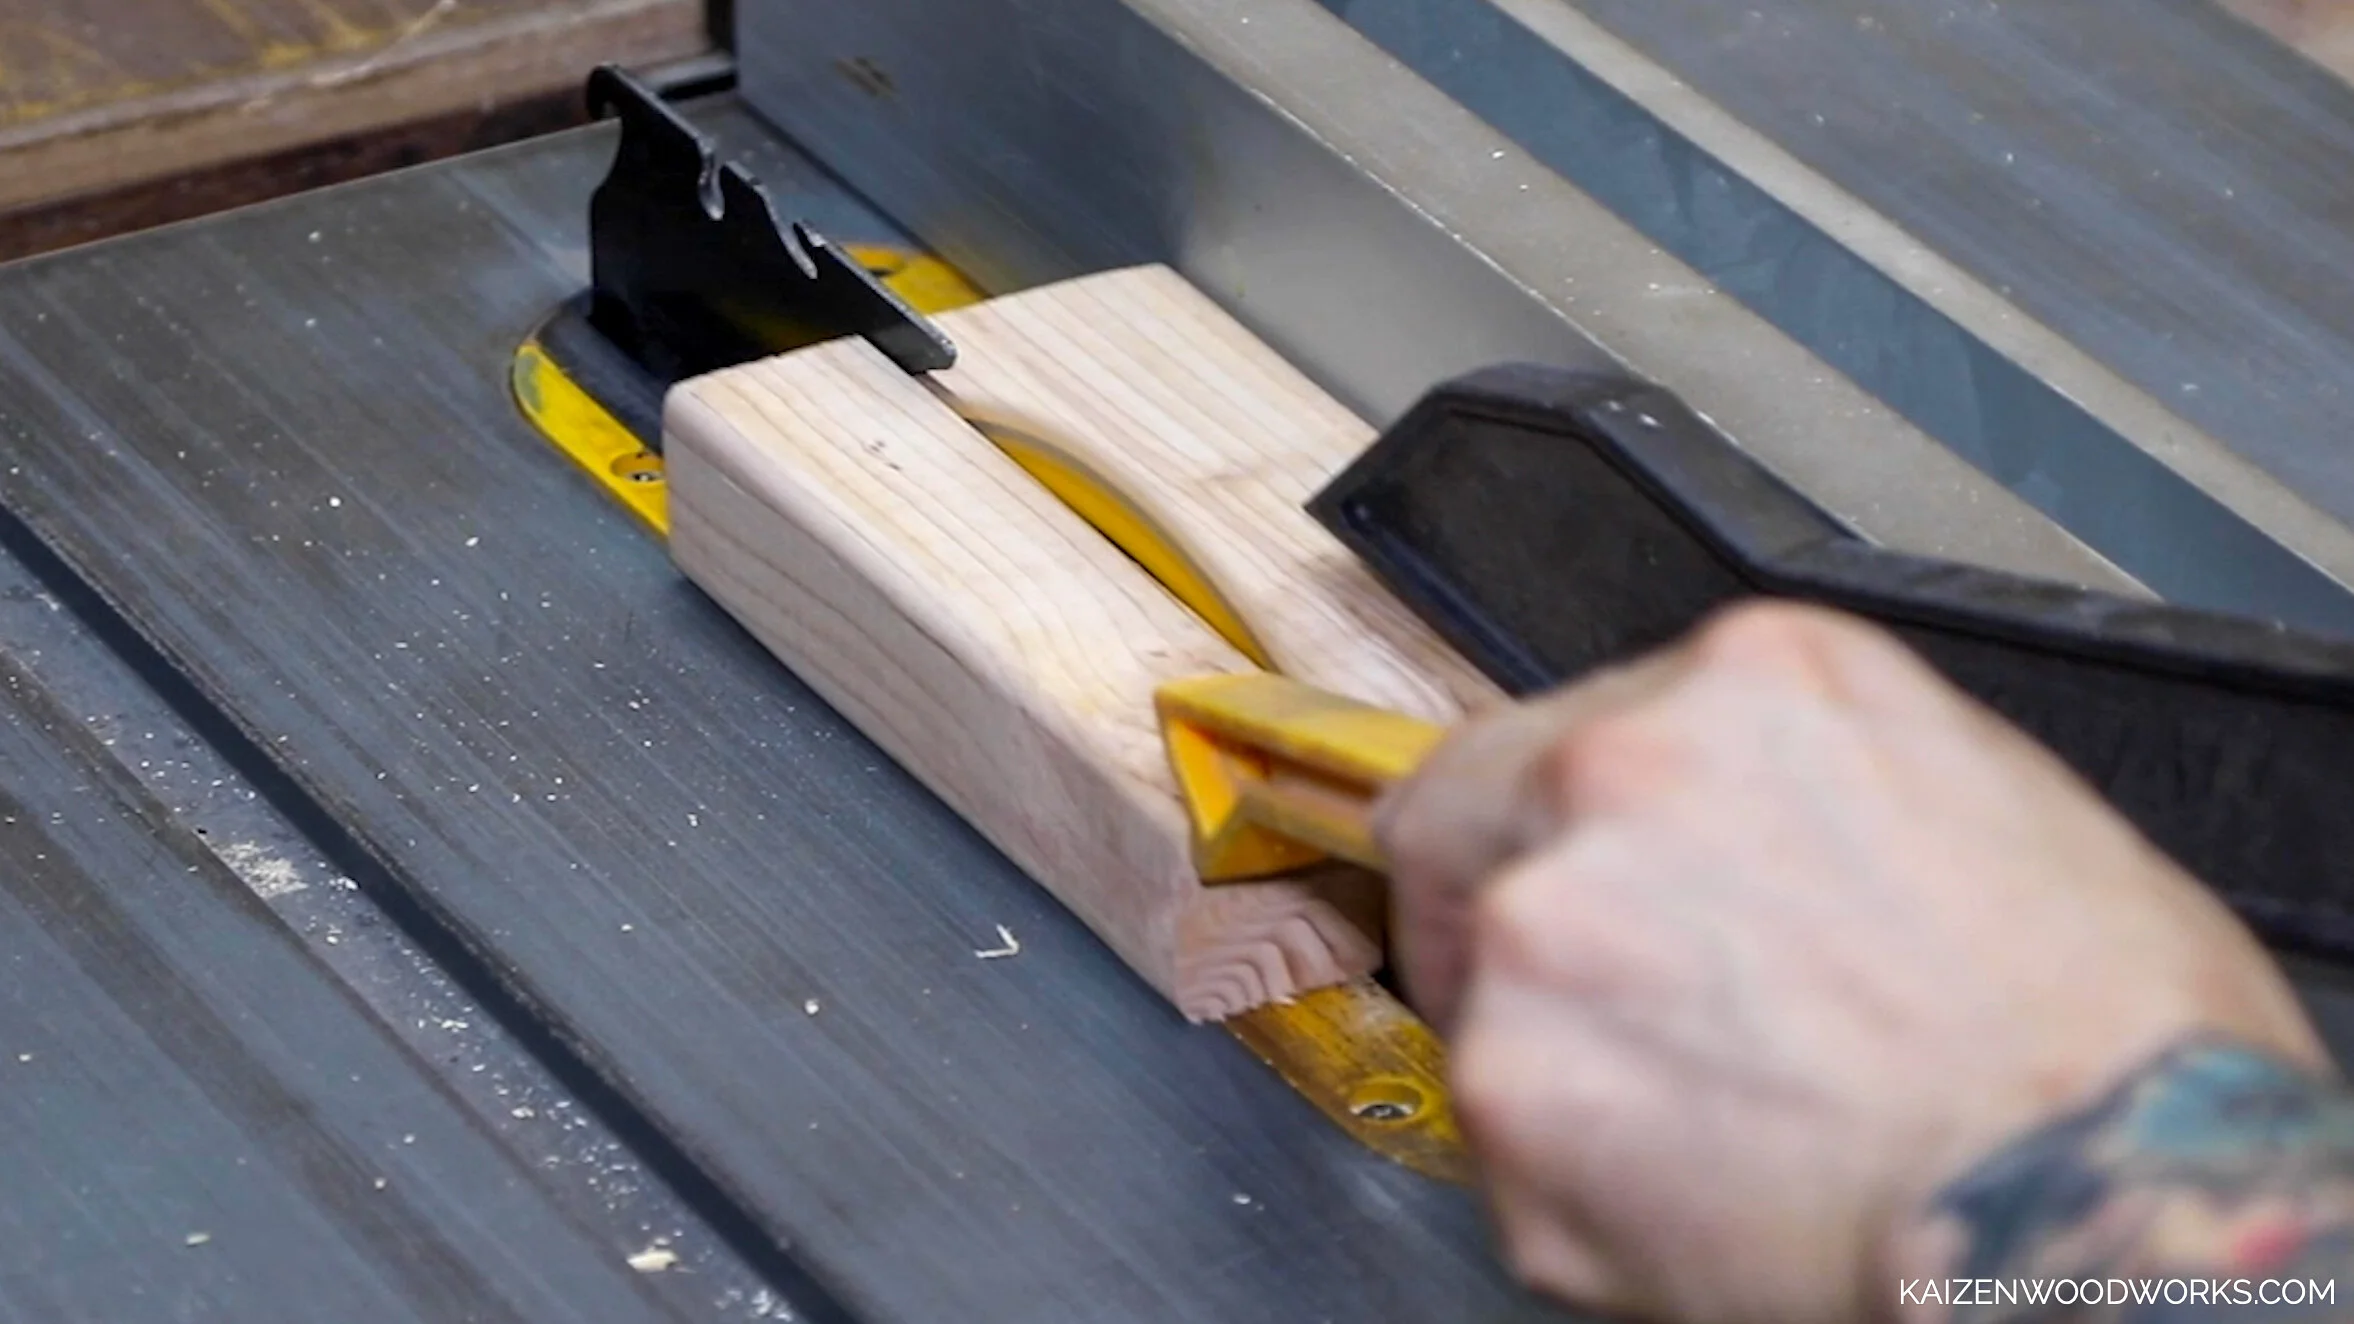
I did use my table saw for two cuts. It was the safest way to cut down the width of the 2x4.
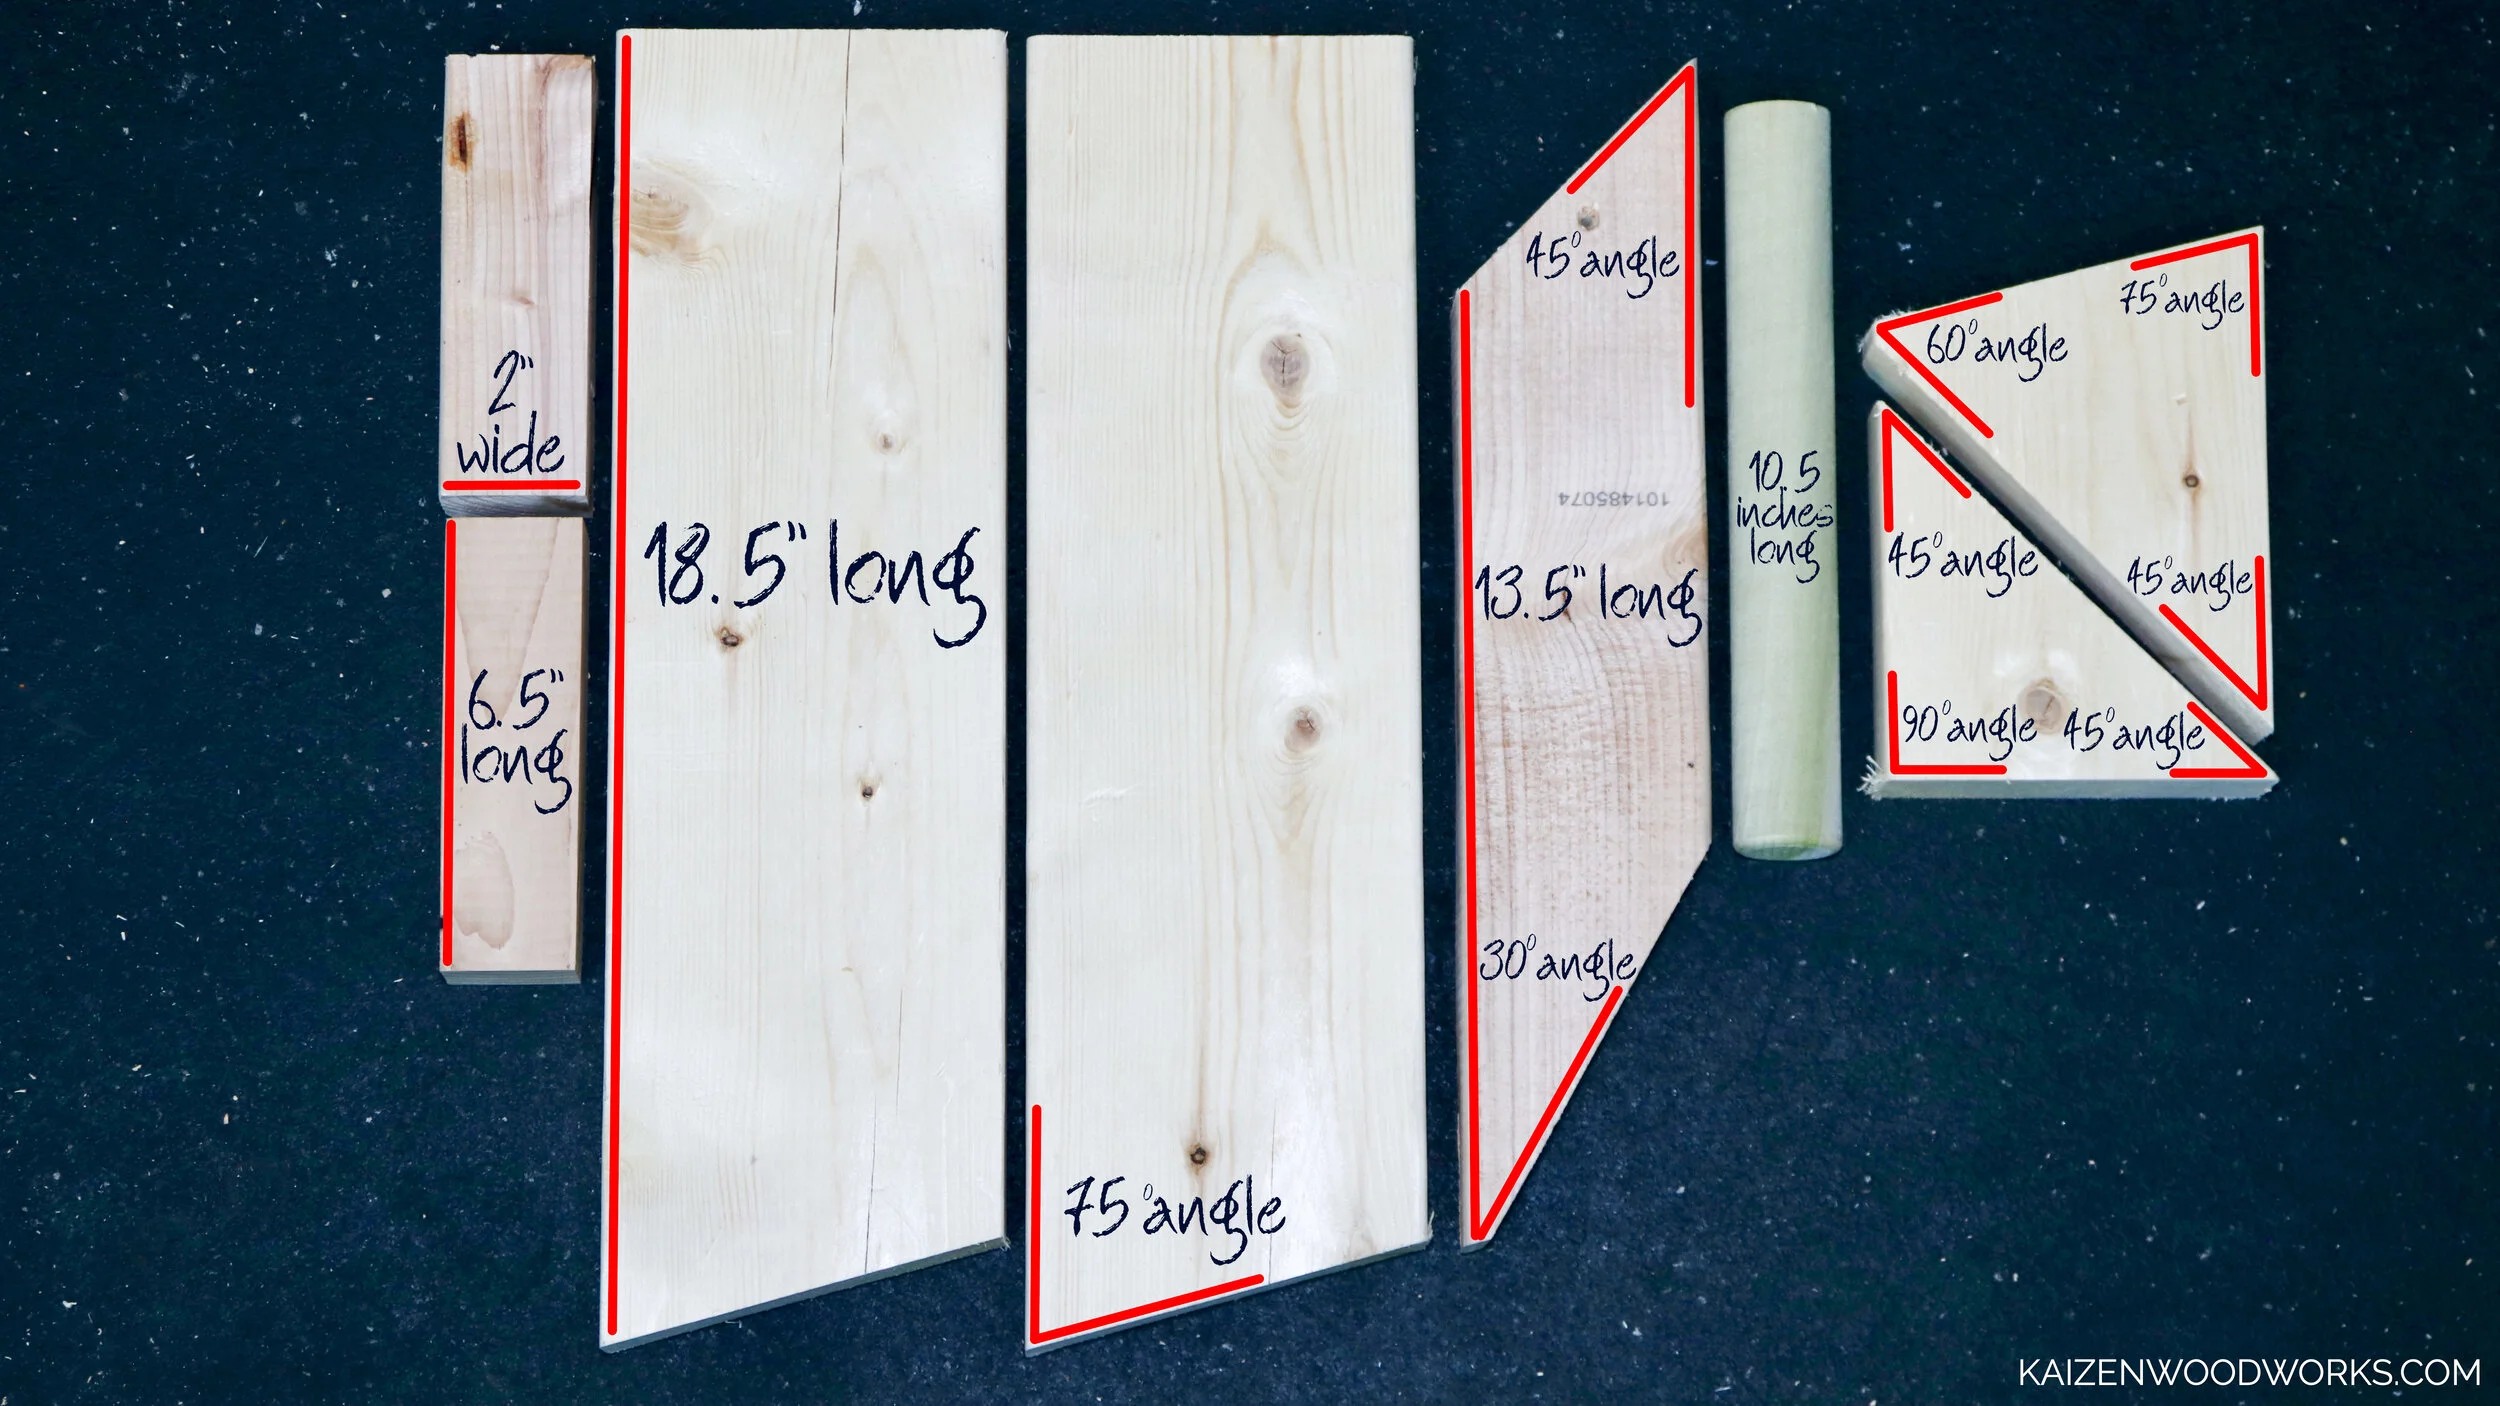
It’s hard to give you exact measurements for these smaller pieces because this dimensional lumber can vary a little bit. You may have to modify your pieces to fit. The goal is to have everything fit pretty snug.
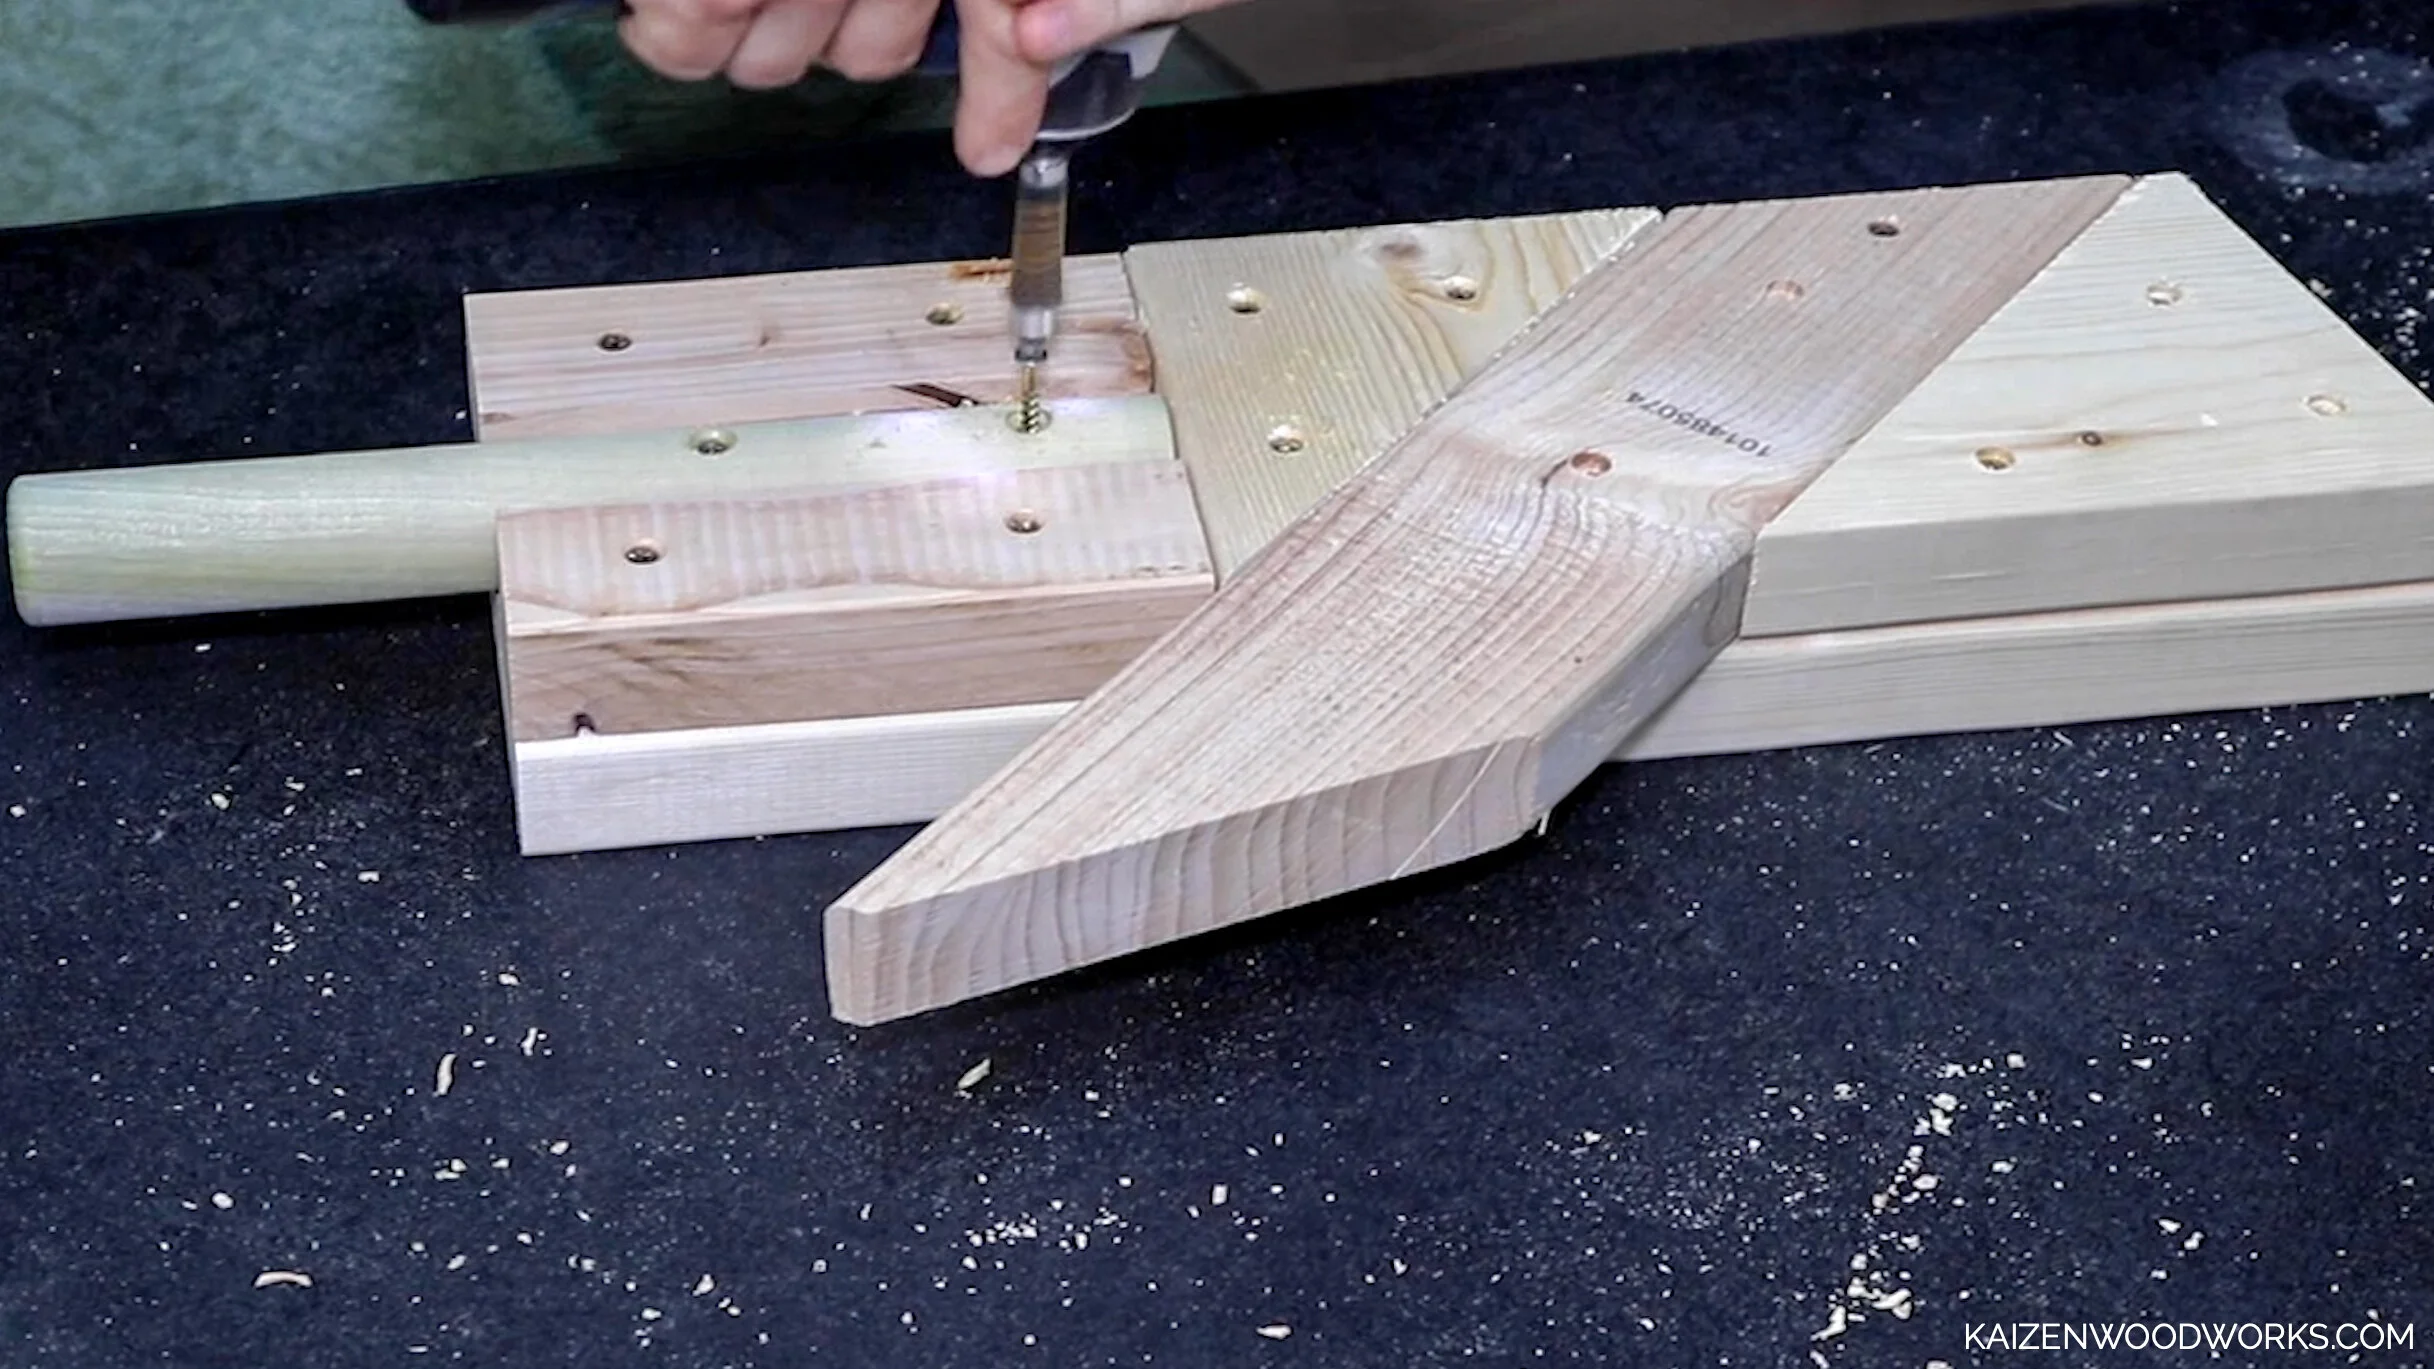
To assemble, I use lots of wood glue, screws, and a couple bolts. This deadlift jack is going to be supporting a lot of weight. I want to make sure it can handle it. I always drill pilot holes before putting in screws. It helps to prevent the wood from splitting and makes the screws go in easier.
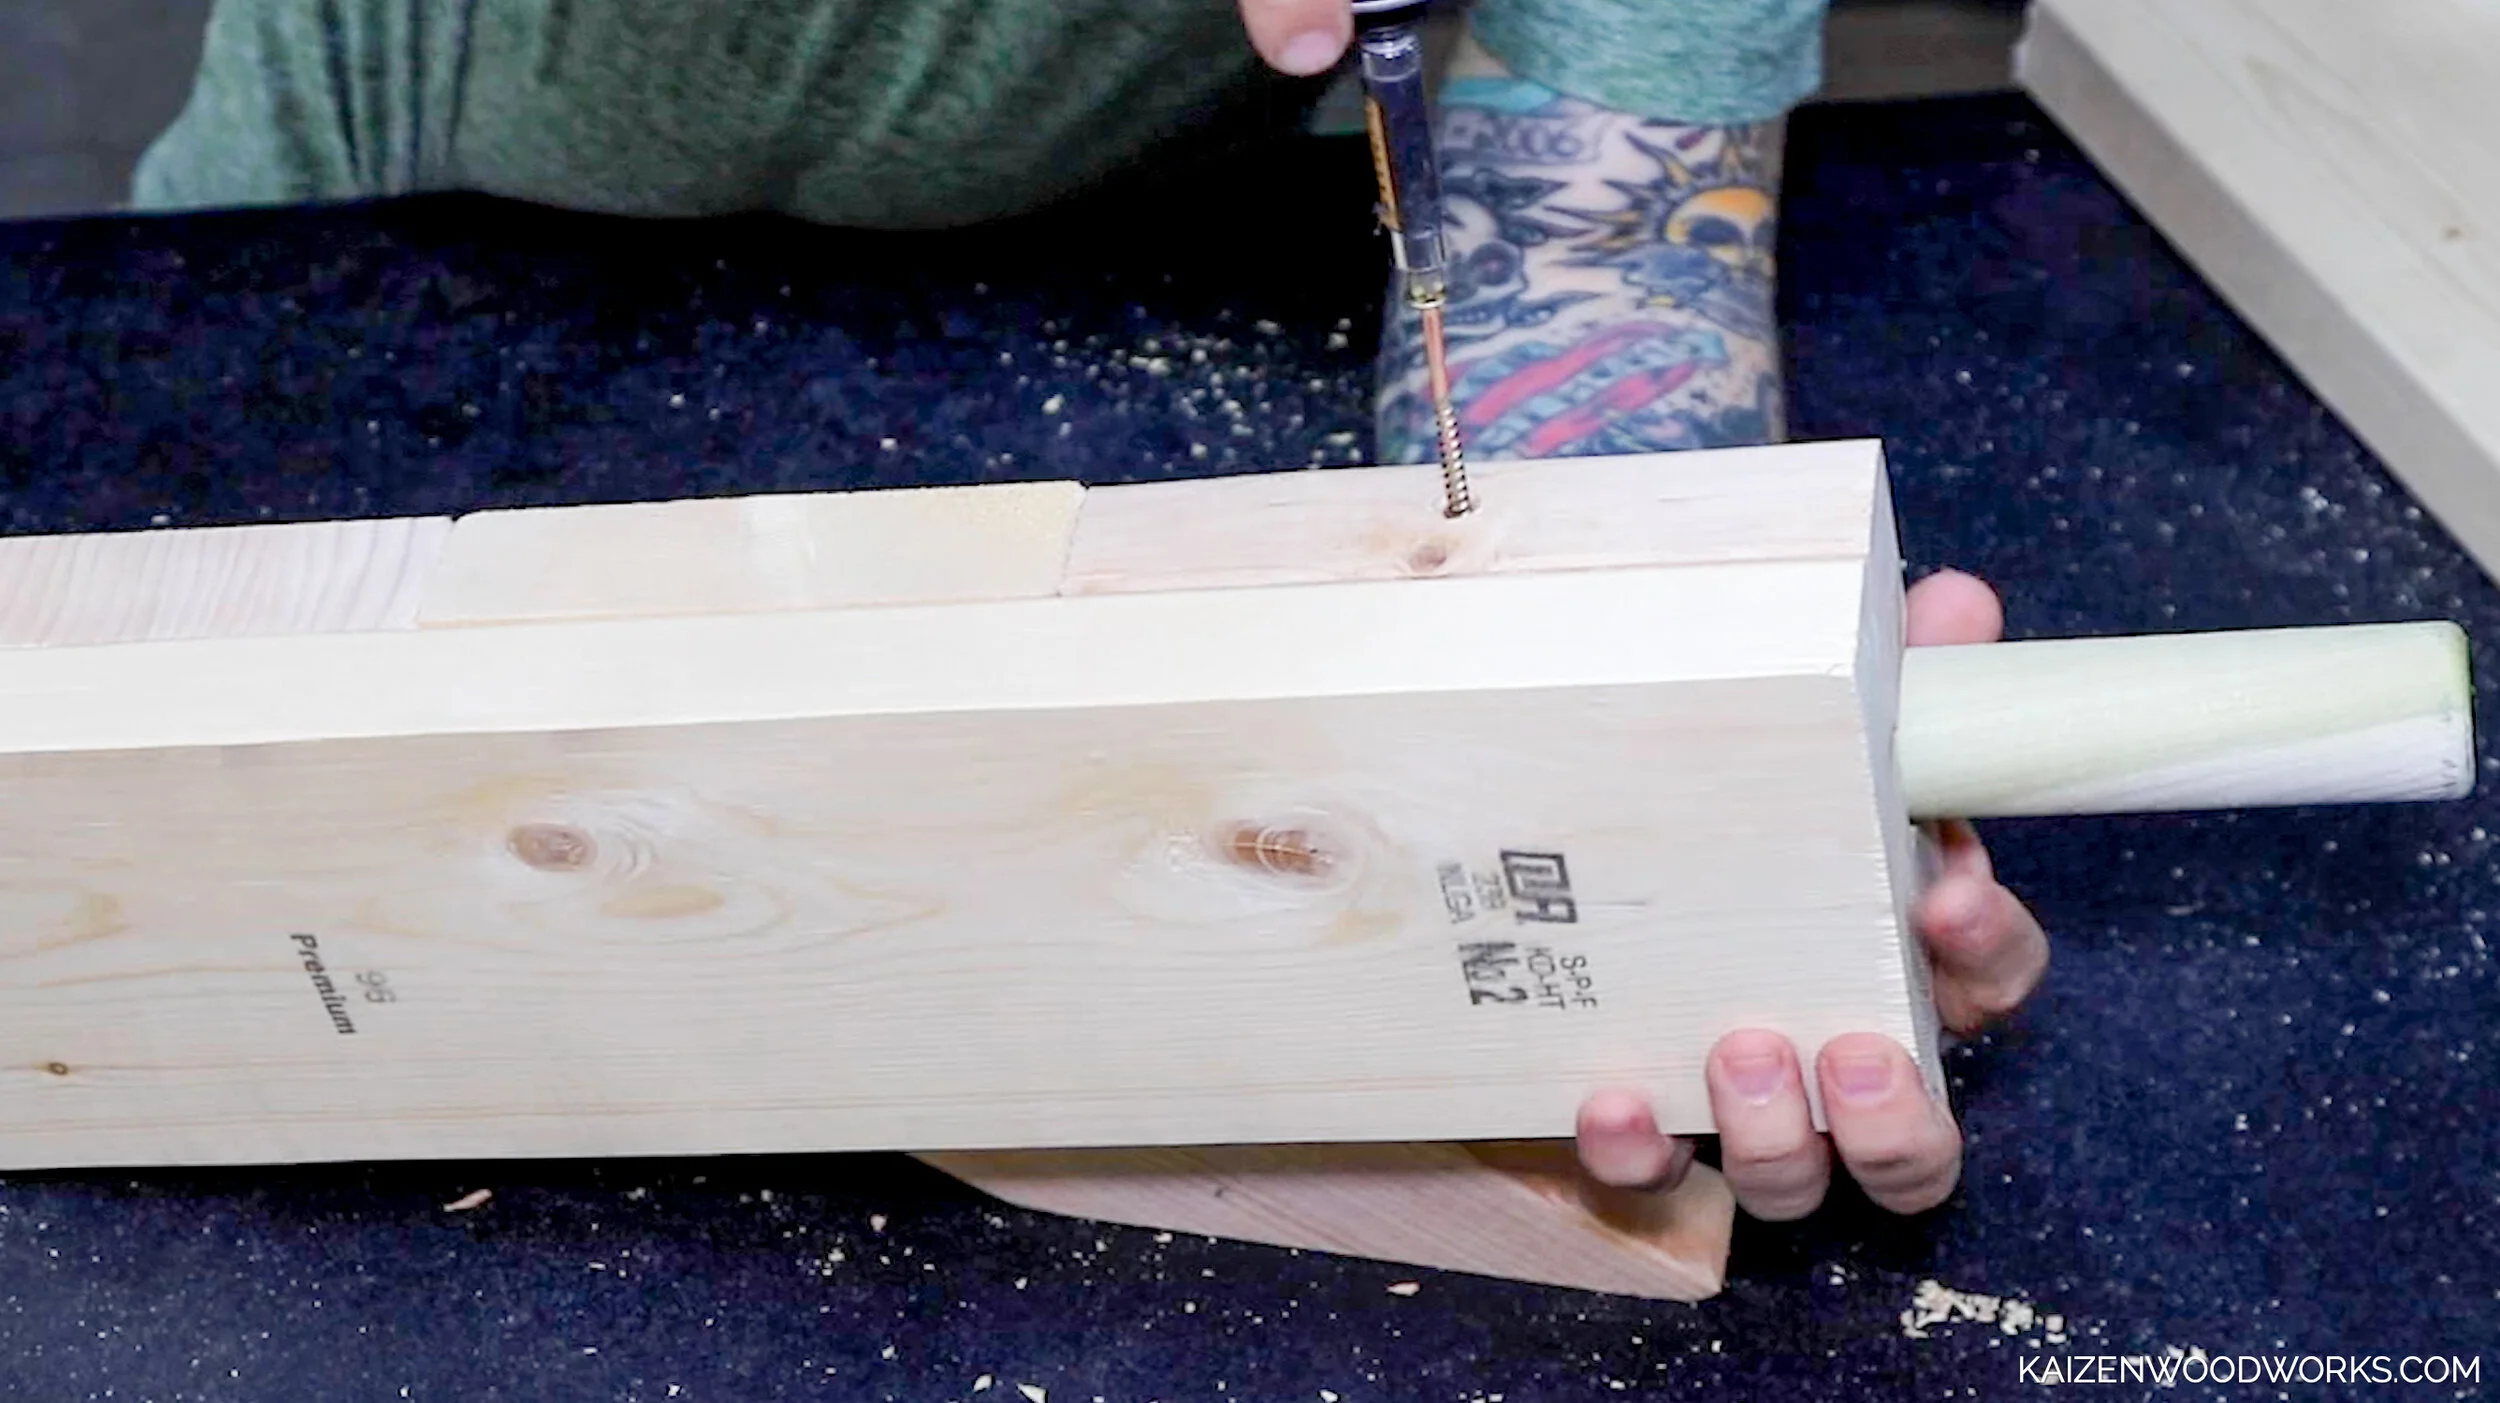
I add a third screw into the dowel from the backside. I don’t want this thing going anywhere.


I add a healthy amount of wood glue before laying the 2x6 piece over the top and fastening it down.

The final step in assembly is drilling two holes for the bolts. These are both going through the 2x4.
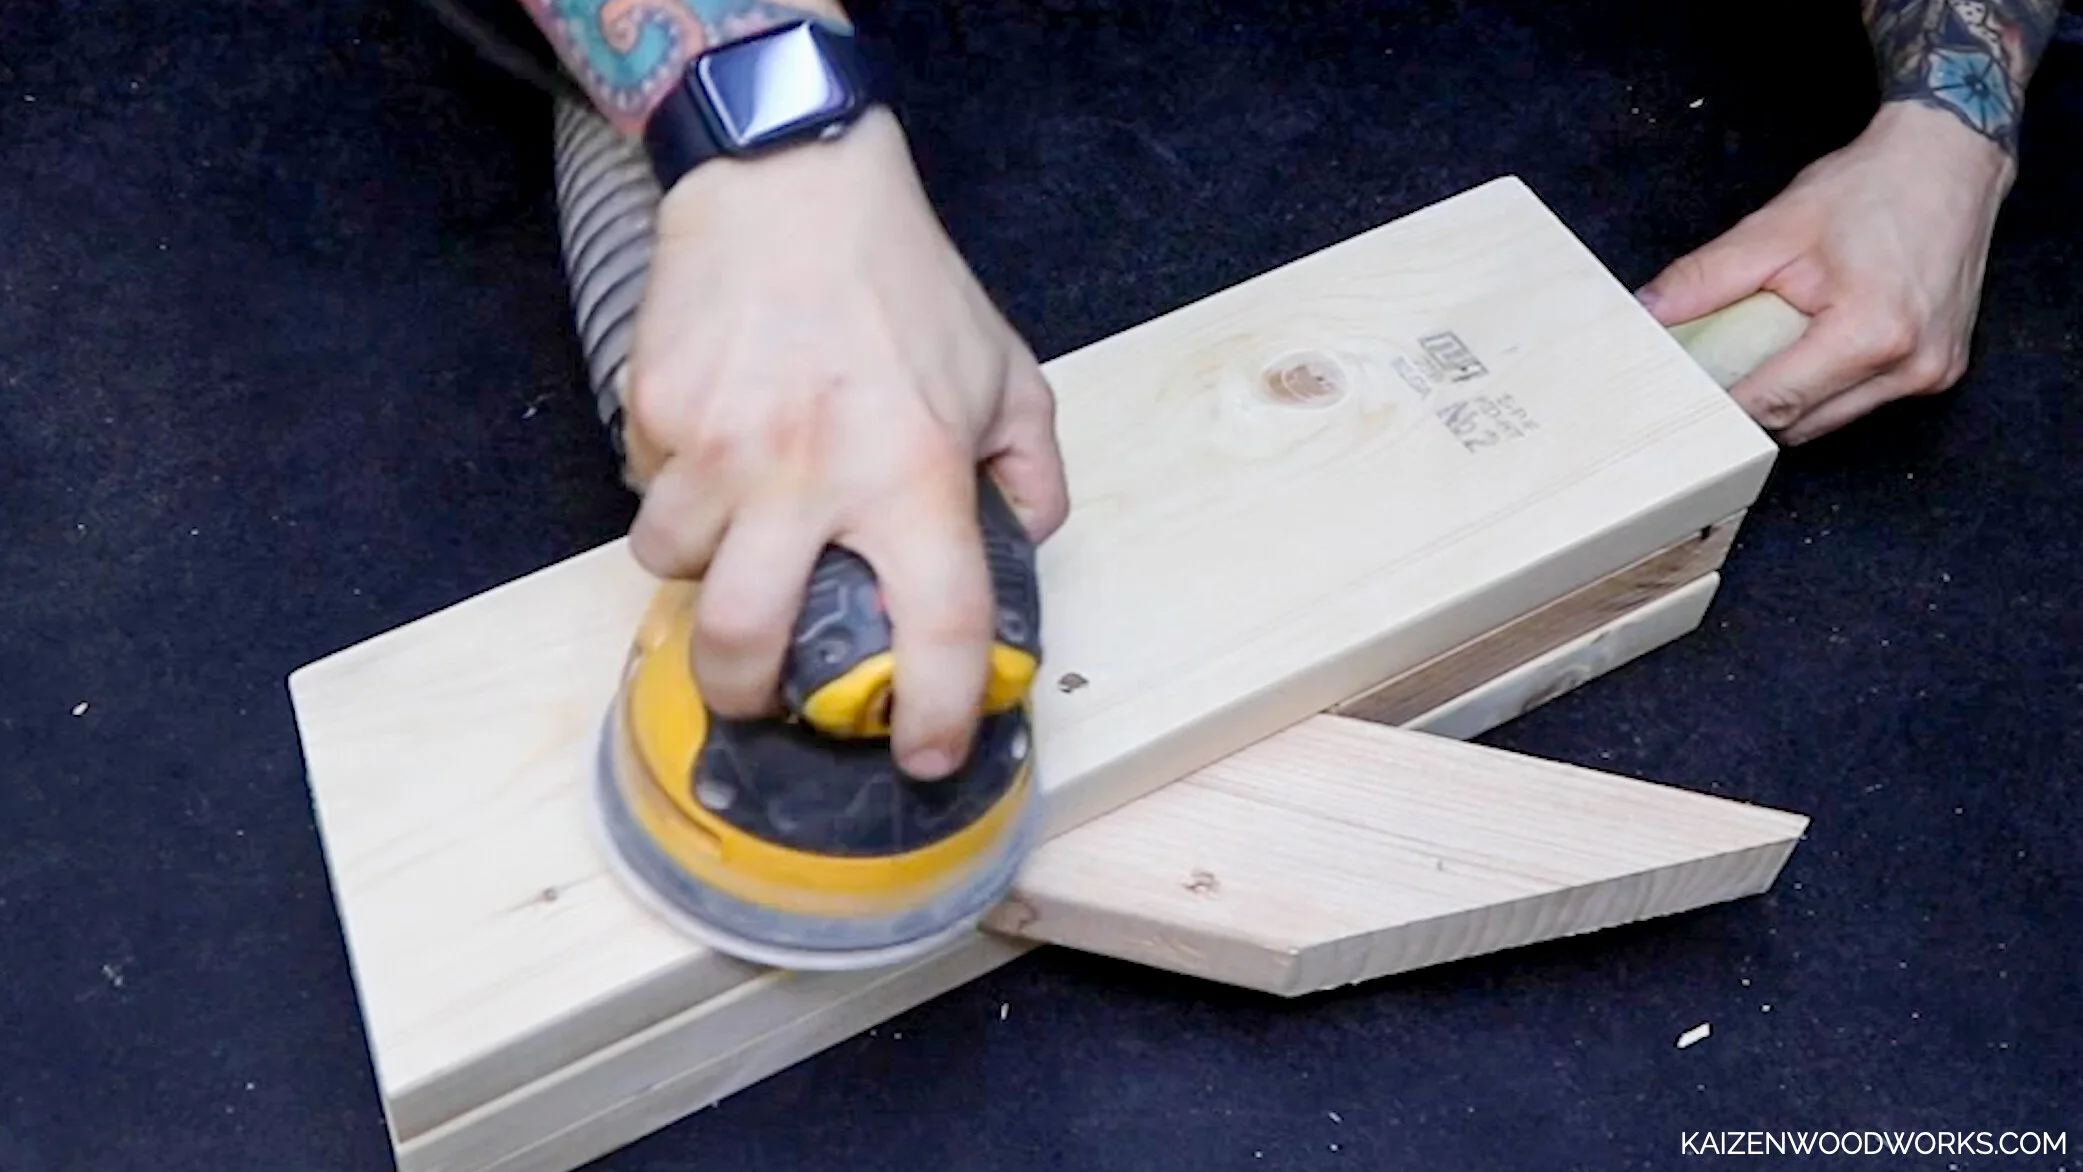
I go over the whole thing with a sander and 220 grit sandpaper to smooth out any rough edges and get rid of the markings from the lumber yard.
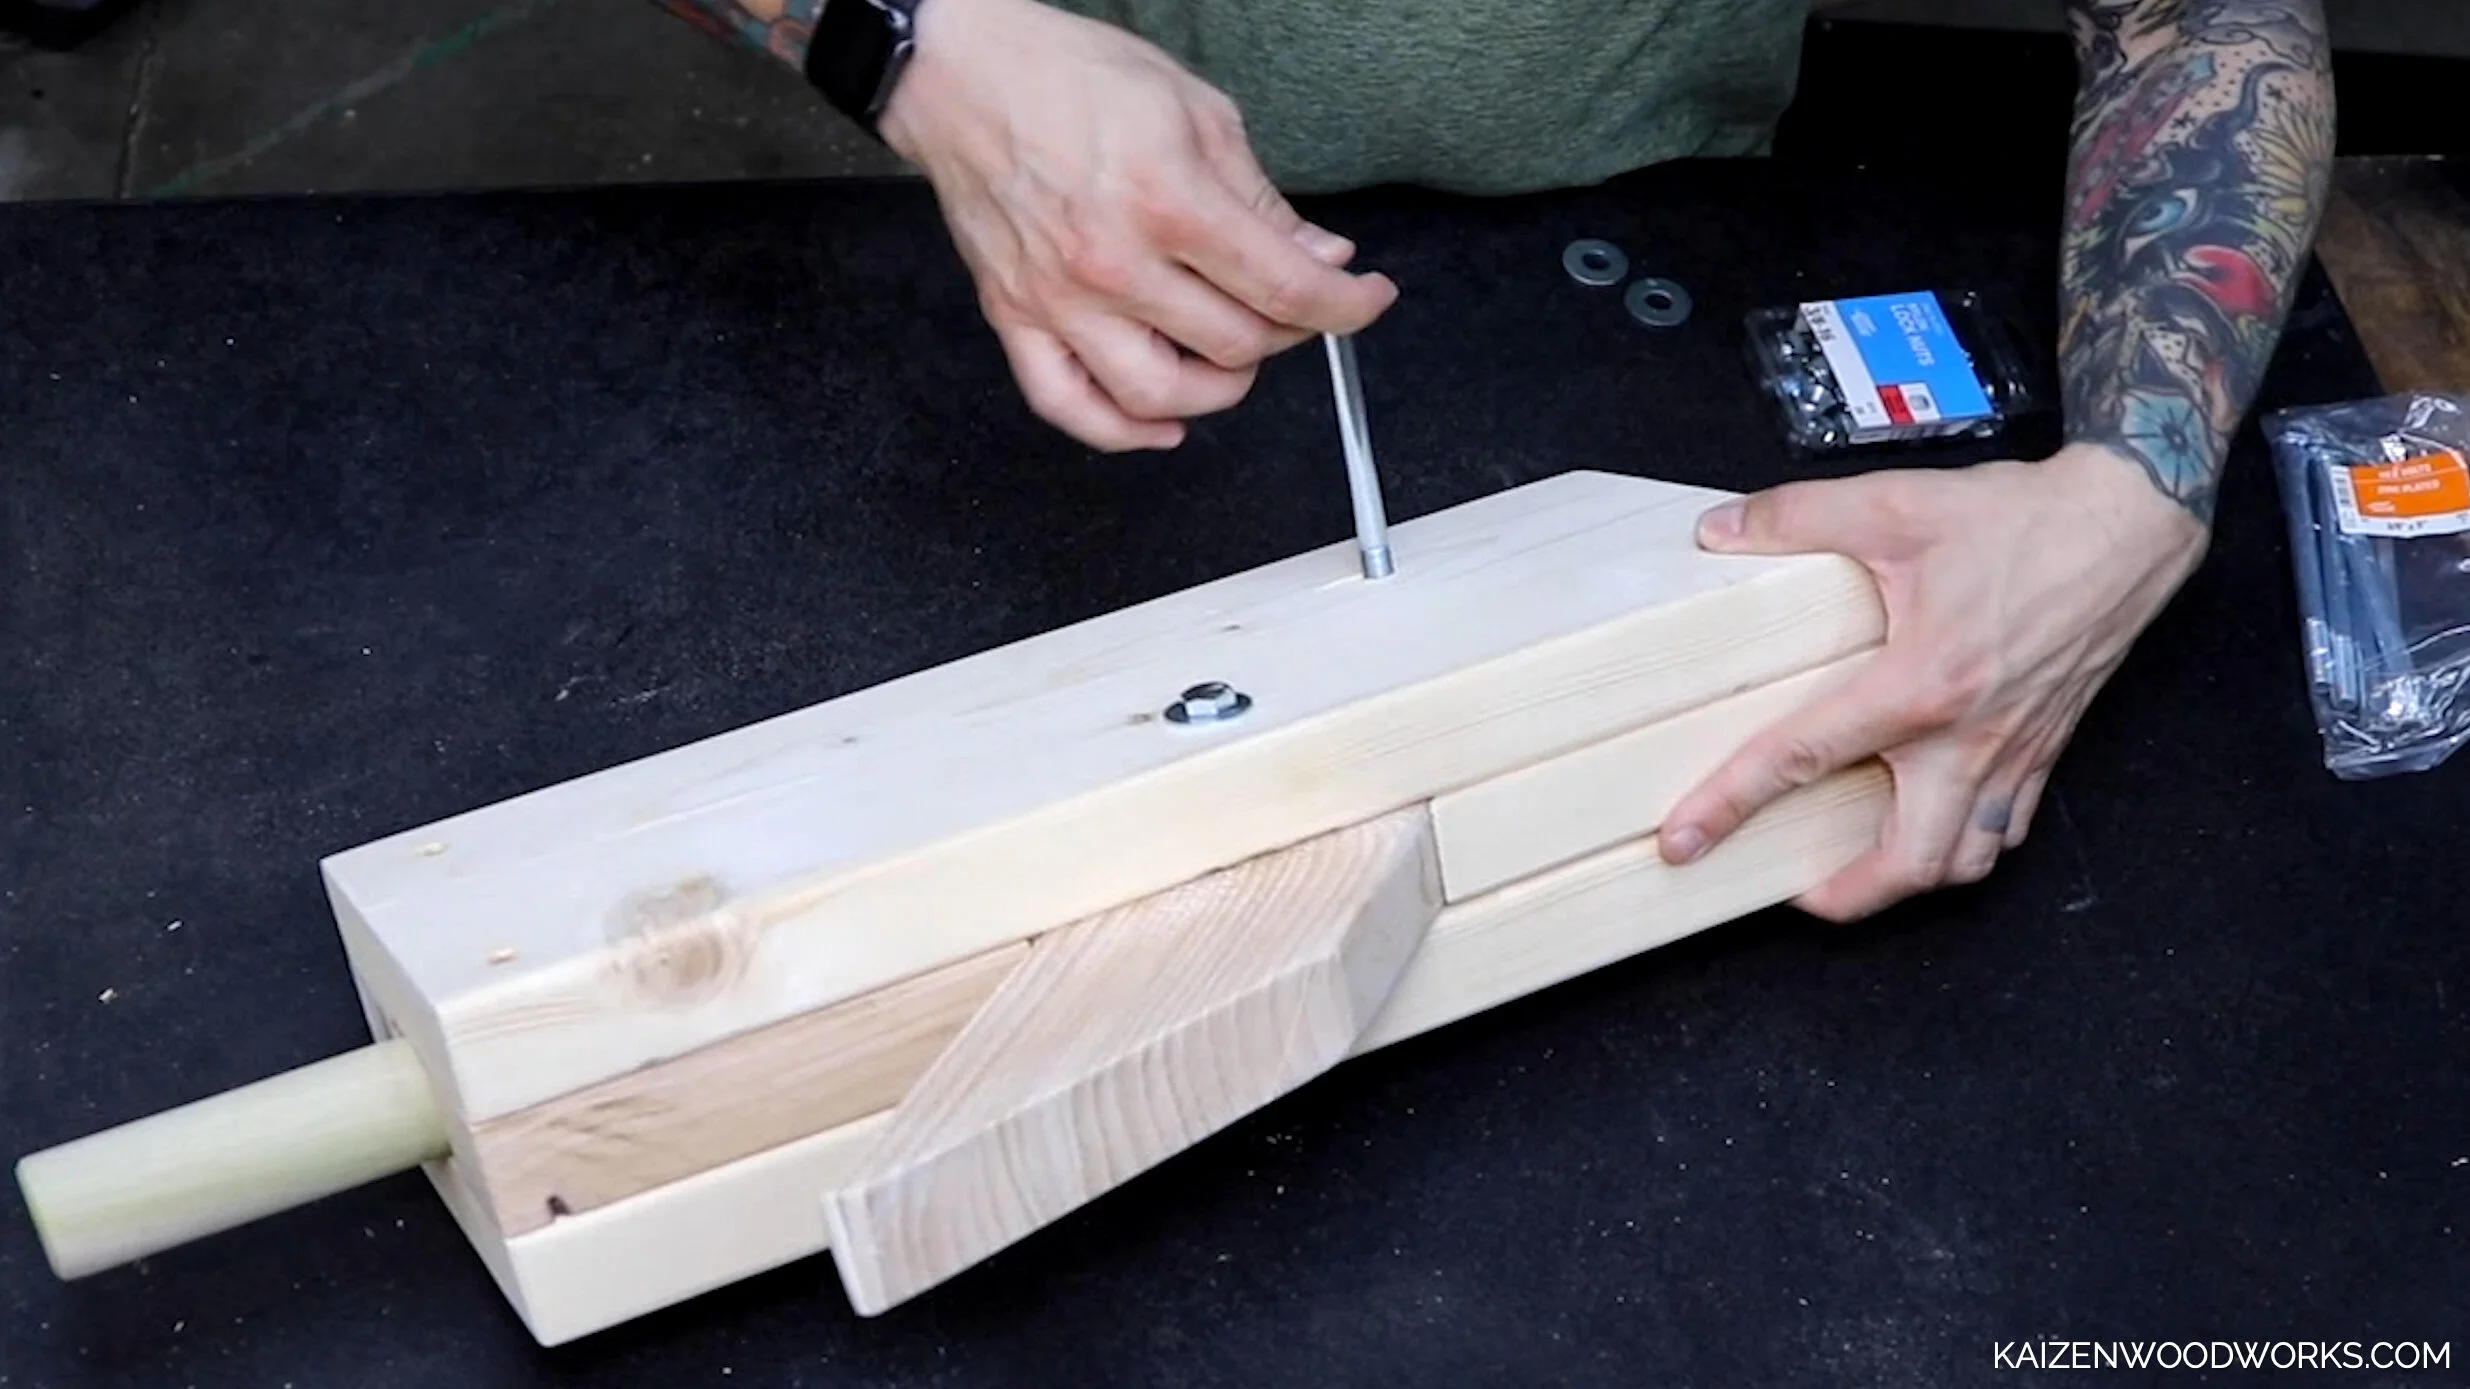
With the holes pre-drilled, the bolts go in easy. However, I sorta jumped the gun on putting these in. You’ll see what I mean later.
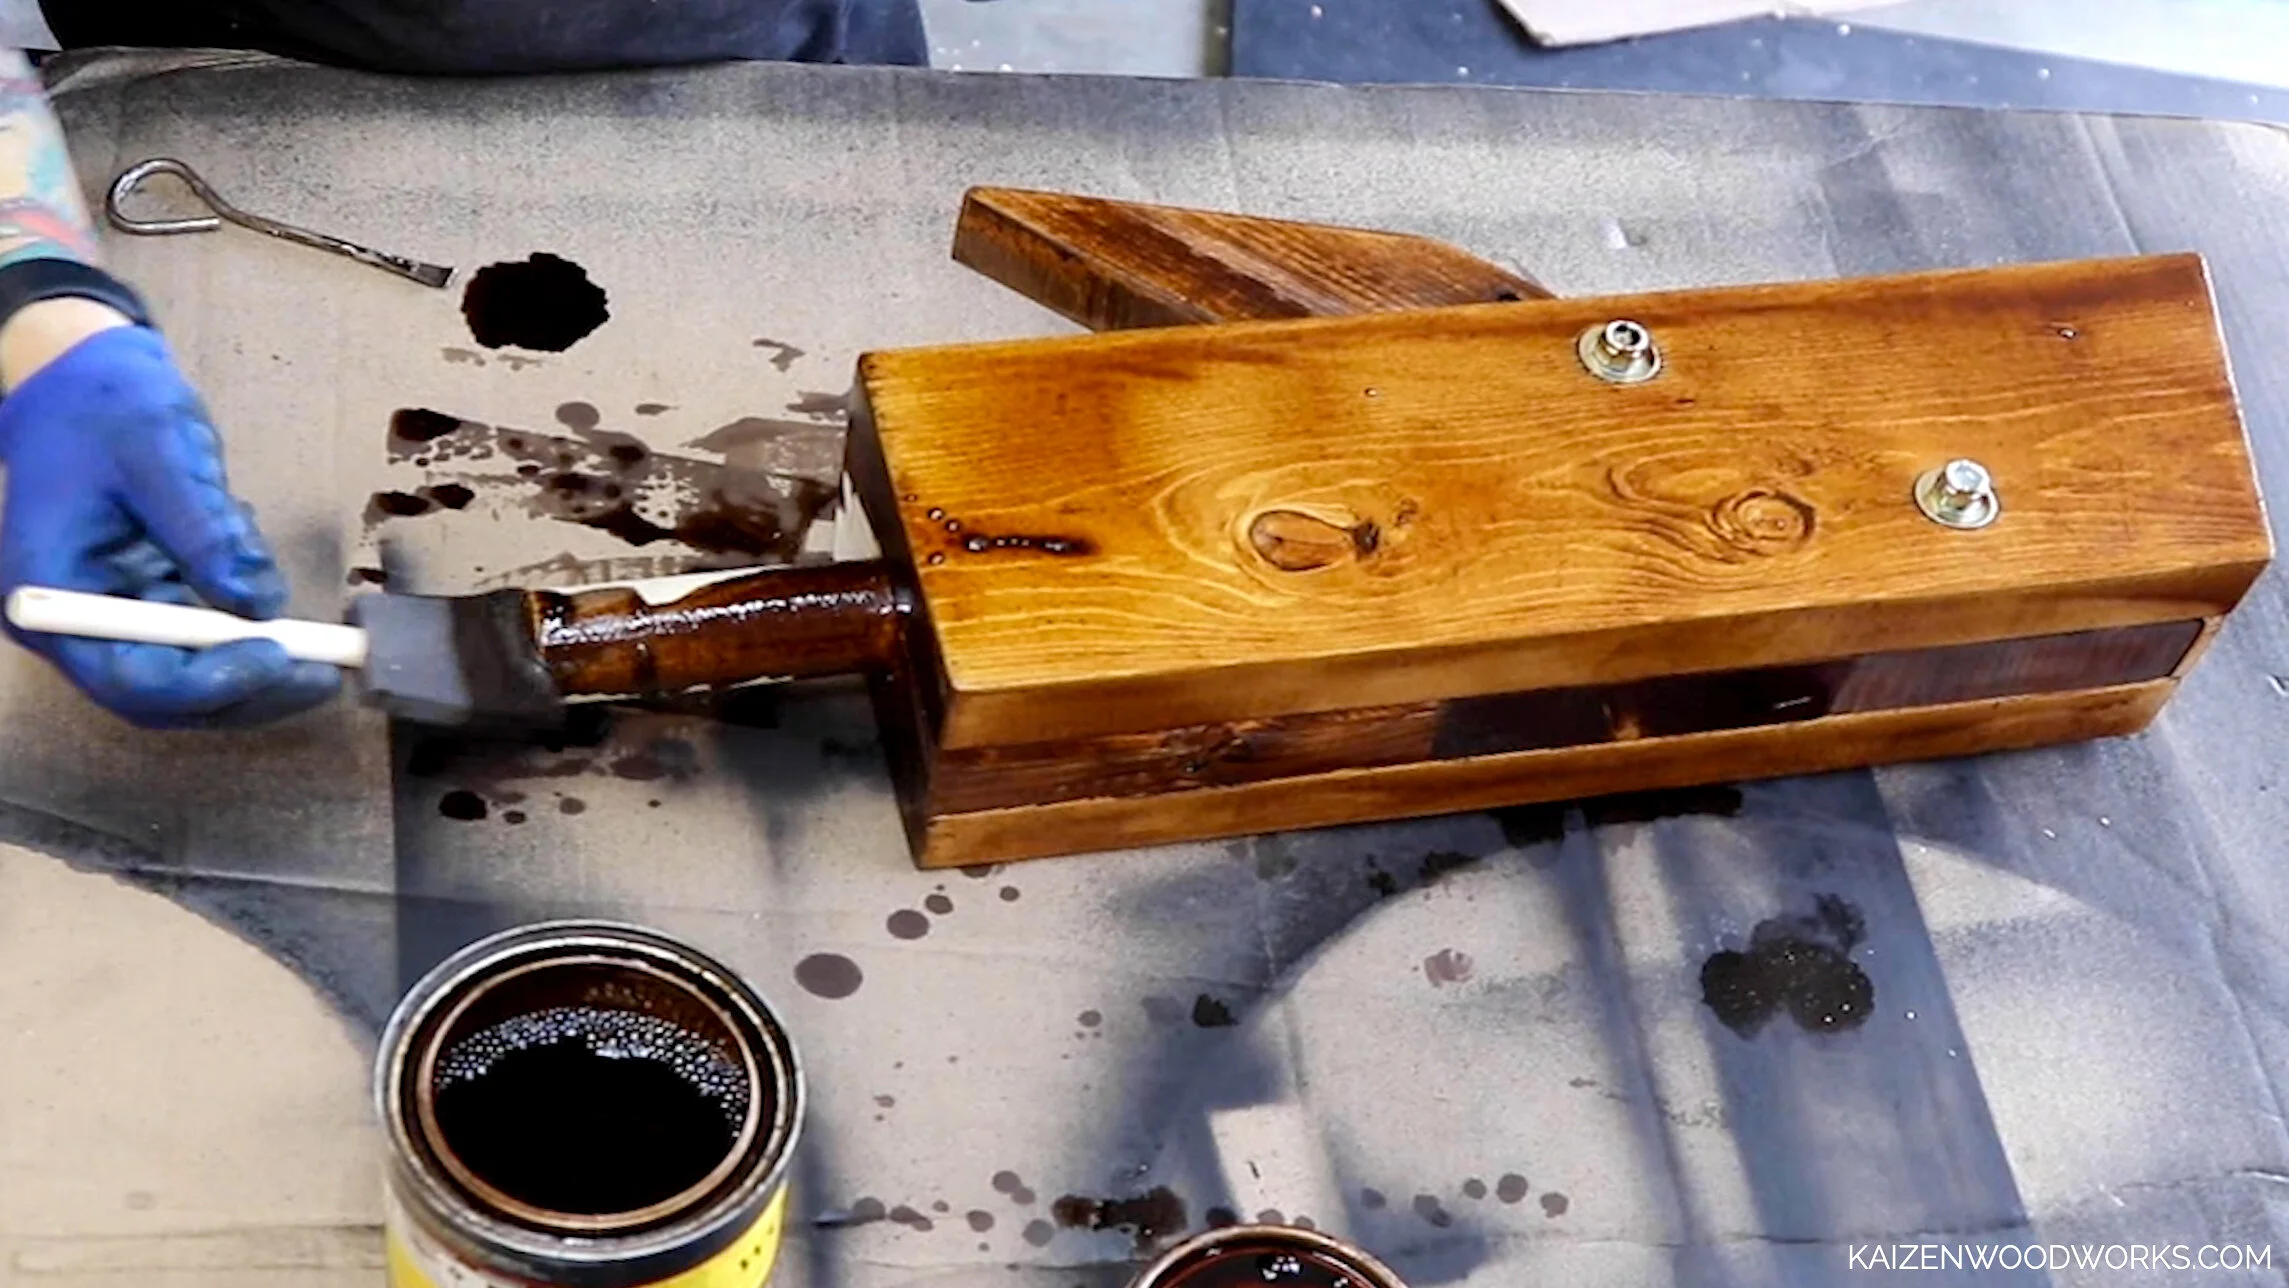
The stain I chose for this is called Early American. It’s a medium brown that makes the pine look a little more like the color of cedar. I chose this color to the fit the rustic vibe of this project. Each piece of wood accepts stain differently, so i am getting slight color variations. I’m okay with everything not matching because this thing is rugged and tough.
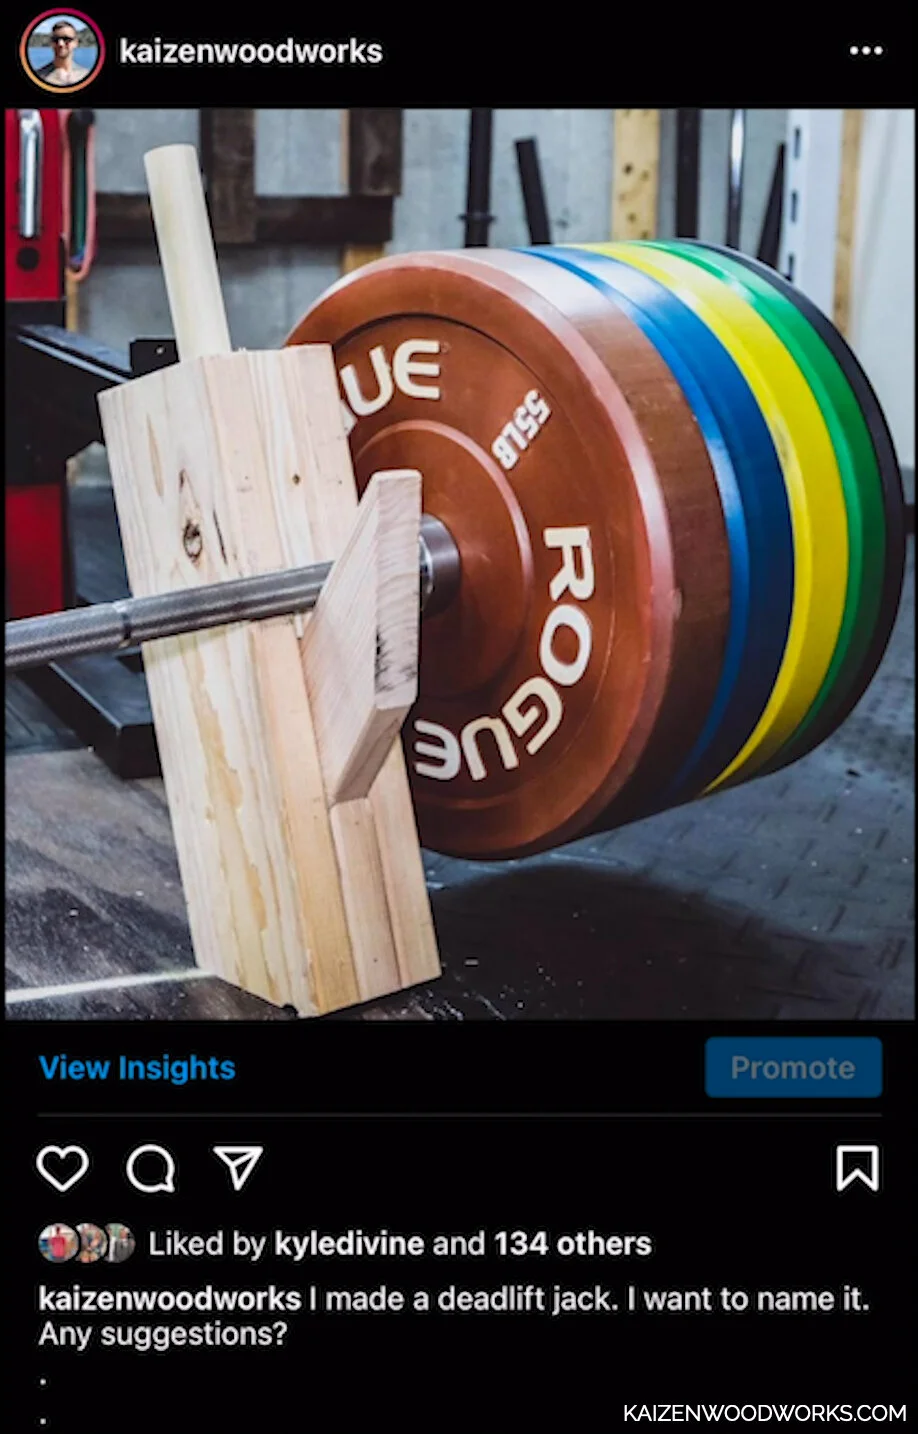

Earlier in the day I posted a picture on Instagram of my prototype and asked for help naming it. I got so many great suggestions, but Lumberjack takes the cake.
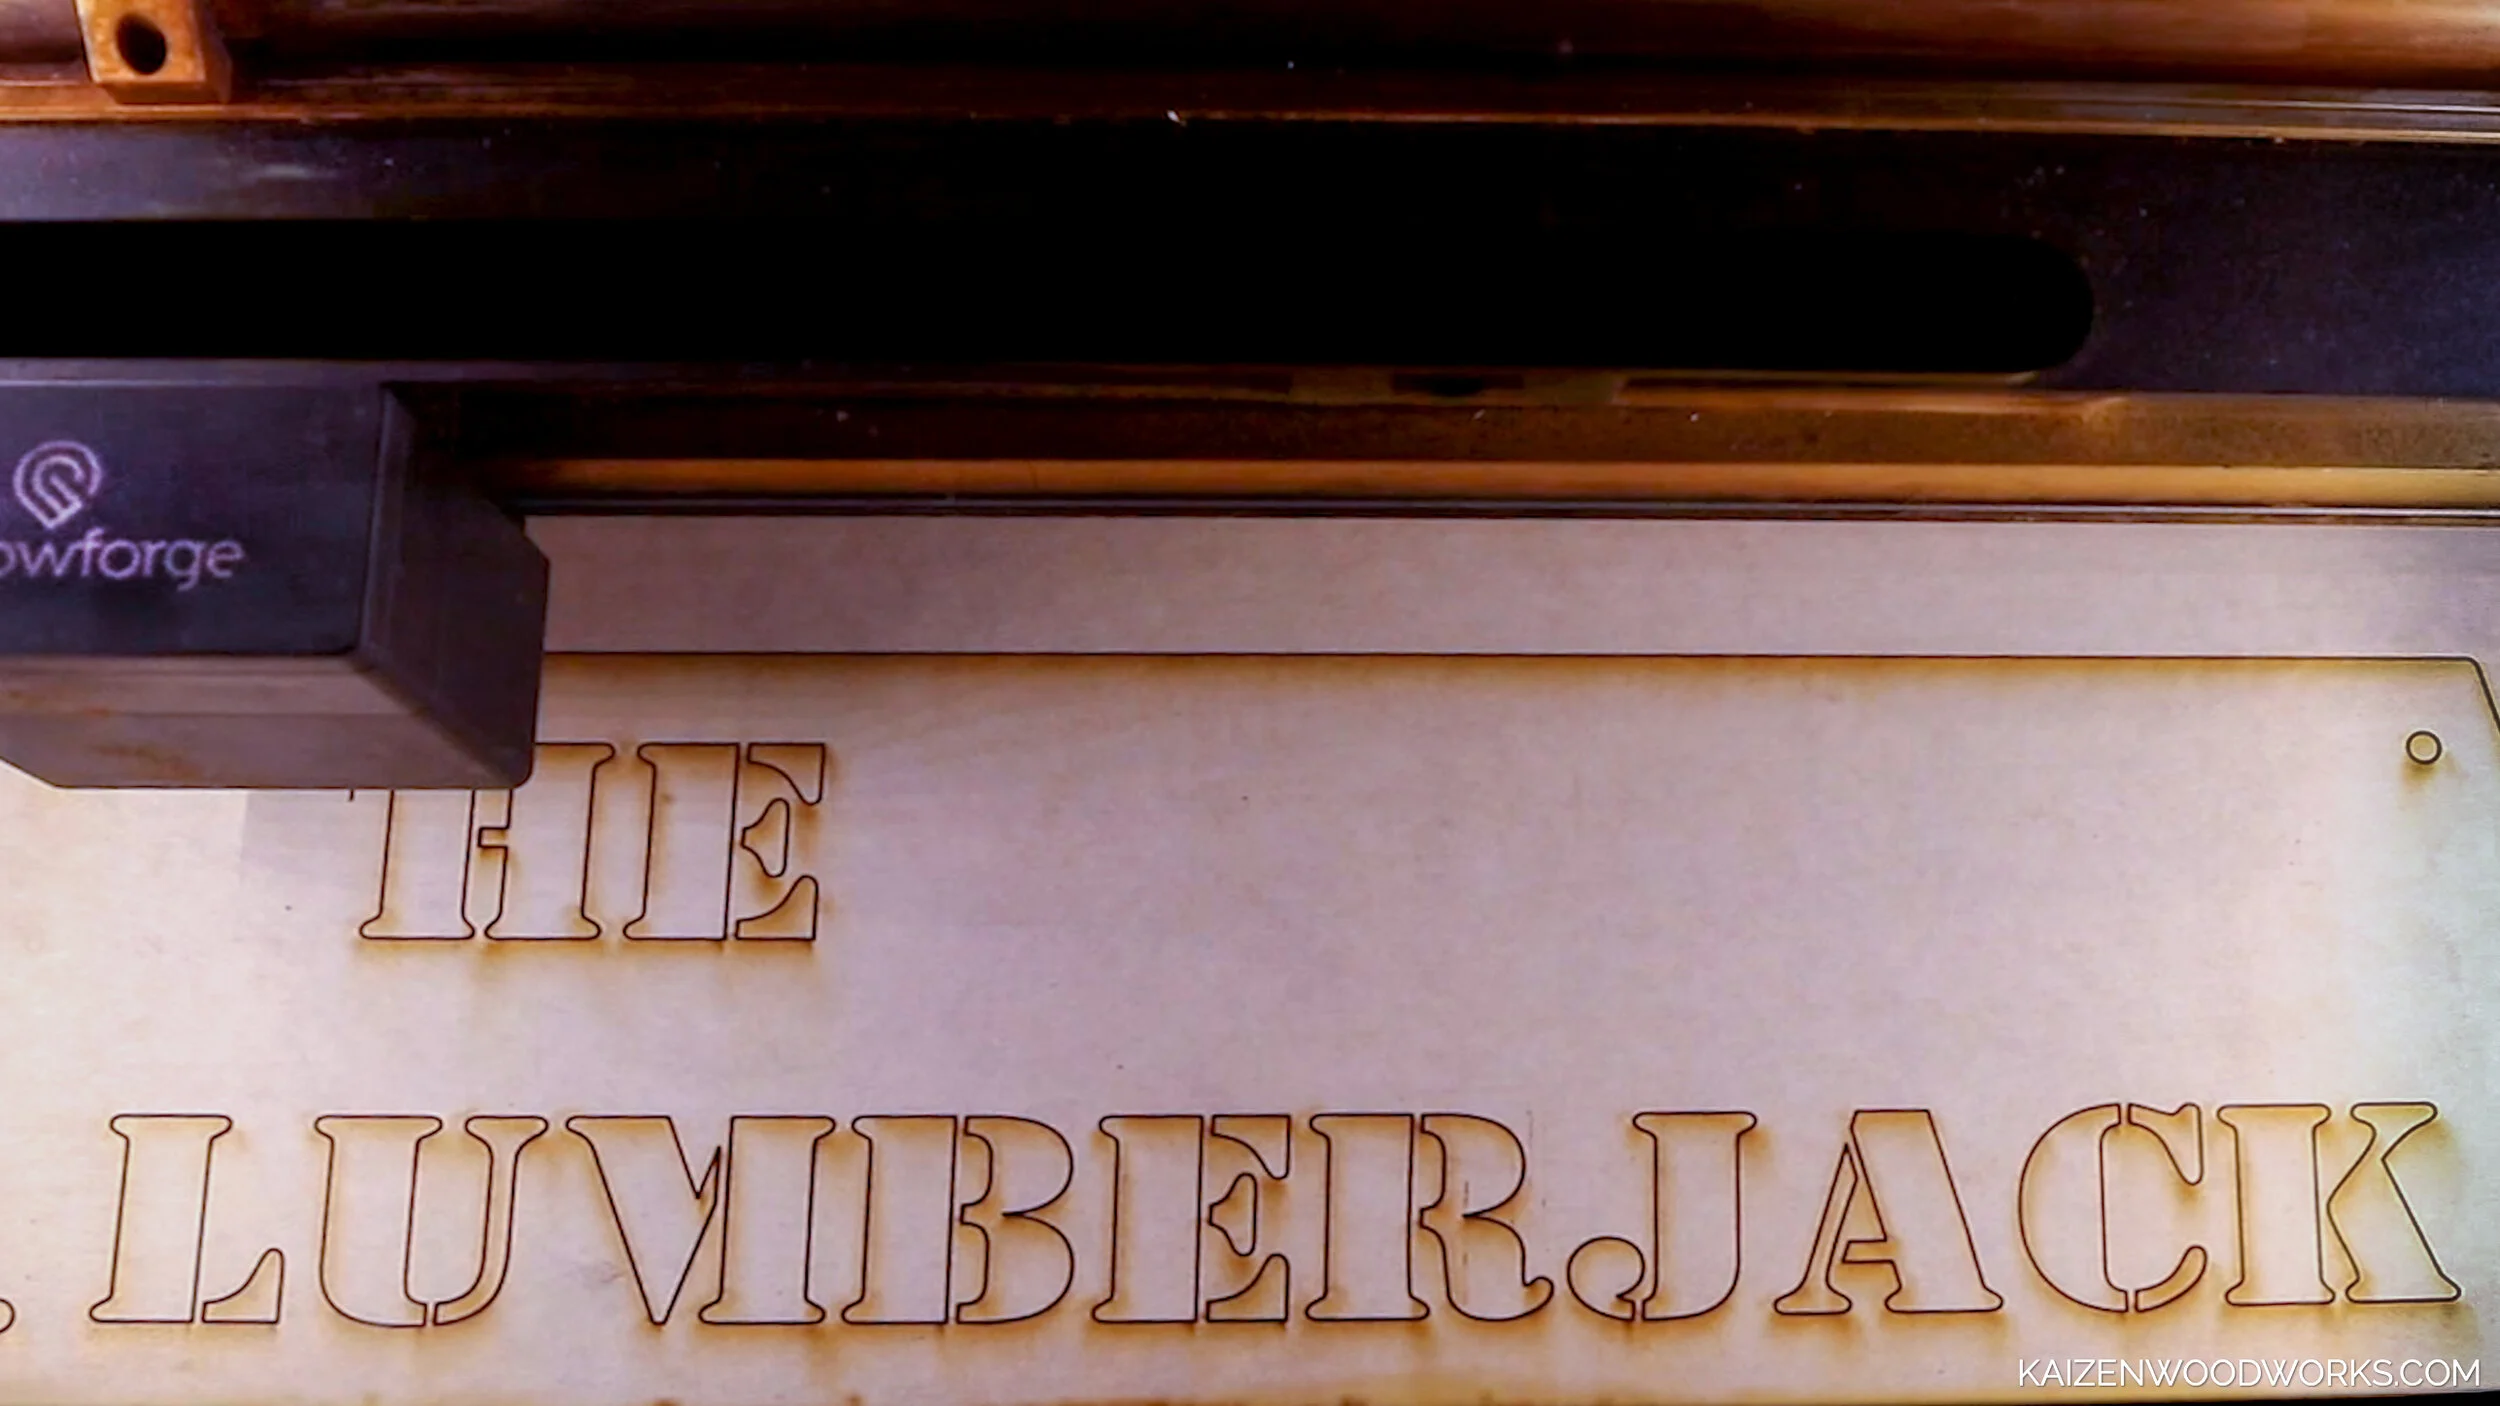
I use my Glowforge 3D Laser Printer to make the nameplate that I will attach to the side.
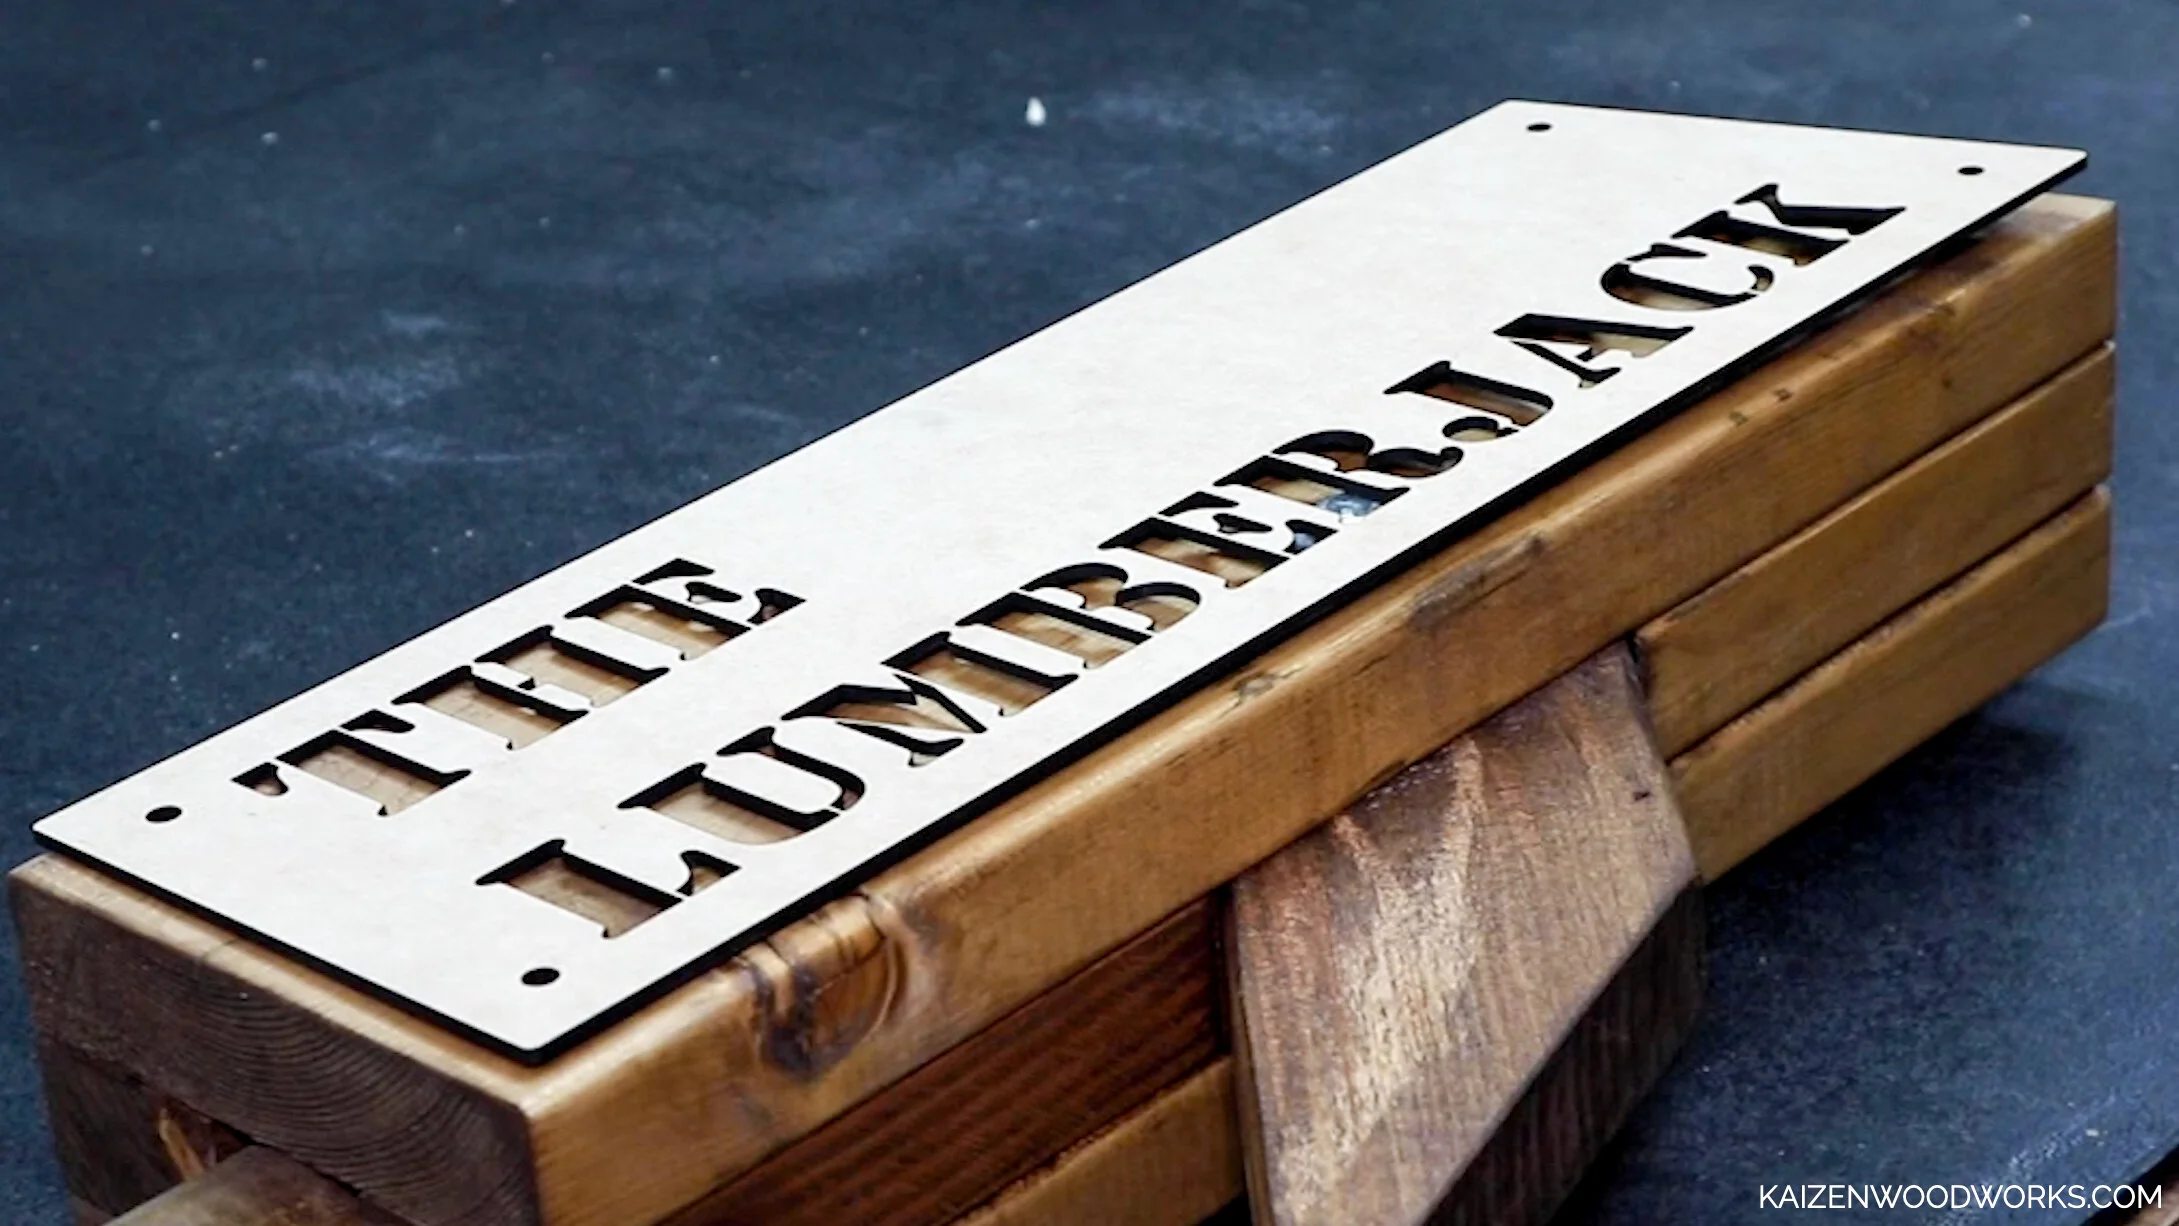
Once it is cut out, I realize it needs a flat surface to sit on.
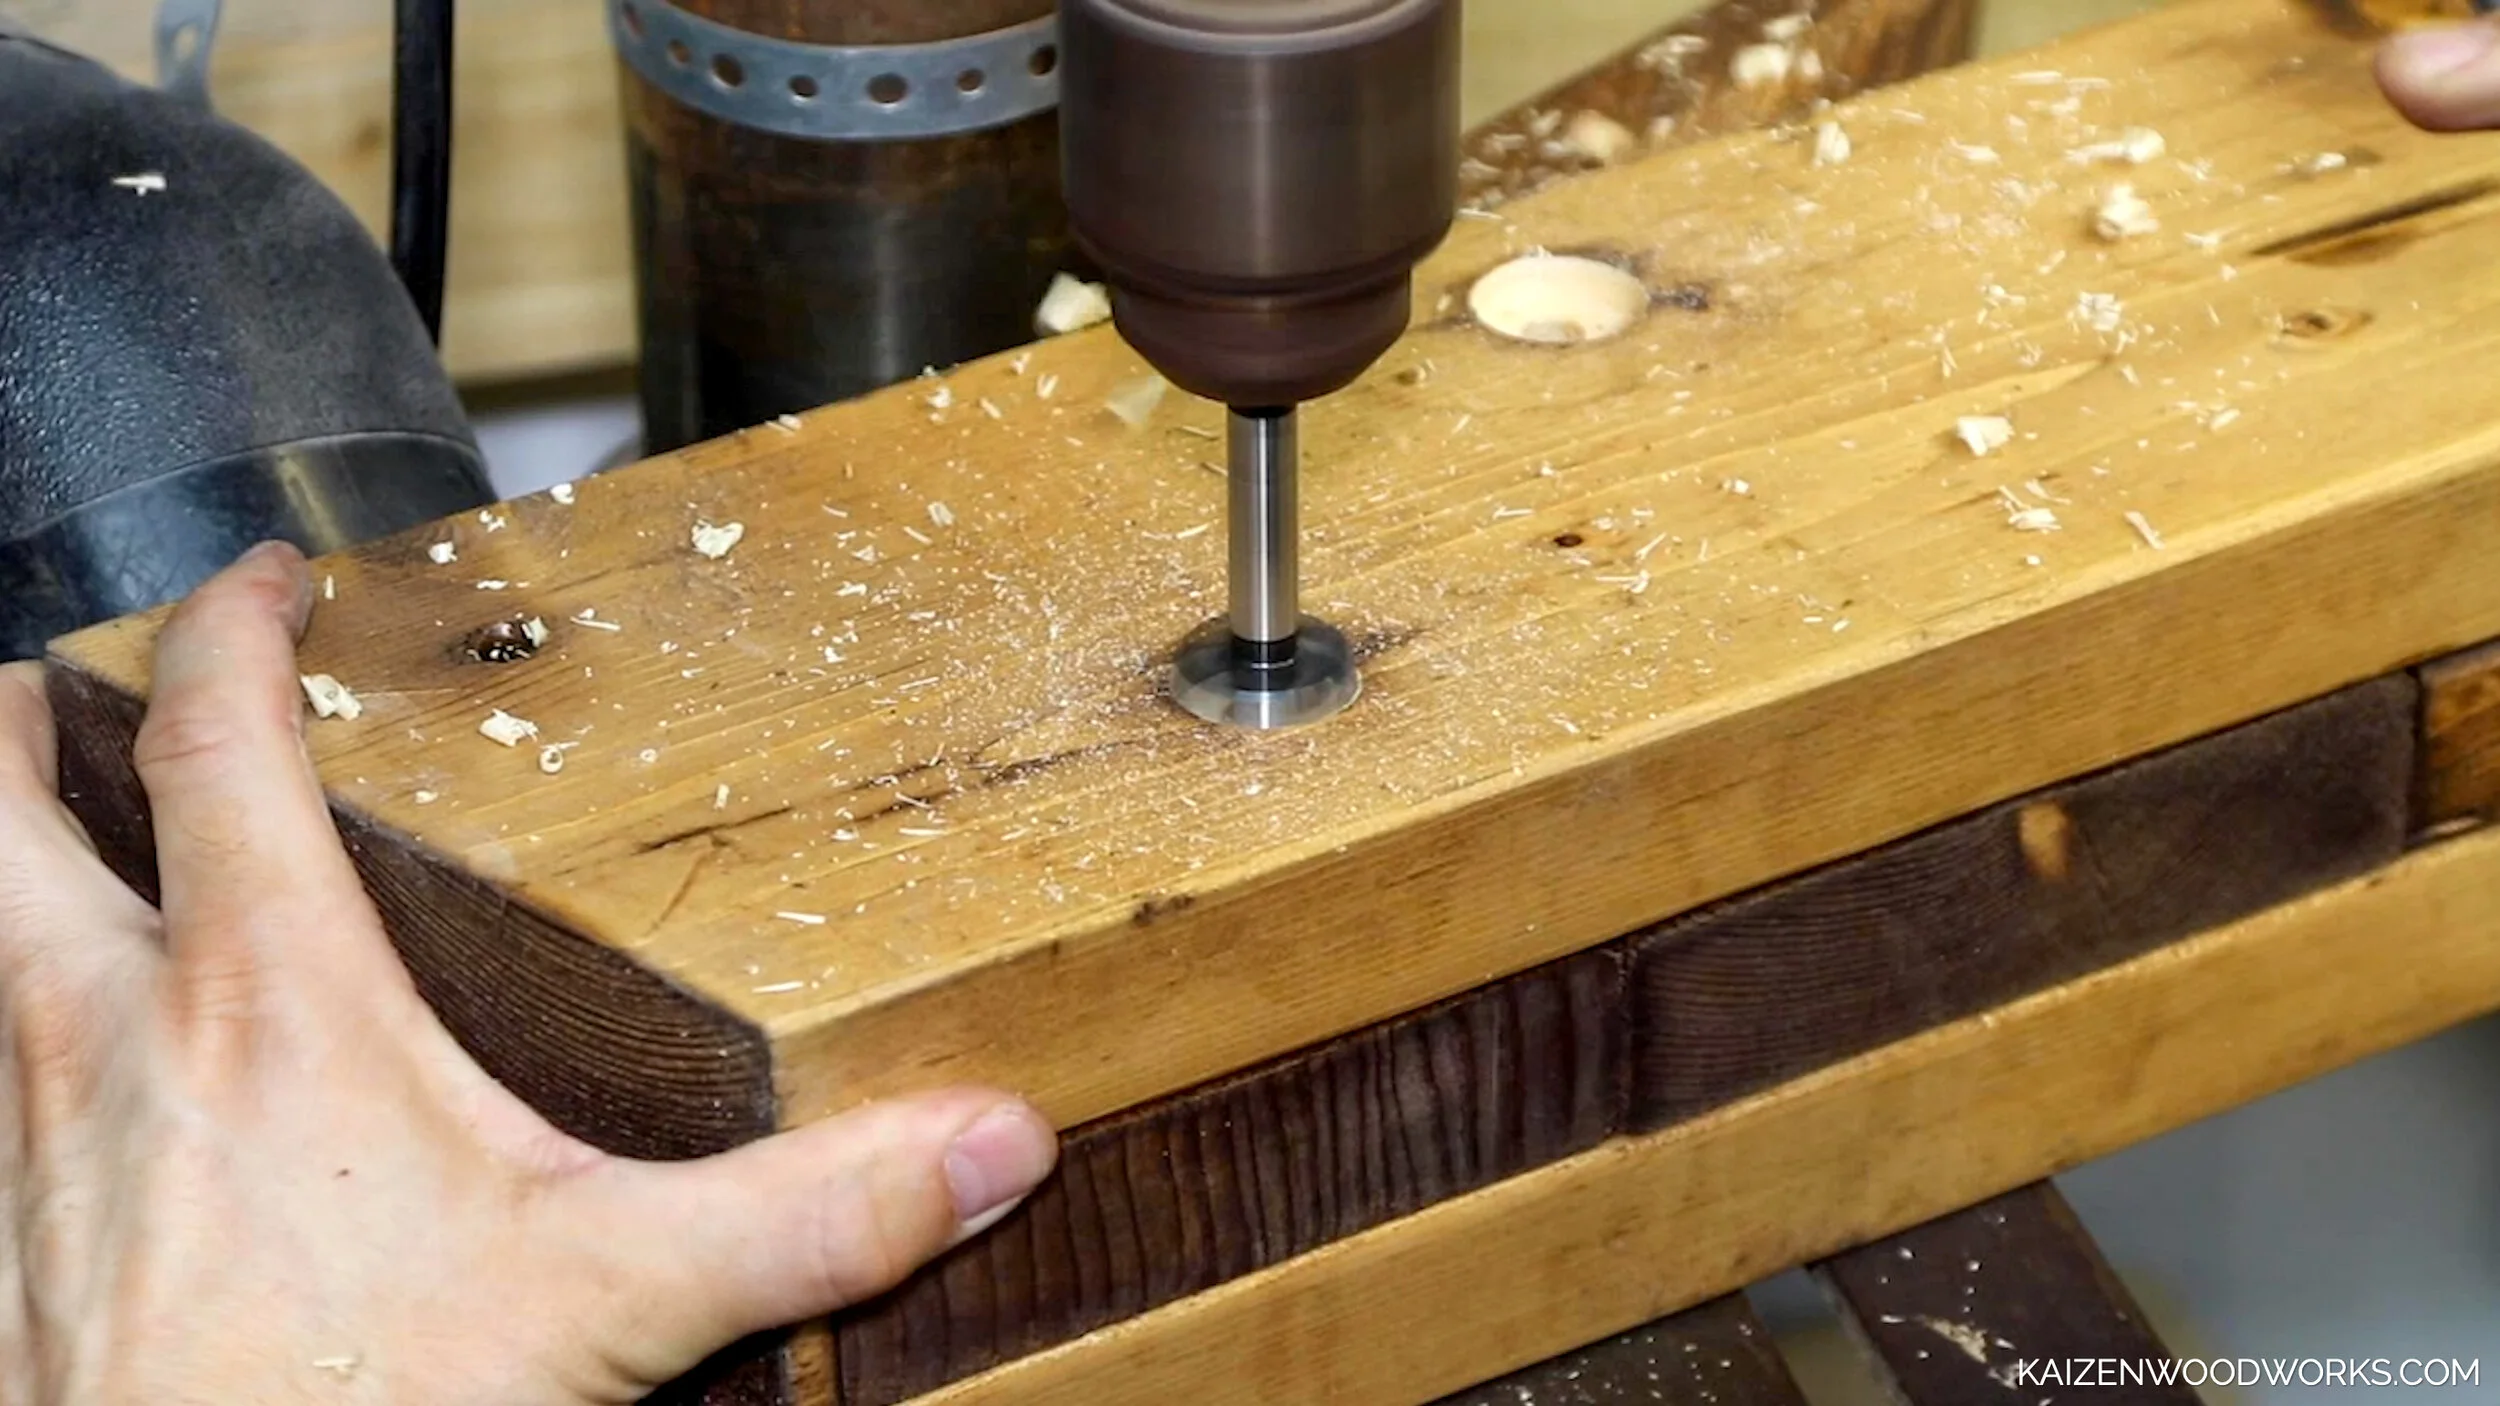
I remove the bolts and use my drill press and a 1 inch forstner bit to create insets so the bolts are flush when they go back in.
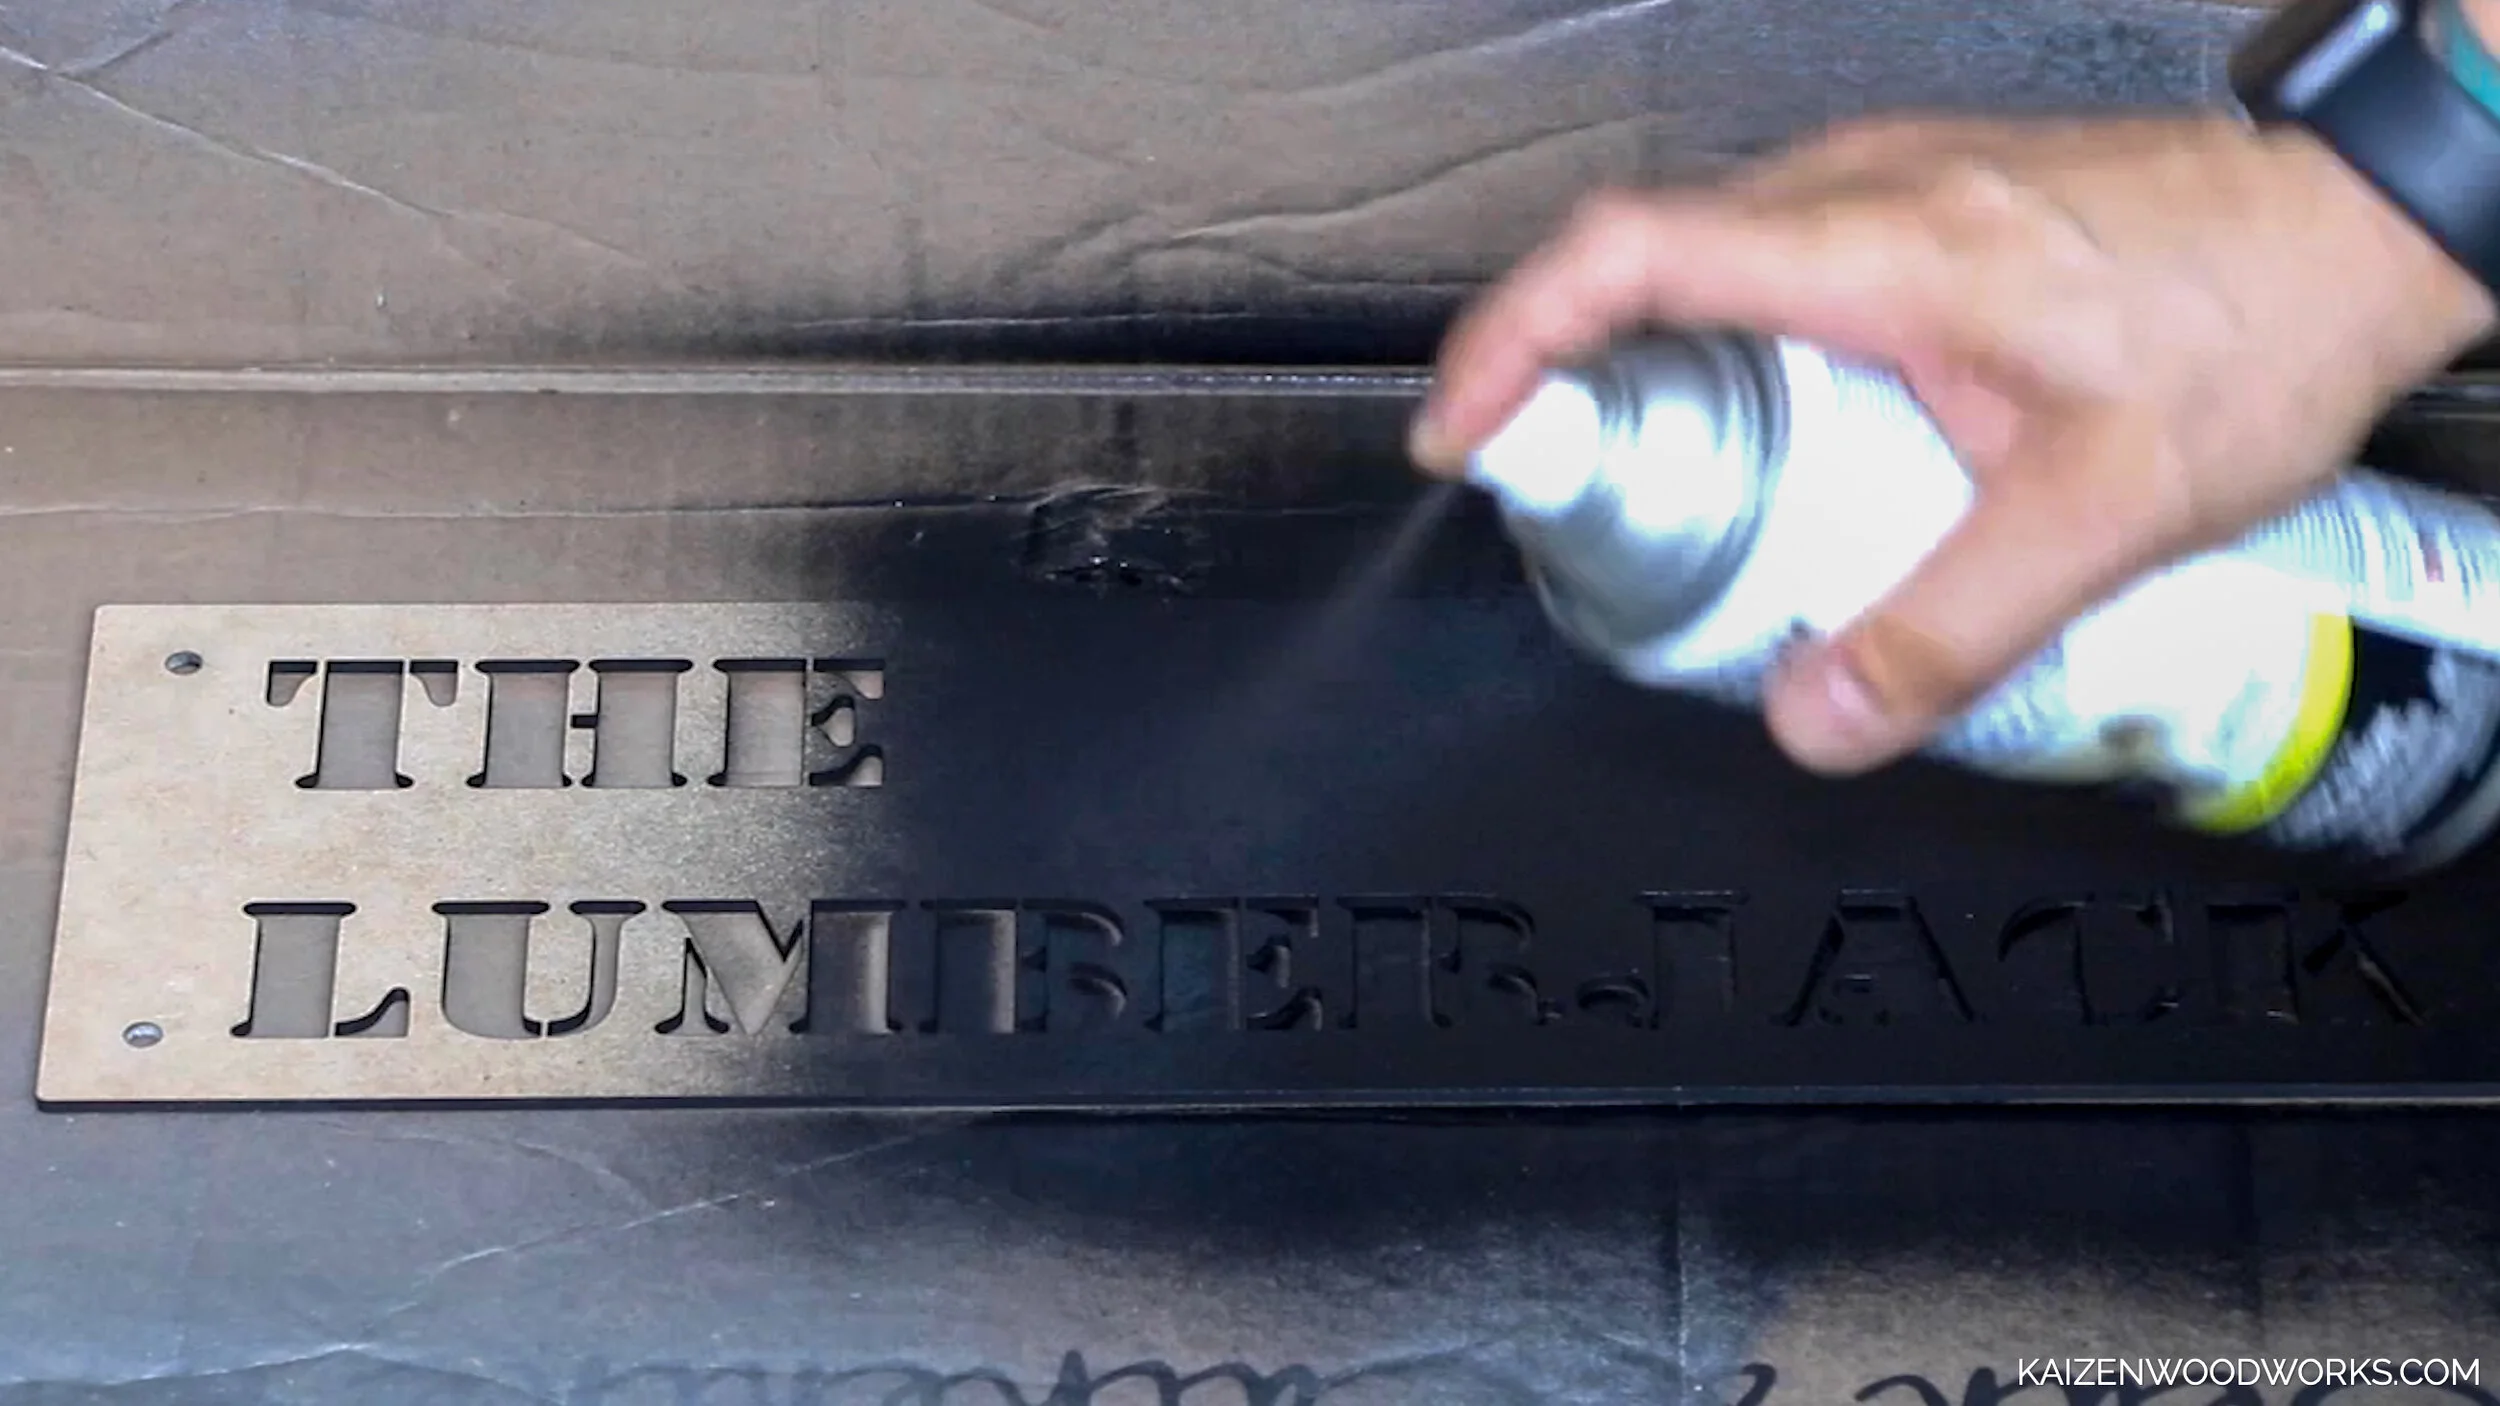
I spray paint the nameplate black.
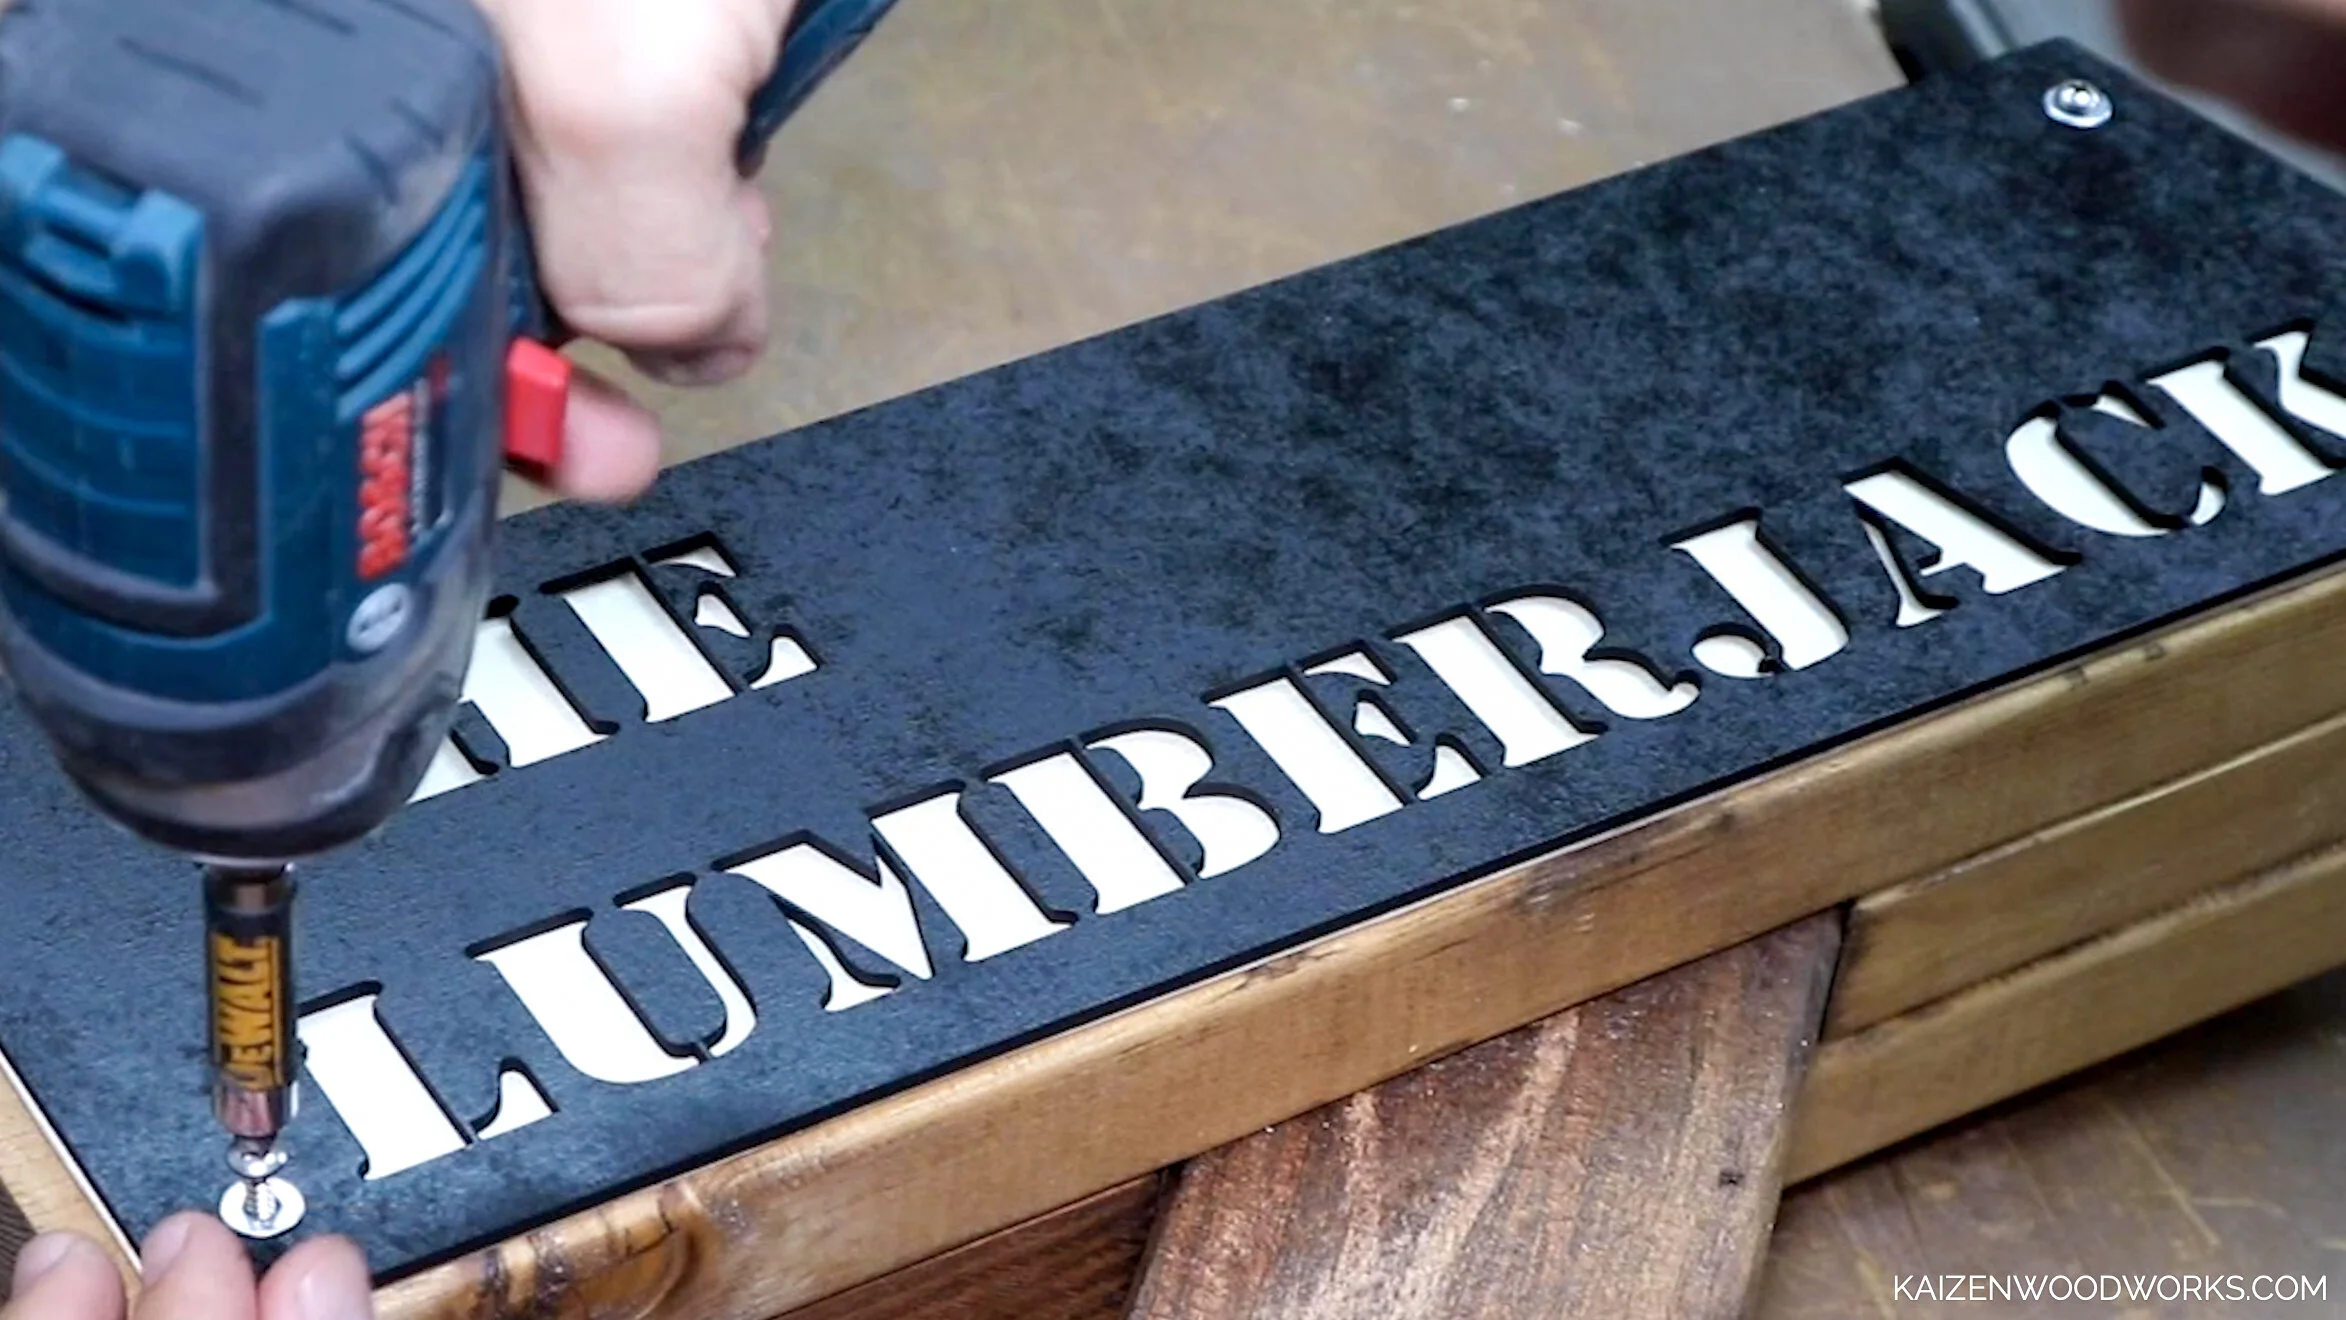
I didn’t get footage of it, but I ended up cutting a thin piece of birch plywood to go behind the nameplate and make the lettering pop. I use four screws and washers to attach the nameplate and we’re good to go!
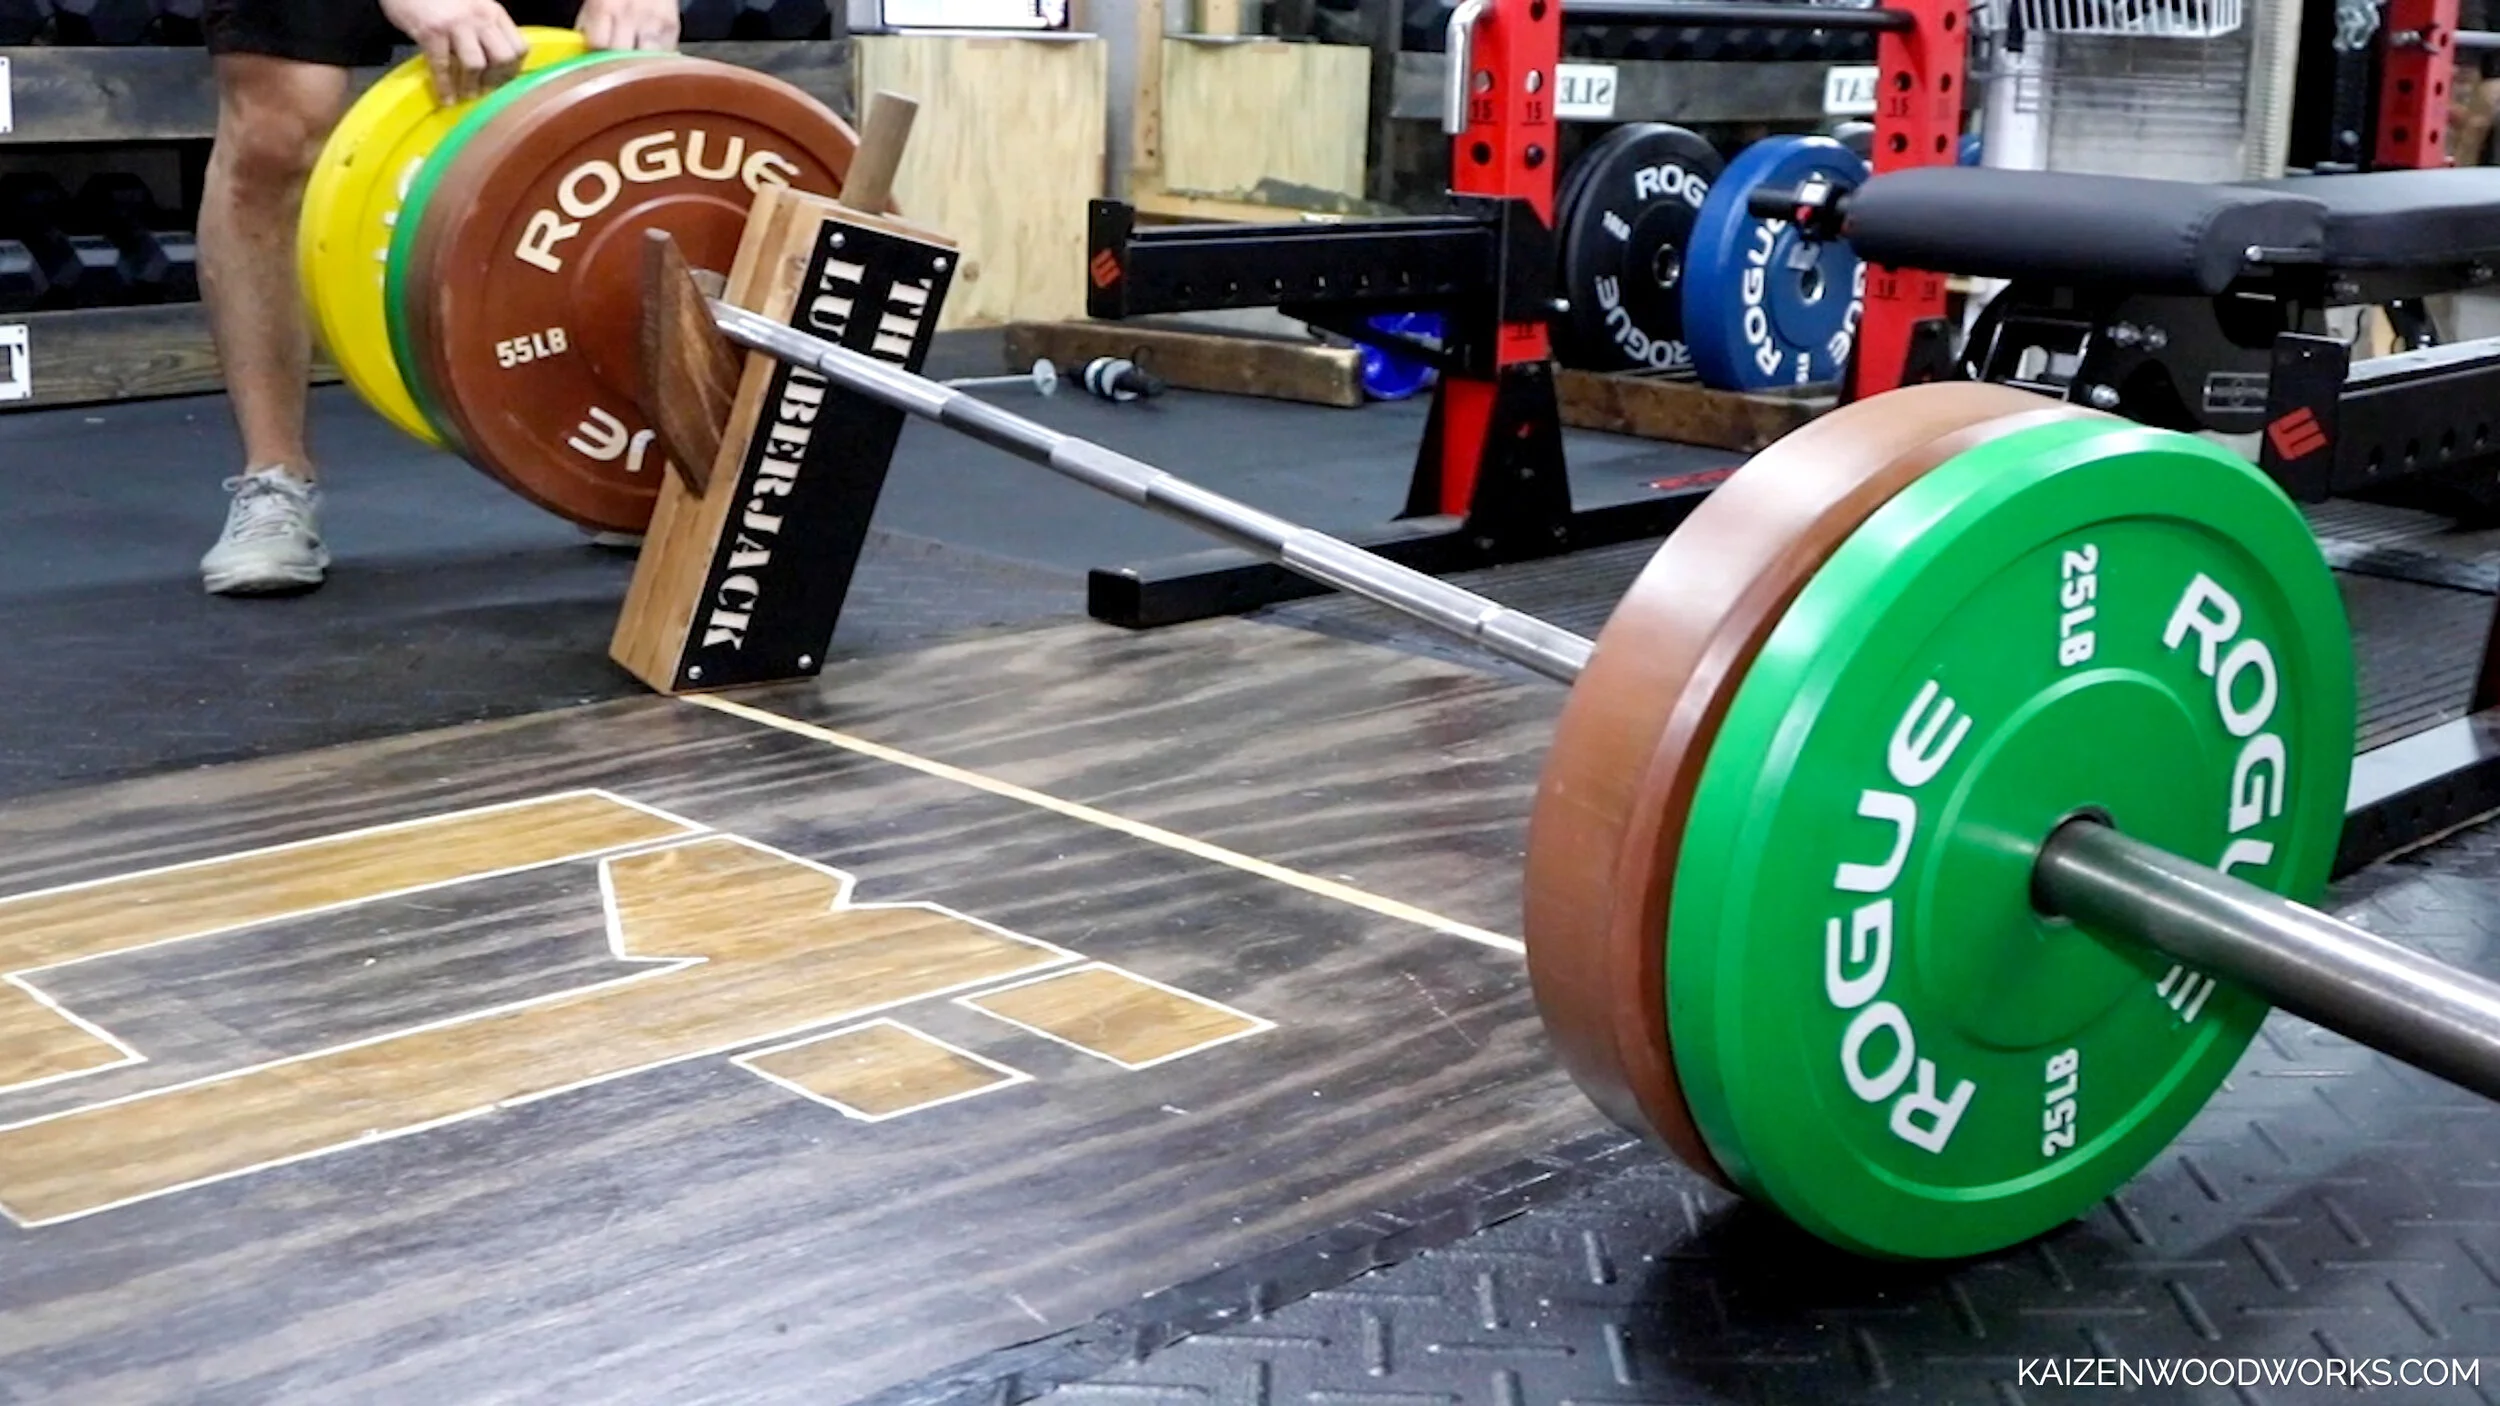
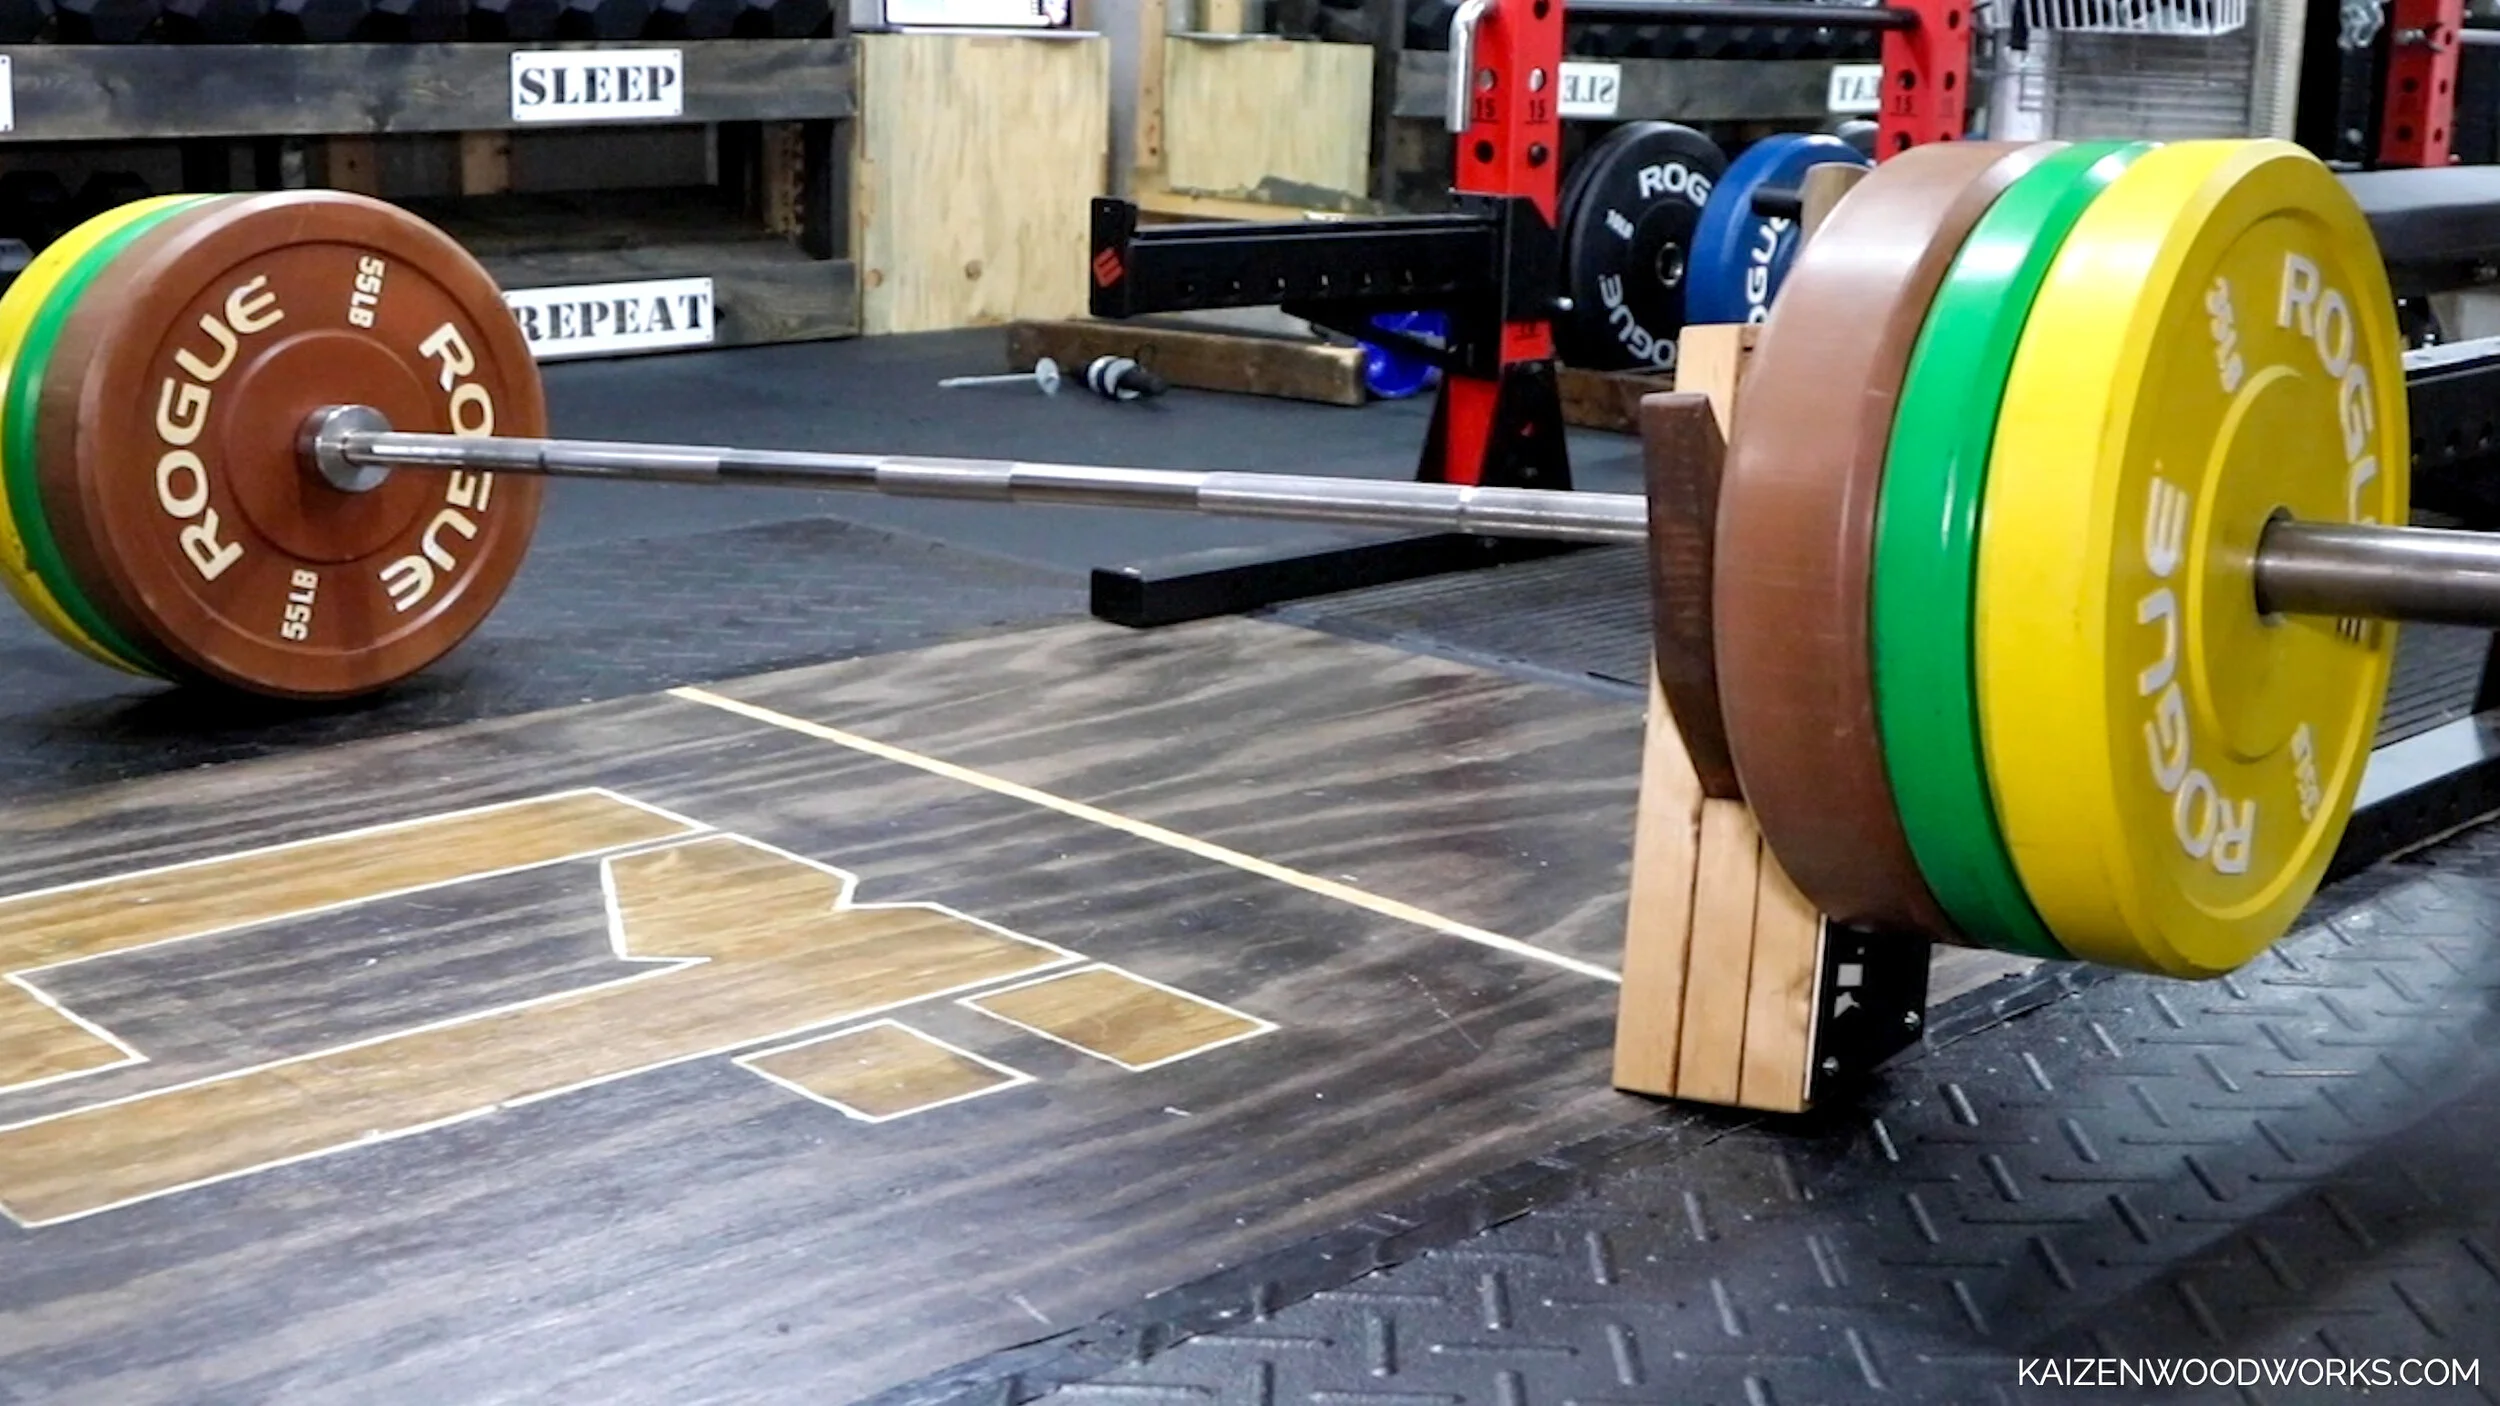
I tested it out quite a bit and it’s holding up like a champ. I suspect it can hold way more than I can deadlift.
If you like this, check out my other home gym diy projects.
Do you have an idea for my next build? Leave a comment below!
If you build this, I’d love to see it! Tag #kaizendiygym on Instagram and I’ll feature it on my page!
https://www.instagram.com/kaizendiygym
@kaizendiygym
This post is not sponsored. Some of the links are affiliates which means if you purchase through the link, I’ll receive a small commission.